Session Manager
Overview
Session Manager is a fully managed System Manager feature that allows you to manage your EC2 instances via an interactive one-click browser-based terminal or through the AWS CLI.
Session Manager offers some benefits over using SSH:
- No open inbound ports in the Security Group.
- No need to manage bastion hosts or SSH keys.
- Centralized access control to managed nodes using IAM policies.
- Commands and activities can be logged to S3 or CloudWatch, facilitating auditing.
- One-click access to managed nodes from the AWS Manager Console and the AWS CLI.
How Session Manager works
- User authenticates against IAM.
- IAM authorizes to start a session on an EC2 instance by evaluating applicable IAM policies.
- User uses the AWS Management Console and the terminal (AWS CLI and additional plugins required) to start a session via System Manager.
- The System Manager agent running on the instance connect to the System Manager service and execute commands on the instance.
- The Session Manager sends audit logs to CloudWatch or S3.
For Session Manager to work, the EC2 instance must have access to the Internet, or VPC Endpoints.

Hands-on lab
This part will guide you through several steps required to start a session on an EC2 instance which has no SSH port open. The instance still has the public IP address for communicating with the Internet.
1. Open Cloud9 environment, search for ~/environment/ws2-material/workshop/fundamental/session-manager.yml.
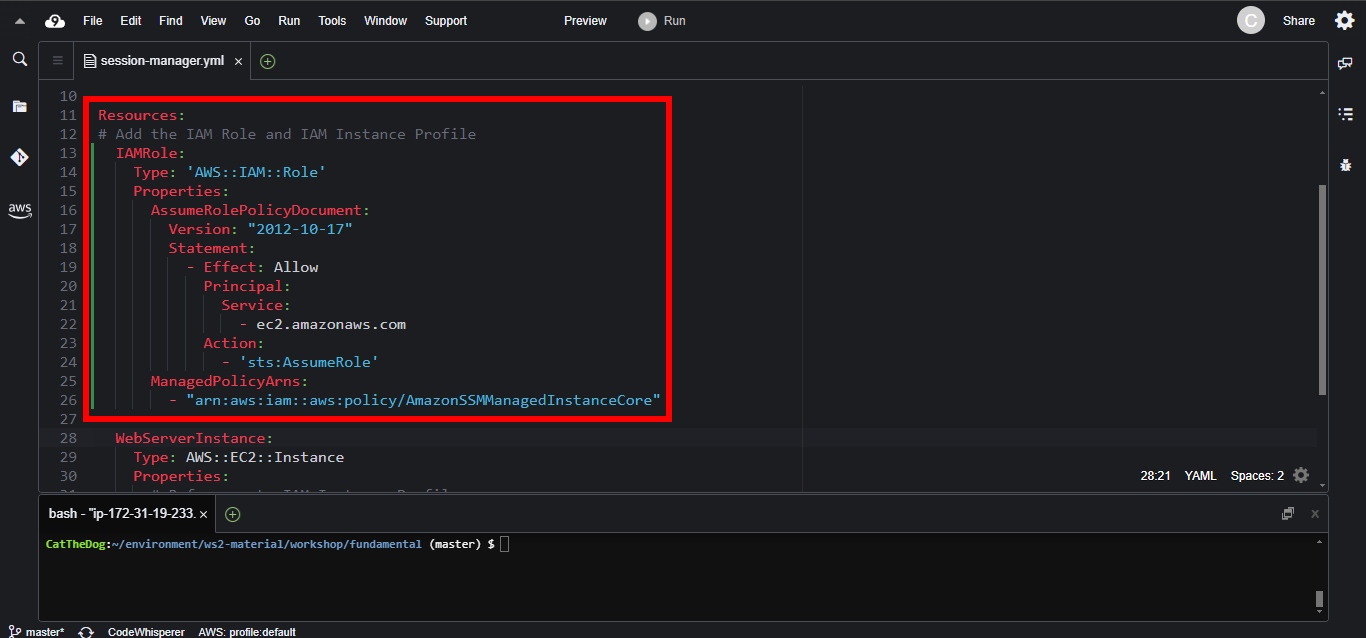
2. To use System Manager, we need to provision an IAM Role which contains the AmazonSSMManagedInstanceCore policy.
  IAMRole:
    Type: 'AWS::IAM::Role'
    Properties:
      AssumeRolePolicyDocument:
        Version: "2012-10-17"
        Statement:
          - Effect: Allow
            Principal:
              Service:
                - ec2.amazonaws.com
            Action:
              - 'sts:AssumeRole'
      ManagedPolicyArns:
        - "arn:aws:iam::aws:policy/AmazonSSMManagedInstanceCore"
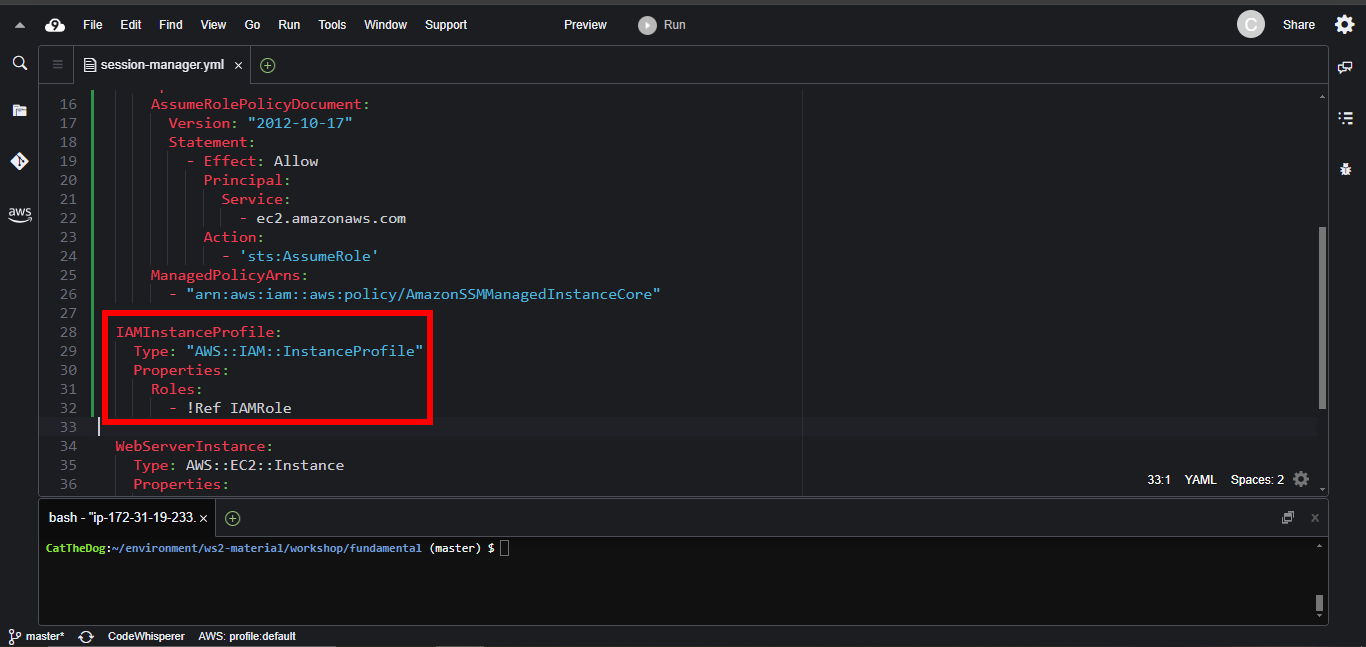
3. Create a new Instance Profile with IAM Role attached.
  IAMInstanceProfile:
    Type: "AWS::IAM::InstanceProfile"
    Properties:
      Roles:
        - !Ref IAMRole
4. Update the EC2 instance to reference the Instance Profile.
  WebServerInstance:
    Type: AWS::EC2::Instance
    Properties:
      IamInstanceProfile: !Ref IAMInstanceProfile
      ImageId: !Ref AmiID
      InstanceType: t2.micro

5. The preparation step has been done, next the stack creation. Execute the command below to create a new stack.
cd ~/environment/ws2-material/workshop/fundamental
aws cloudformation create-stack --stack-name session-manager --template-body file://session-manager.yml --capabilities CAPABILITY_IAM
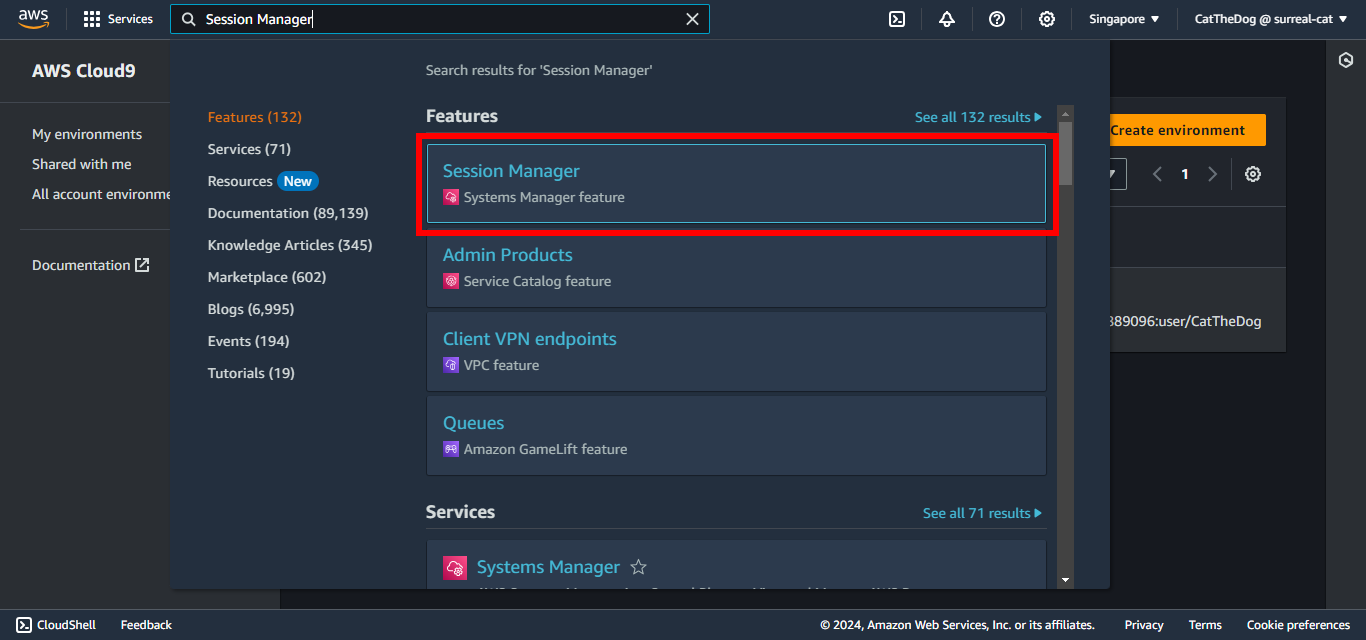
6. Wait for around 5 minutes. Then on the AWS Management Console, search for Session Manager.
7. Click on Start session.
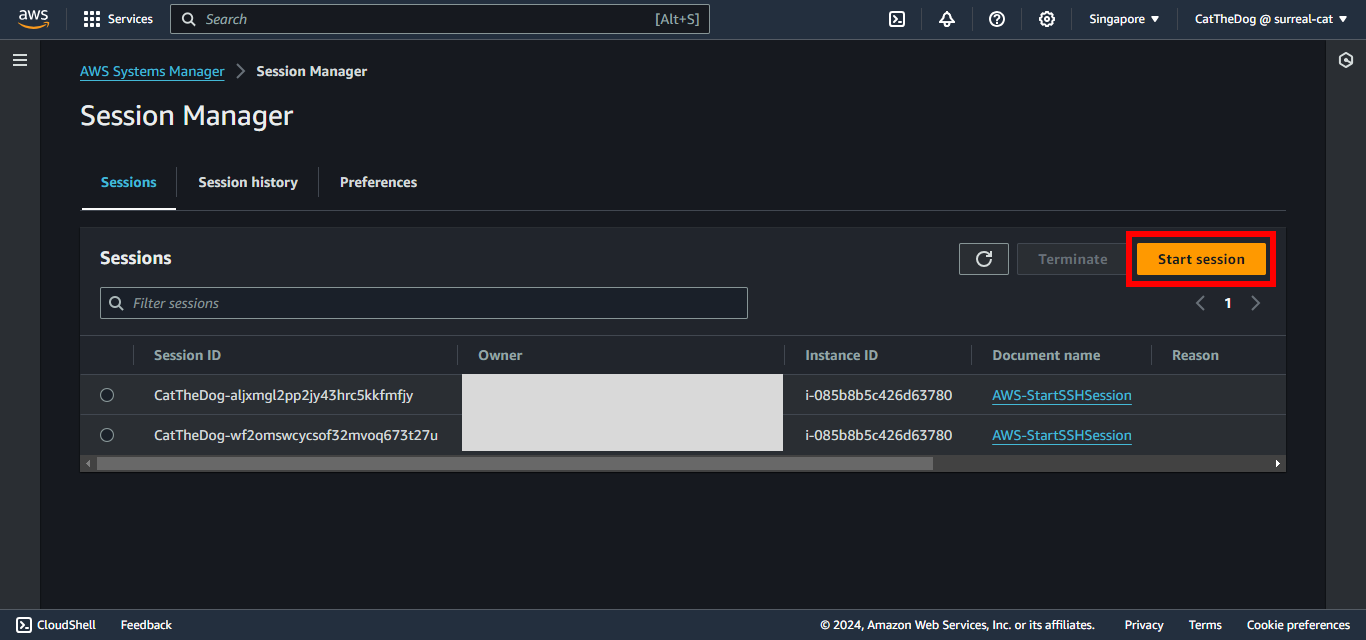
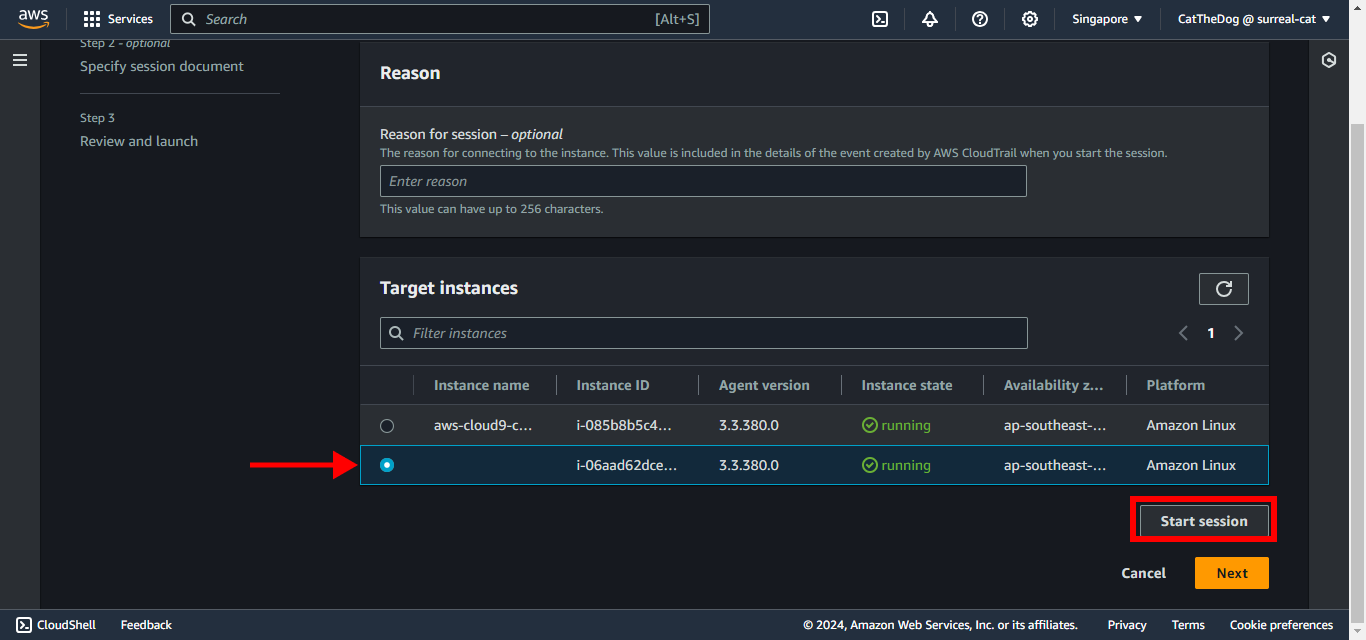
8. Select the EC2 instance provisioned via CloudFormation. Click on Start session.
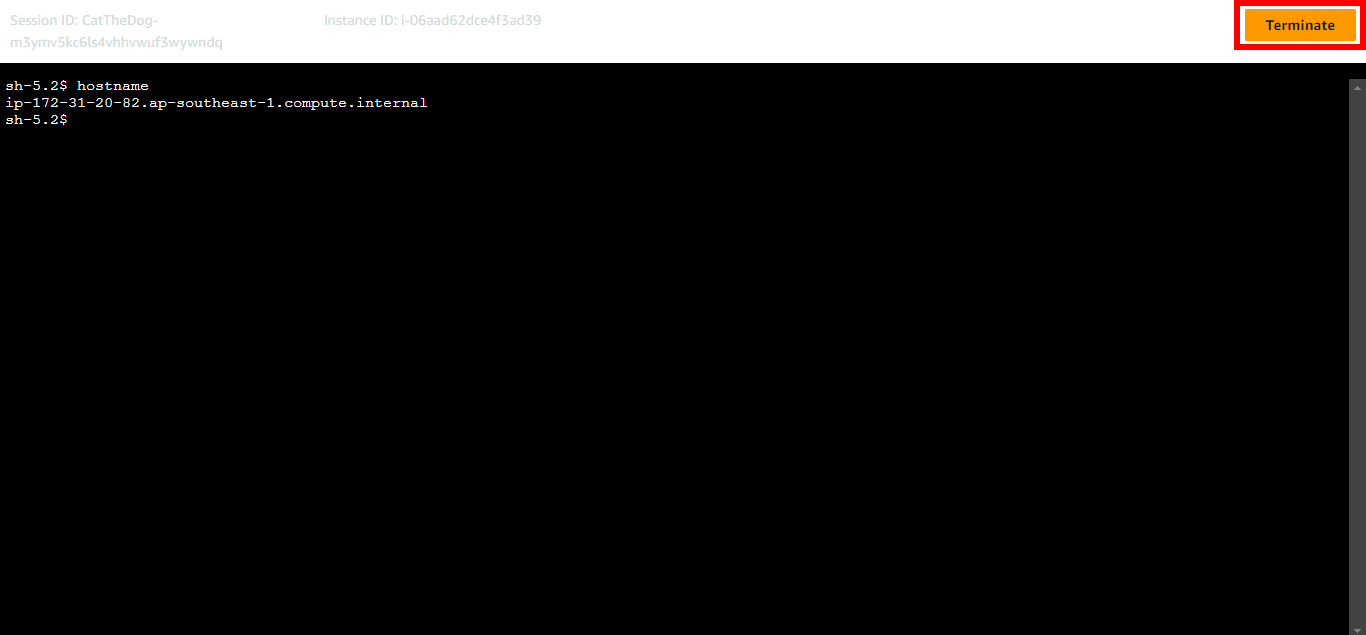
9. Once you have completed your work, you can click on Terminate to end the session.
Cleaning up
Run the delete command to delete your stack:
aws cloudformation delete-stack --stack-name session-manager