Creating a simple stack
Creating a stack
In this chapter, you will get yourself familiarized with CloudFormation by creating a template file in which you define a simple S3 bucket. After that, you will run the AWS CLI create-stack command to build a stack according to your template. Additionally, you will learn how to update your stack using the update-stack command.
1. Open Cloud9 then find ~/environment/ws2-material/workshop/fundamental/simple-stack.yml.
2. Copy the code below and paste into the template file.
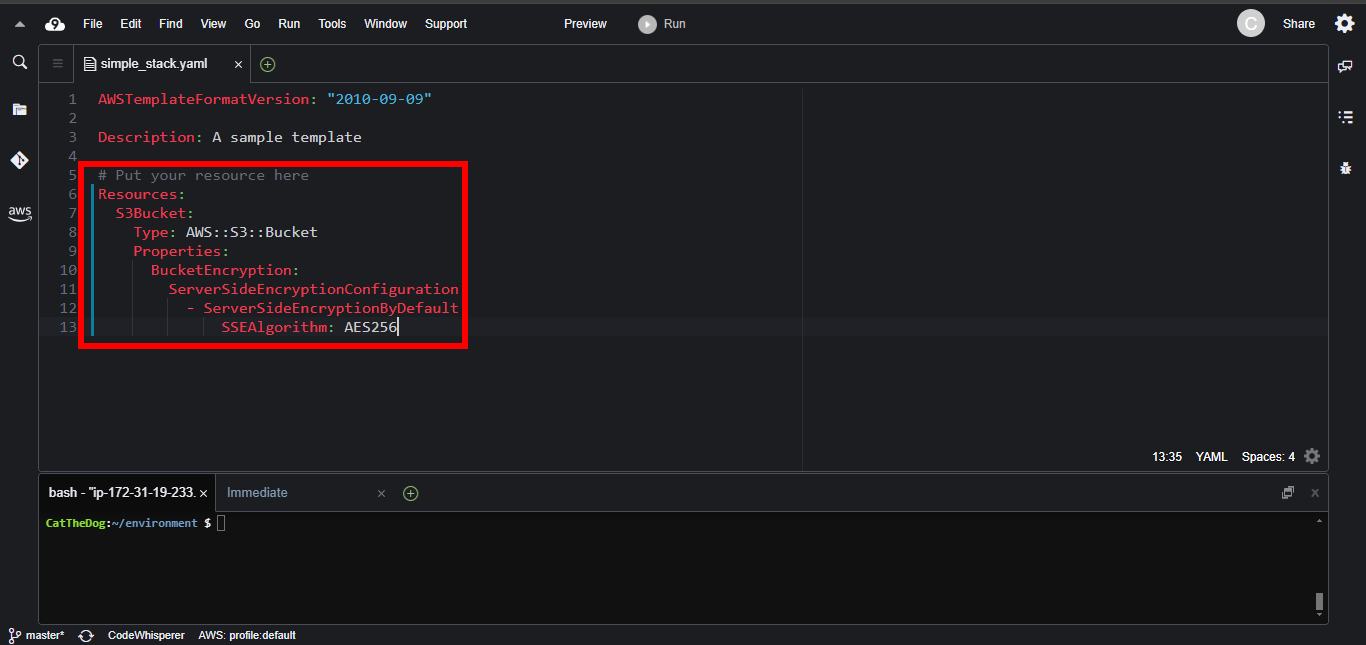
Resources:
  S3Bucket:
    Type: AWS::S3::Bucket
    Properties:
      BucketEncryption:
        ServerSideEncryptionConfiguration:
          - ServerSideEncryptionByDefault:
              SSEAlgorithm: AES256
The Resources section contains only the S3Bucket which has the type AWS::S3::Bucket and the attributes BucketEncryption. After the stack creation, you will get a bucket with an arbitrary name and AES256 encryption.
You can read more about the S3 bucket here: AWS::S3::Bucket.
3. Upon pasting, you will obtain:
4. Open terminal and execute the command below to create the stack.
cd ~/environment/ws2-material/workshop/fundamental
aws cloudformation create-stack --stack-name simple-stack --template-body file://simple-stack.yml
- Once created, you will get the JSON code including StackId which indicates your stack’s Id.

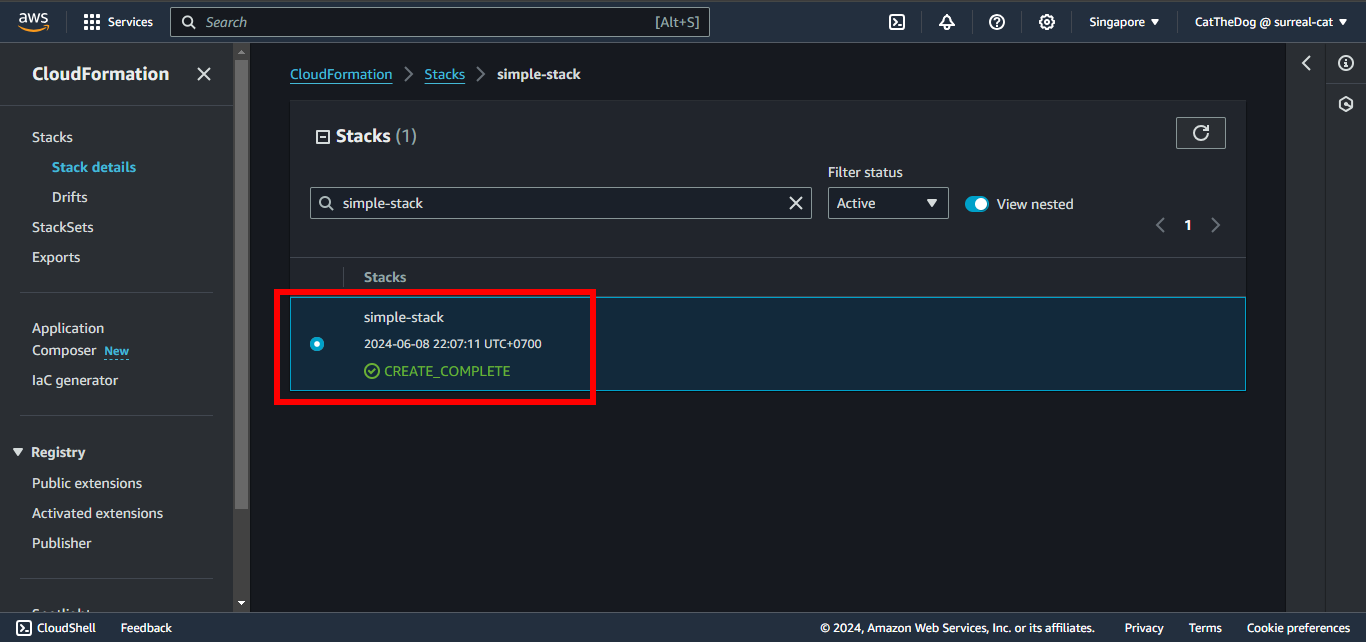
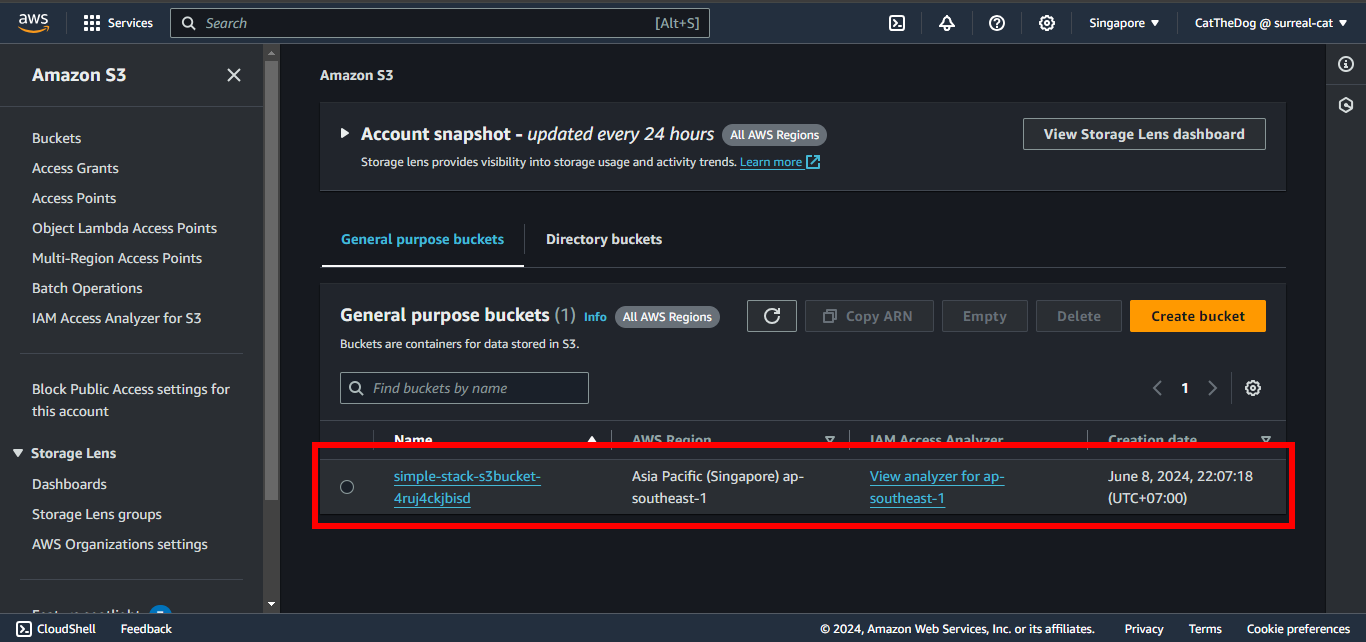
5. Open console and check your stack and your bucket has been created properly.
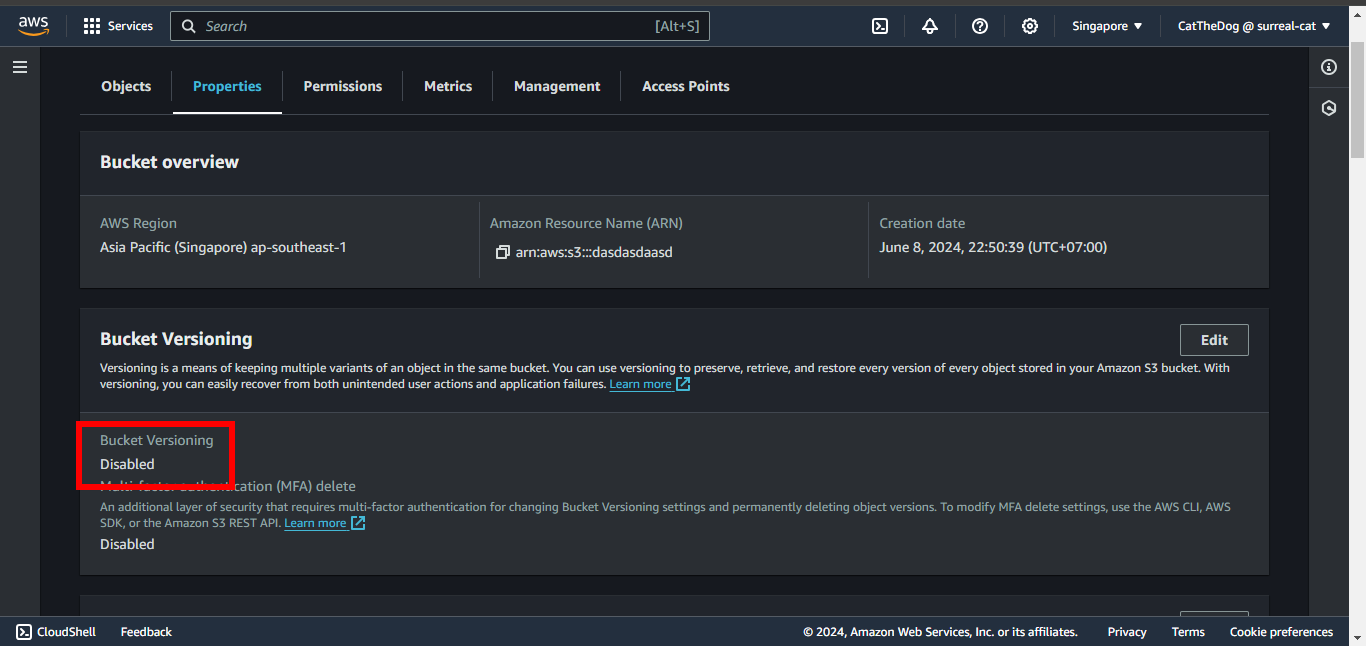
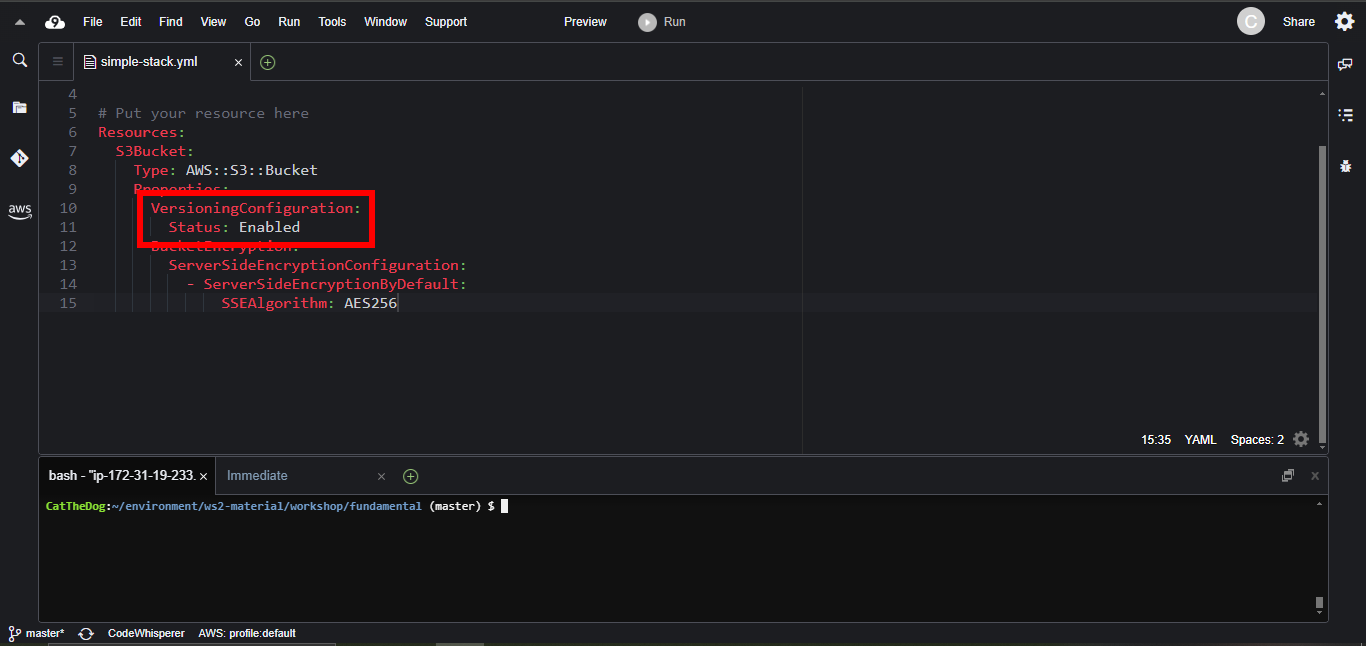
6. The bucket we created does not enable the Bucket Versioning feature. In this step we need to update our template to enable it.
- Replace your S3Bucket with this code:
Resources:
  S3Bucket:
    Type: AWS::S3::Bucket
    Properties:
      VersioningConfiguration:
        Status: Enabled
      BucketEncryption:
        ServerSideEncryptionConfiguration:
          - ServerSideEncryptionByDefault:
              SSEAlgorithm: AES256
7. Execute the command to update your stack.
aws cloudformation update-stack --stack-name simple-stack --template-body file://simple-stack.yml
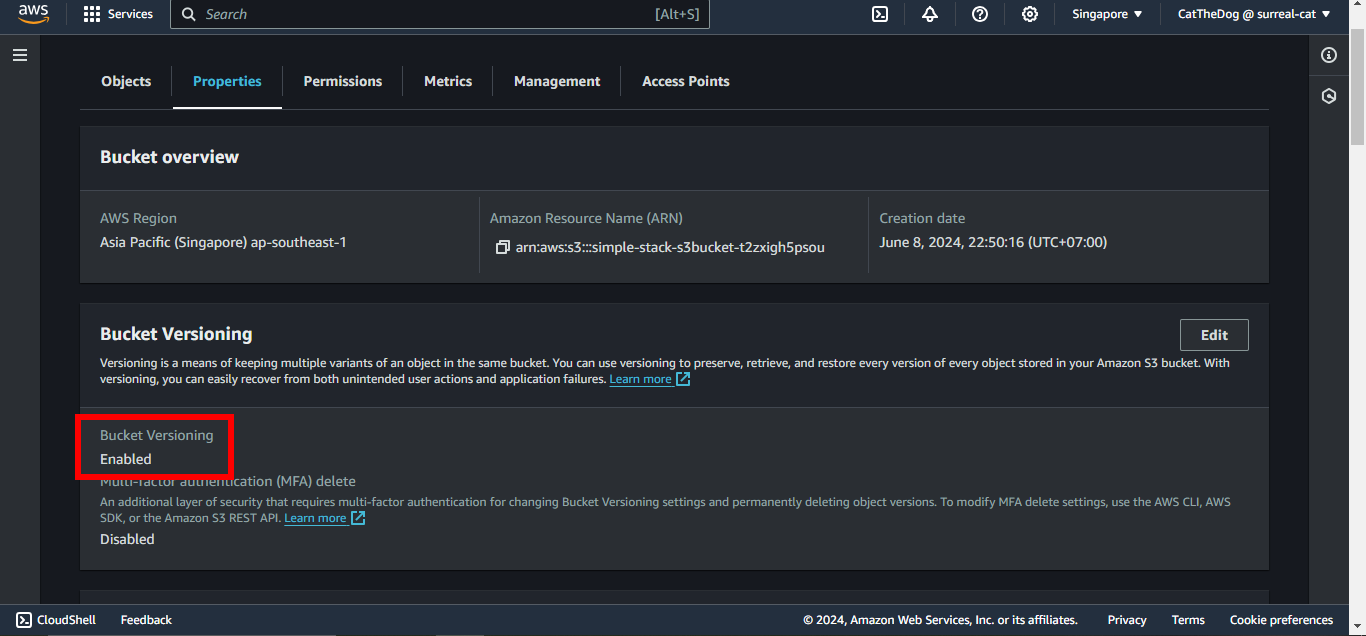
- Bucket Versioning has been enabled:
Cleaning up
Run the delete command to delete your stack:
aws cloudformation delete-stack --stack-name simple-stack