Enable and Verify ECS Exec Functionality
Enable ECS Exec
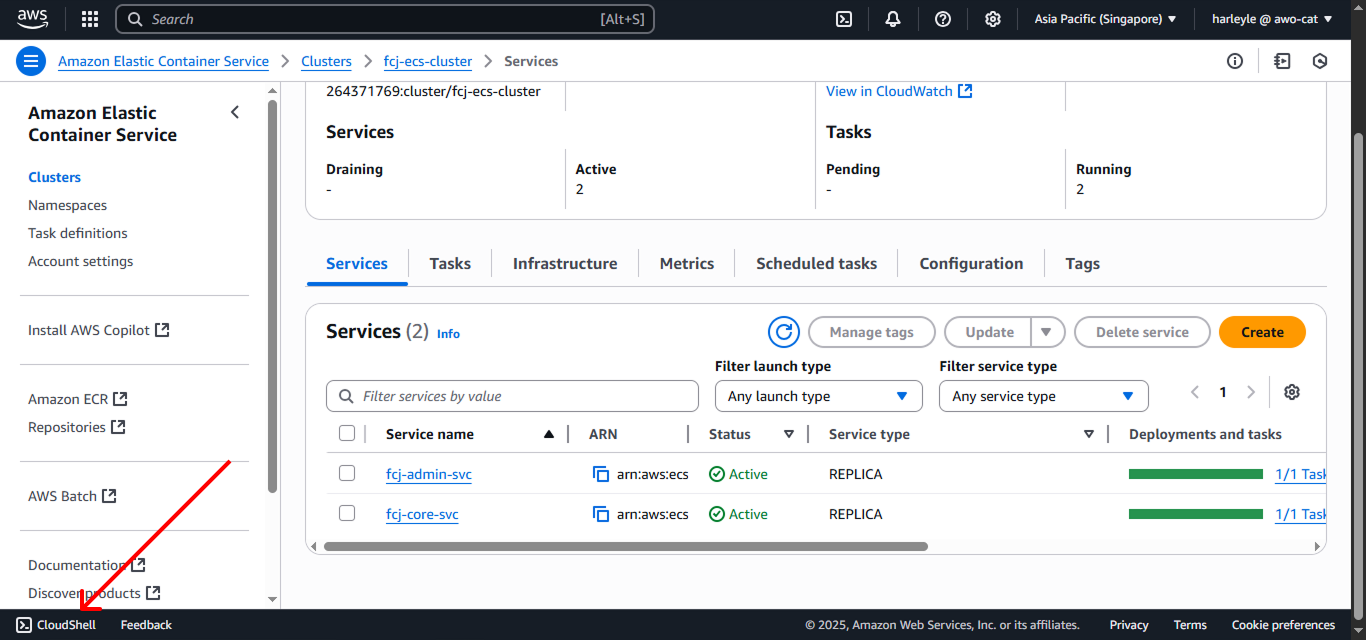
1. Click the CloudShell button to open CloudShell.
2. Execute the following commands to enable ECS Exec for both services:
aws ecs update-service --cluster fcj-ecs-cluster --enable-execute-command --force-new-deployment --service fcj-core-svc

aws ecs update-service --cluster fcj-ecs-cluster --enable-execute-command --force-new-deployment --service fcj-admin-svc
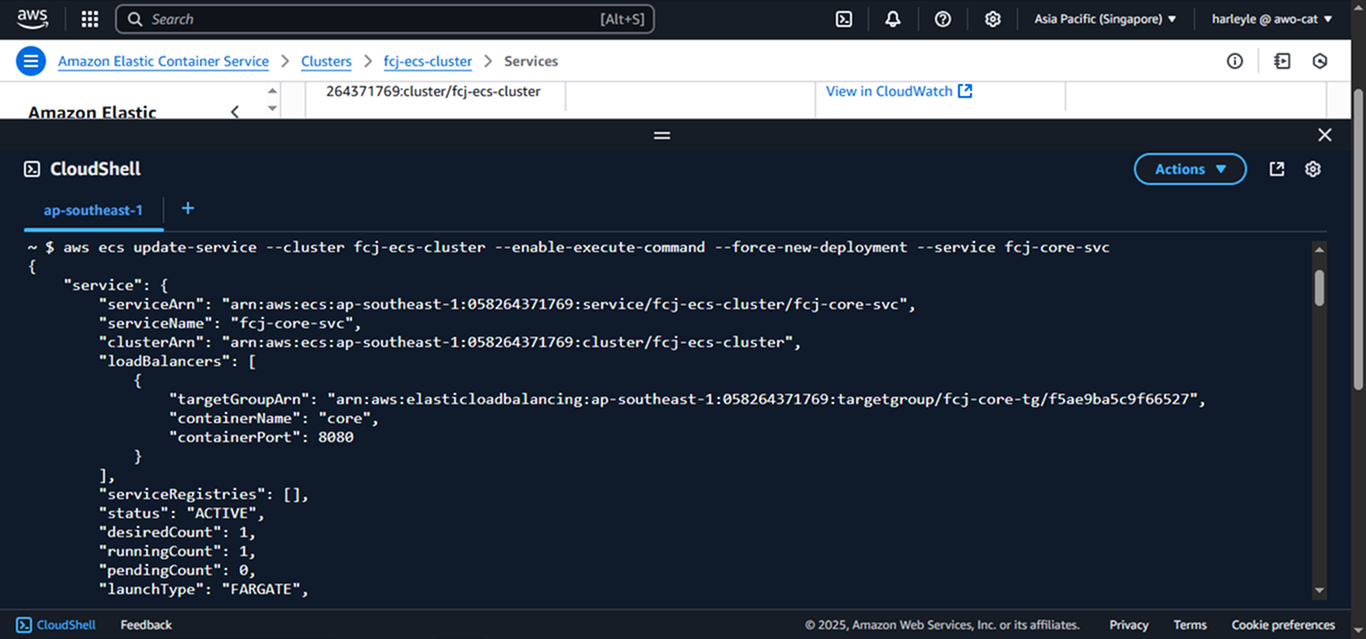
The --force-new-deployment flag ensures that new tasks are created with ECS Exec capabilities enabled.
3. Wait approximately 3-5 minutes for the services to be redeployed with new tasks. You can monitor the deployment progress in the ECS console.
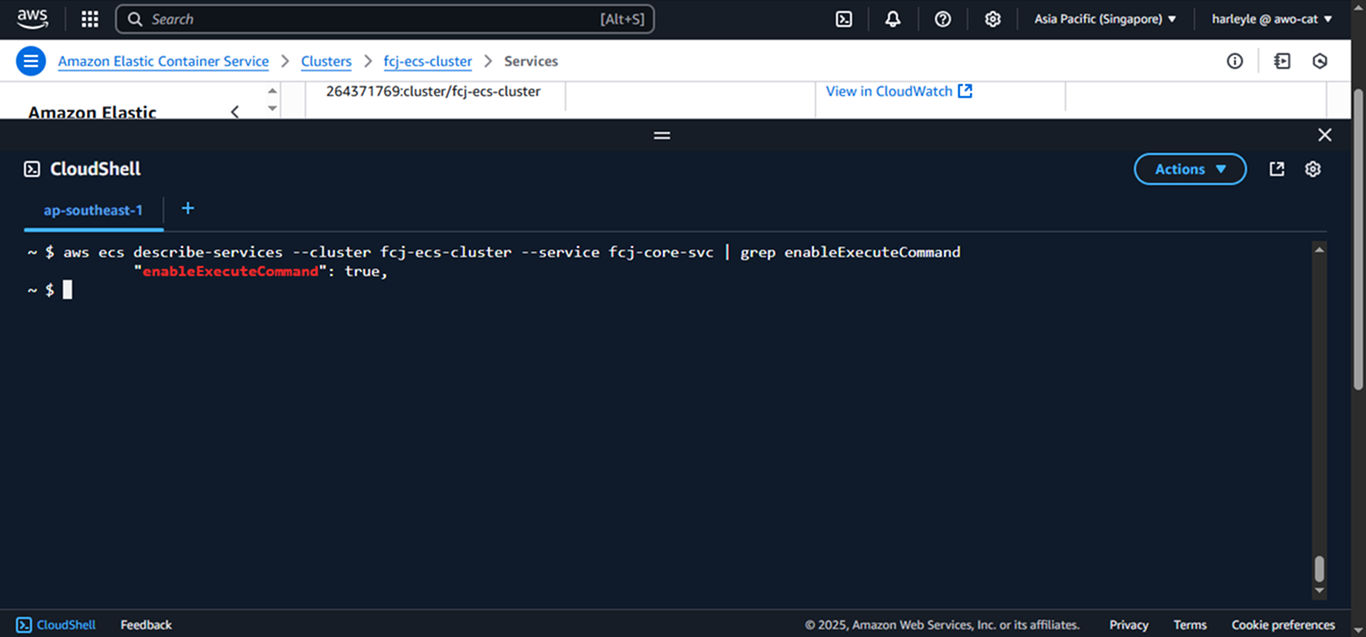
4. Execute these commands to verify that ECS Exec is enabled:
aws ecs describe-services --cluster fcj-ecs-cluster --service fcj-core-svc | grep enableExecuteCommand

aws ecs describe-services --cluster fcj-ecs-cluster --service fcj-admin-svc | grep enableExecuteCommand
You should see "enableExecuteCommand": true in the output for both services.
Test ECS Exec
1. Navigate to the ECS Console and go to the fcj-core-svc service. Click the Tasks tab and copy the Task ID of the running task.
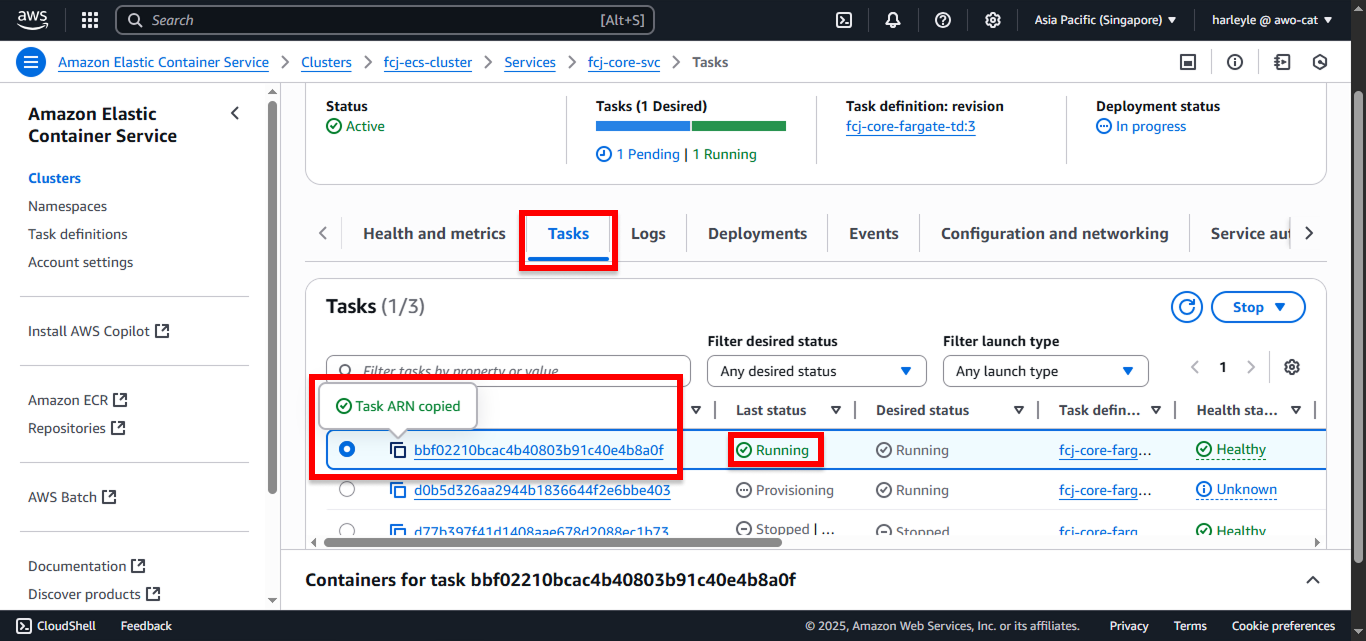
You can copy either the Task ID (short format) or the full Task ARN. Both will work with the execute-command.
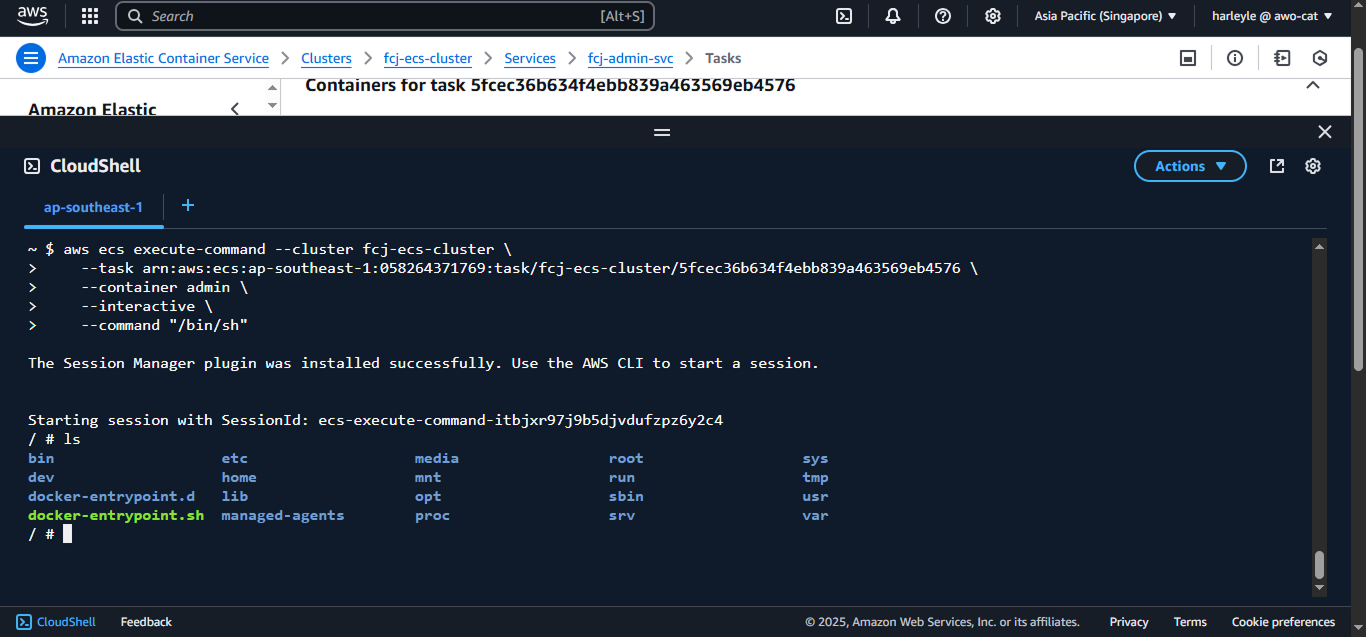
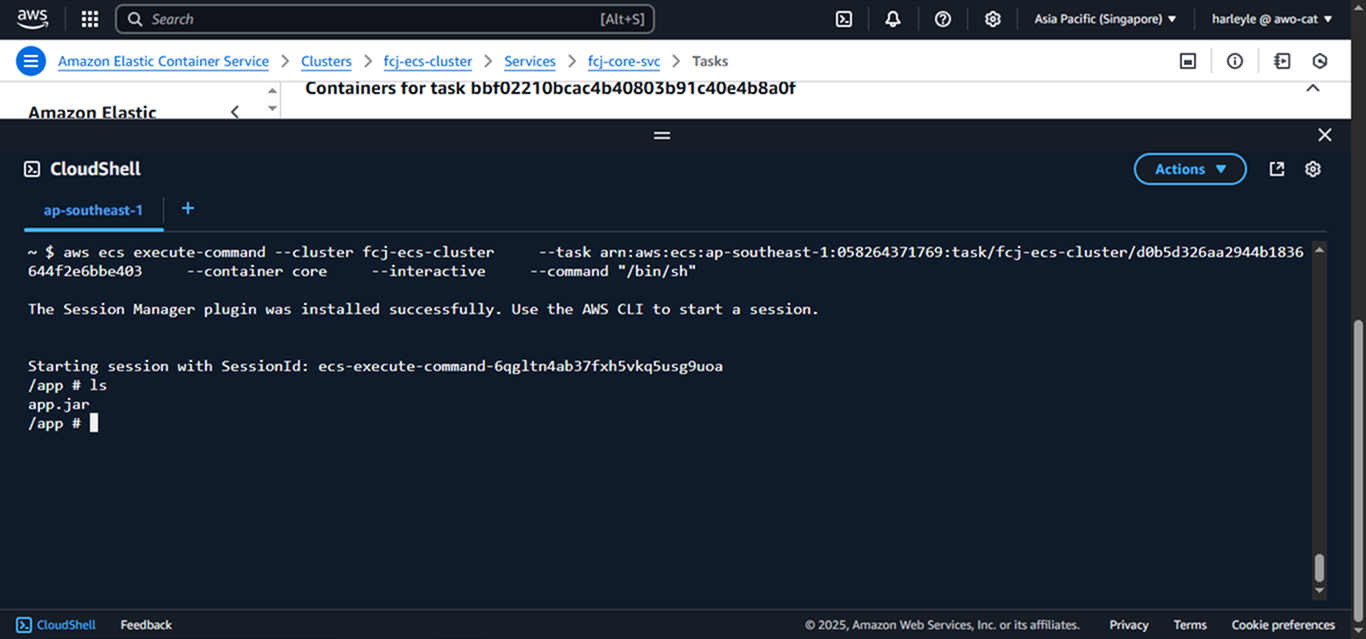
2. Return to CloudShell and execute the following command to connect to the container:
- Replace
<task-id>with the actual task ID you copied.
aws ecs execute-command --cluster fcj-ecs-cluster \
    --task <task-id> \
    --container core \
    --interactive \
    --command "/bin/sh"
You should see a shell prompt indicating successful connection to the container.
3. Type exit to disconnect from the container when finished testing.
4. Repeat the same process with the fcj-admin-svc service:
- Navigate to the admin service and copy the running task ID
- Execute the command below (replace
<task-id>and change container toadmin)
aws ecs execute-command --cluster fcj-ecs-cluster \
    --task <task-id> \
    --container admin \
    --interactive \
    --command "/bin/sh"