Deploy Admin Application
Enable Service Connect for the Core Application
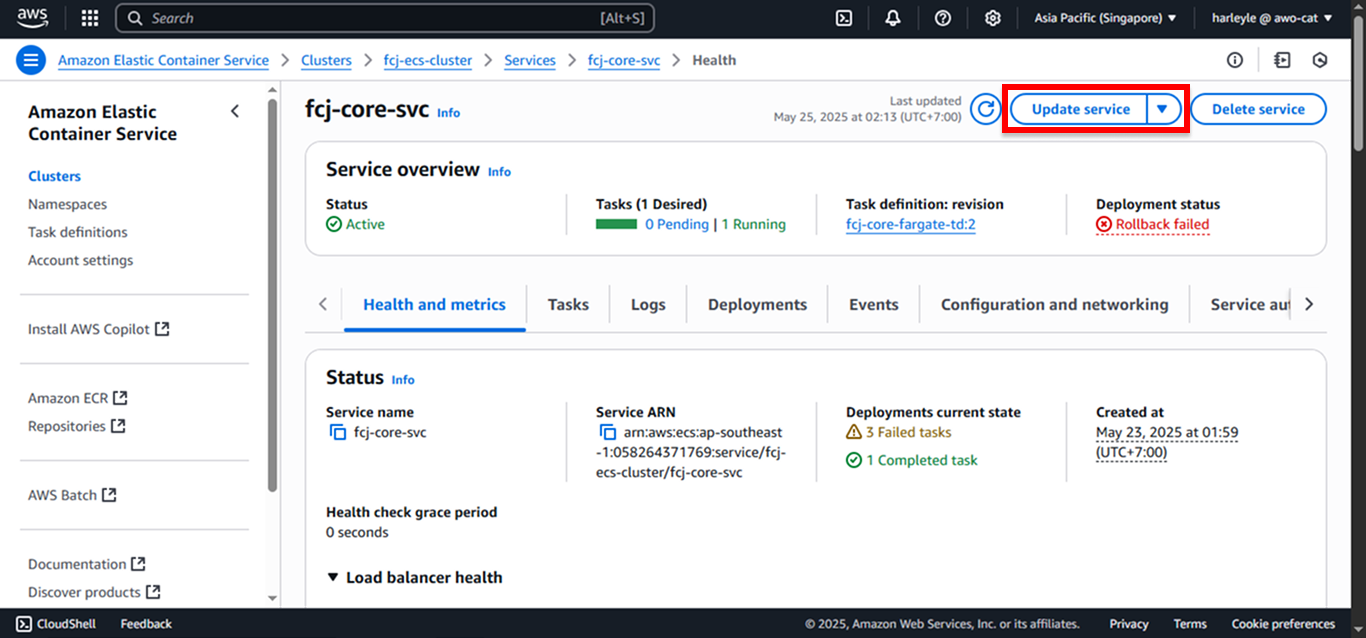
1. Click Update service to update fcj-core-svc.
2. Check Force new deployment.
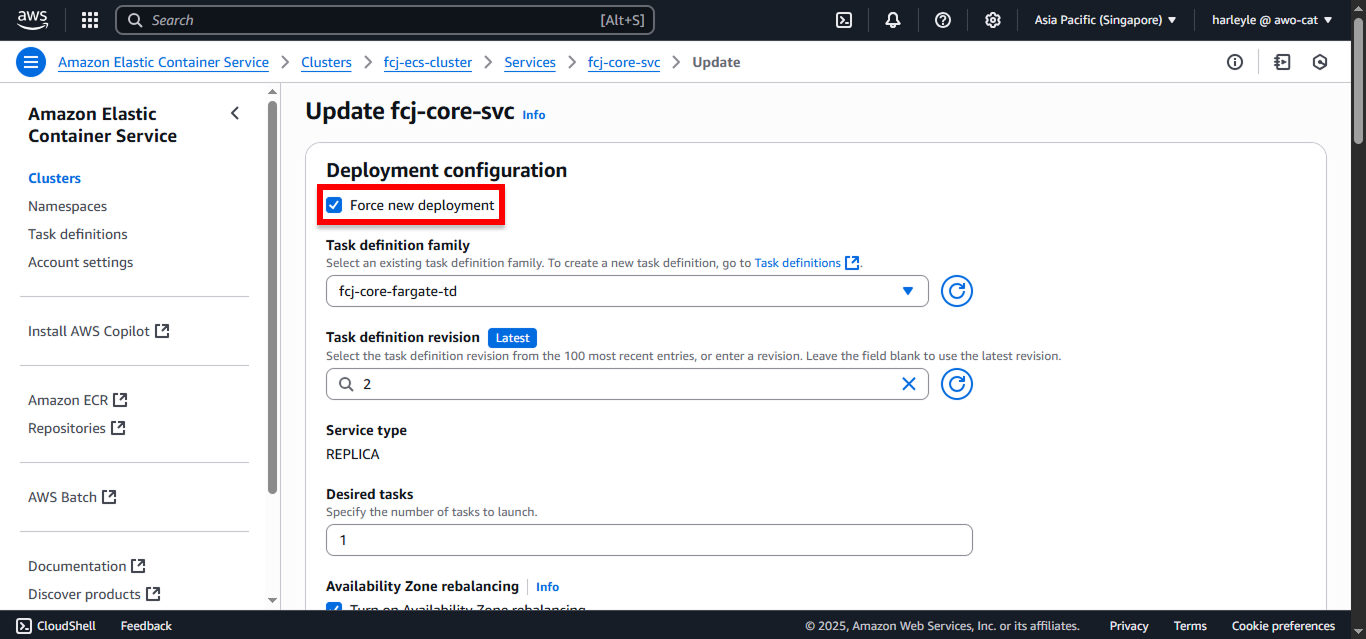
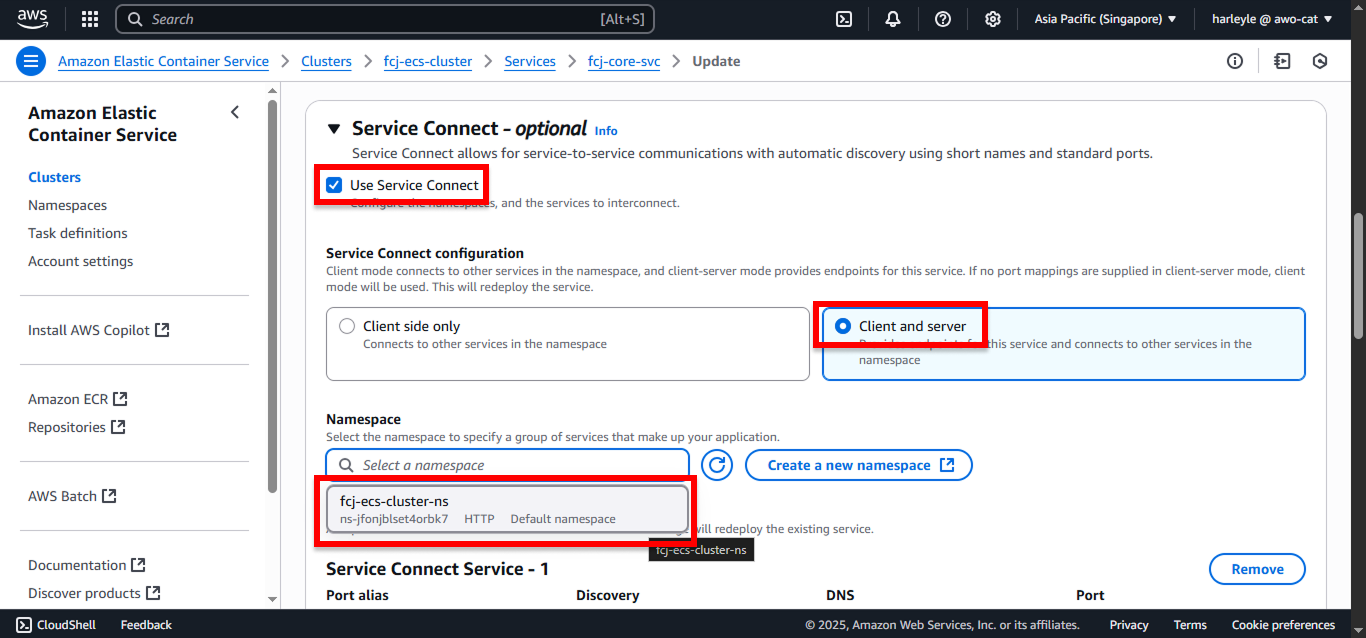
3. Scroll down to Service connect and configure:
- Check Use Service Connect
- Service Connect configuration: Select Client and server
- Namespace: Select fcj-ecs-cluster-ns
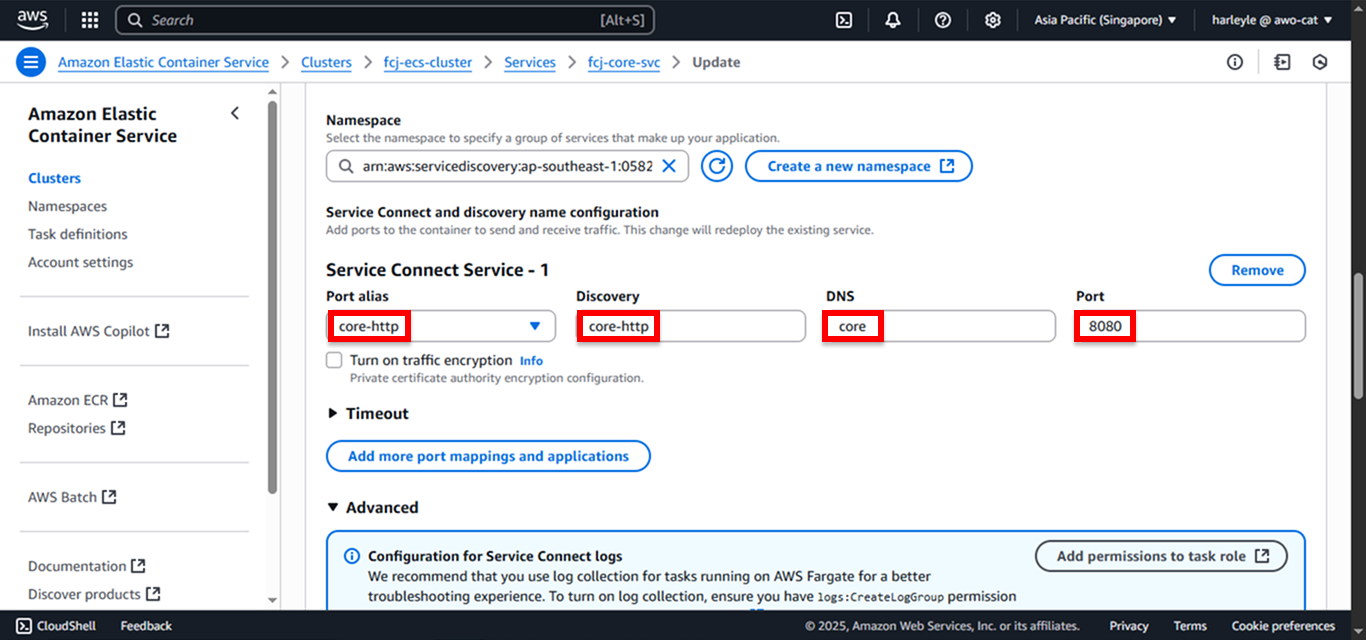
4. Click Add port mappings and applications. Under Service Connect service - 1, configure:
- Port alias: Select core-http
- Discovery name: Enter
core-http - DNS: Enter
core - Port: Enter
8080
This configuration allows the admin application to make requests to the core application using the URI http://core:8080, which corresponds to the specified DNS and Port.
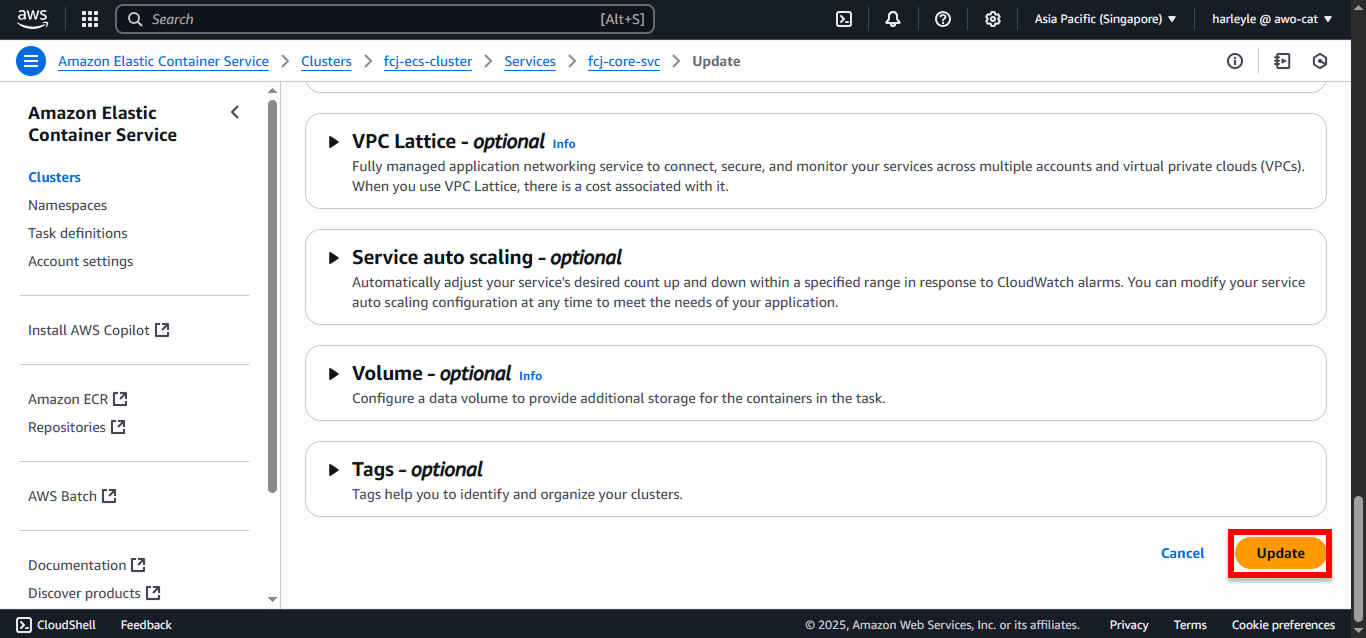
5. Scroll to the bottom and click Update.
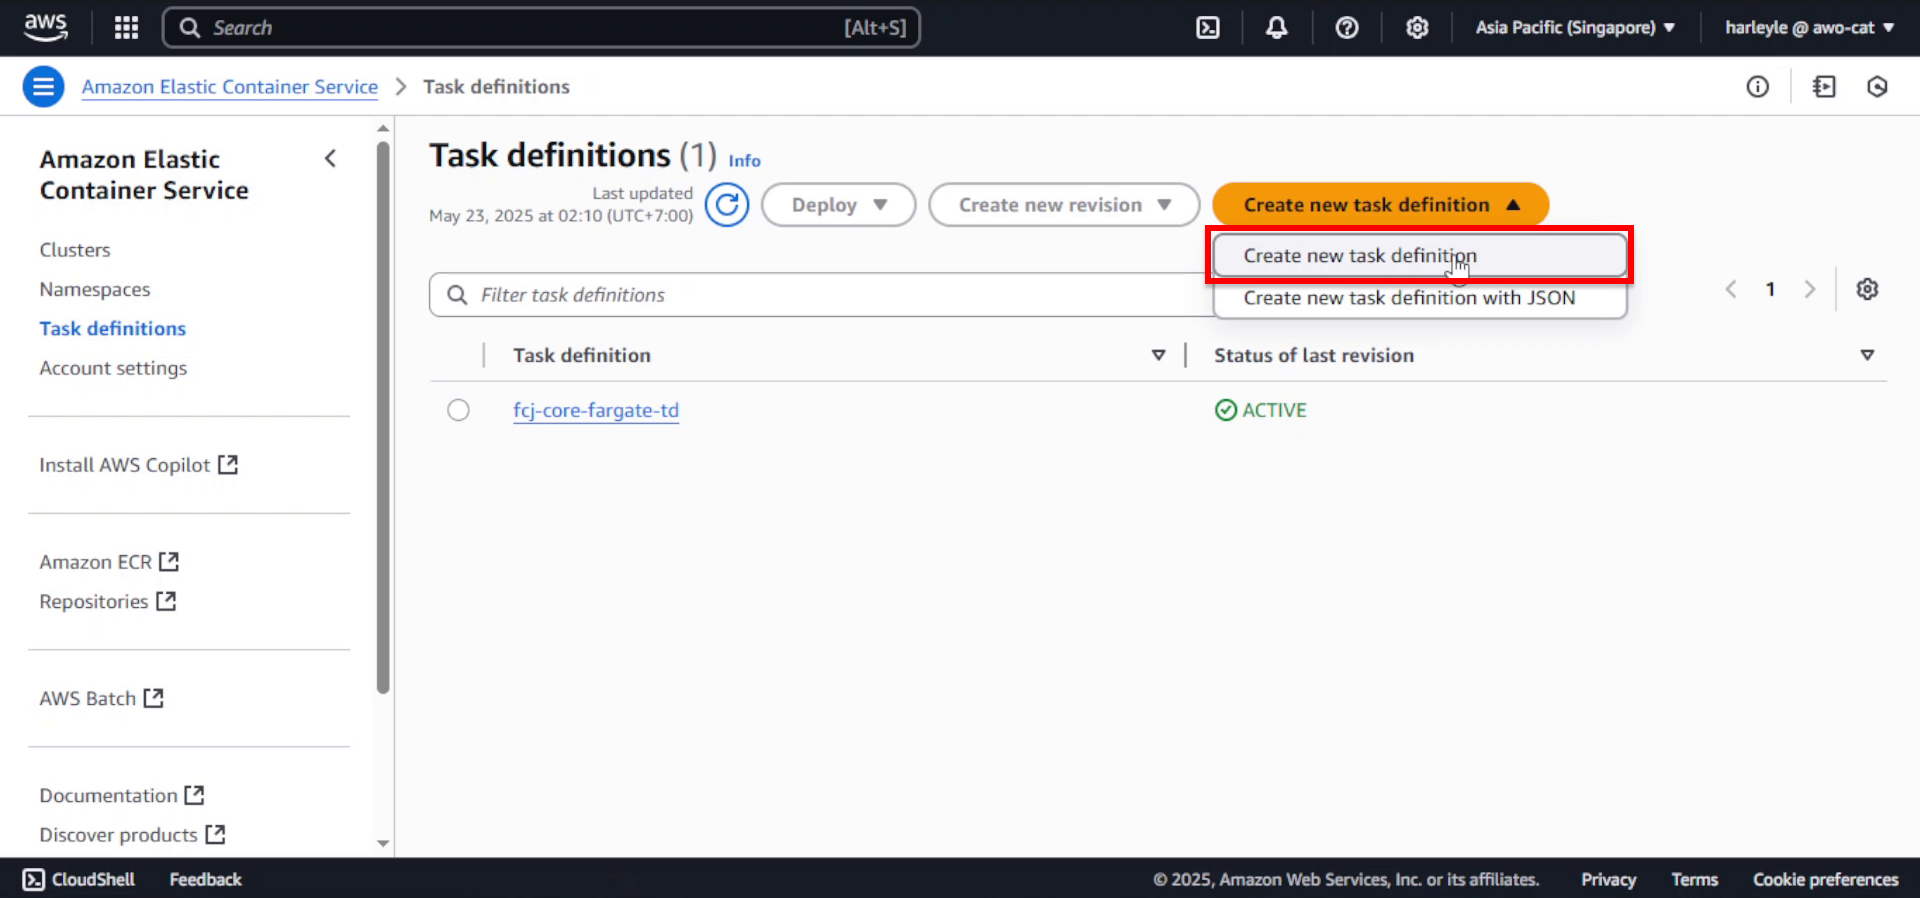
Create the Admin Application Task Definition
1. Click Create new task definition.
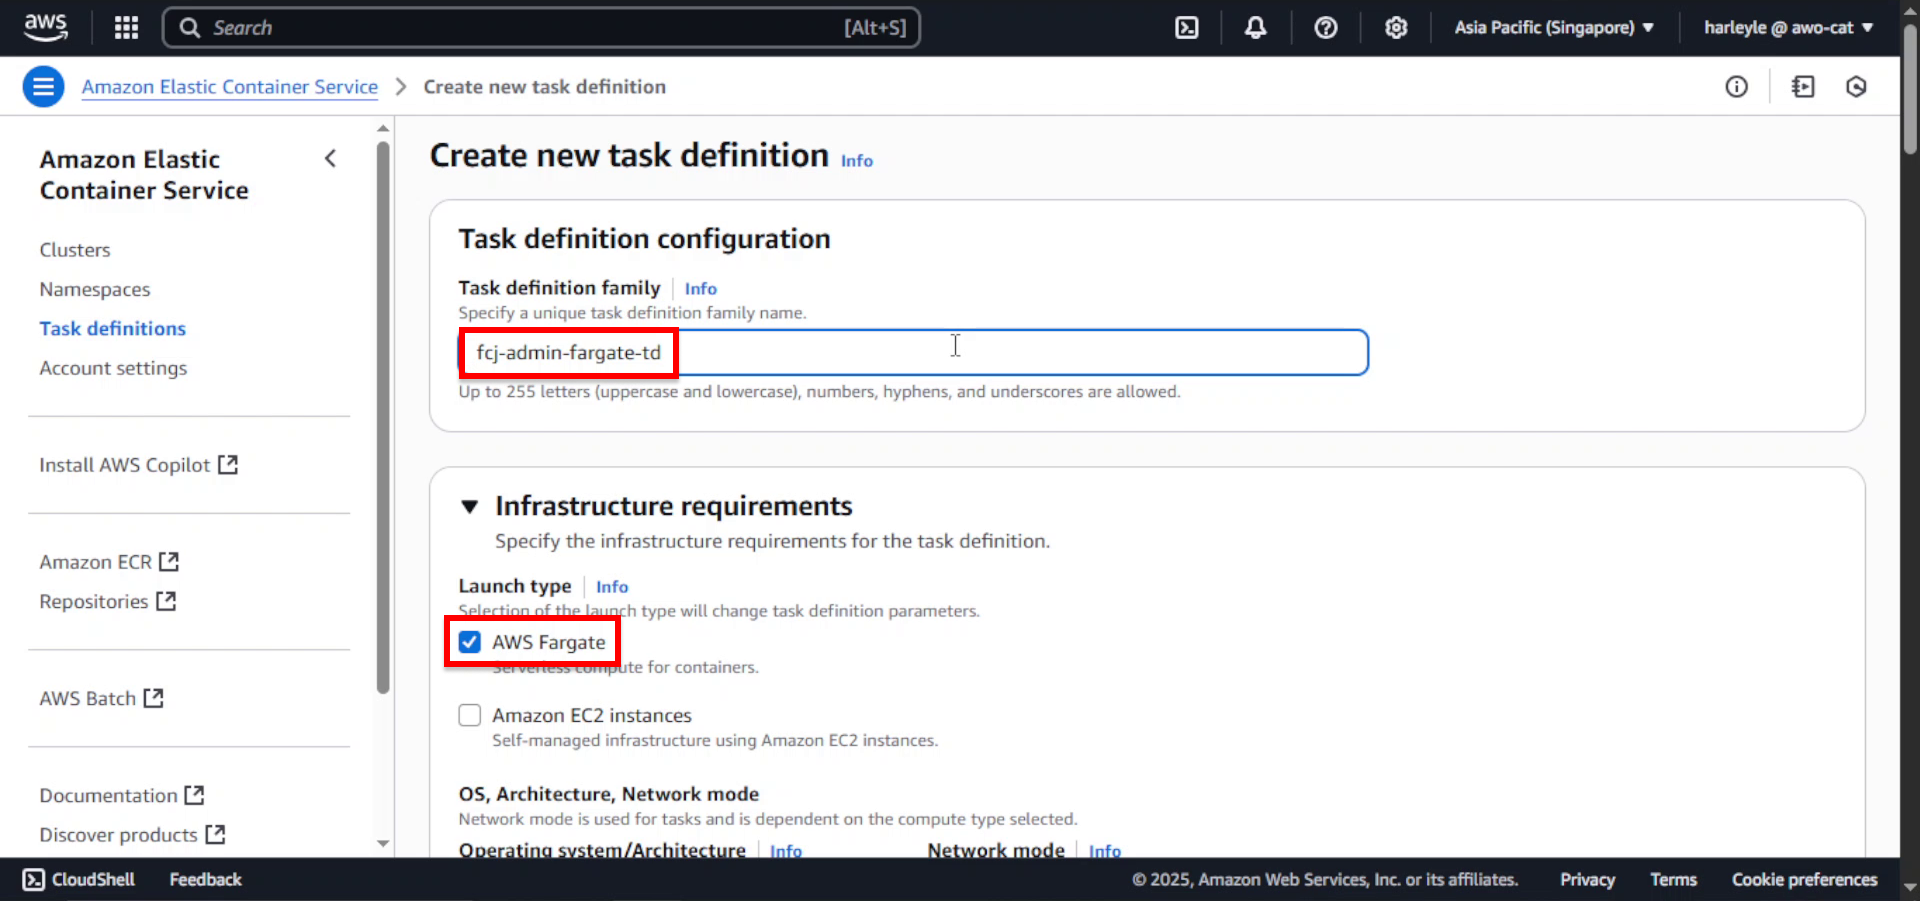
2. Configure the basic settings:
- Task definition family:
fcj-admin-fargate-td - Launch type: AWS Fargate
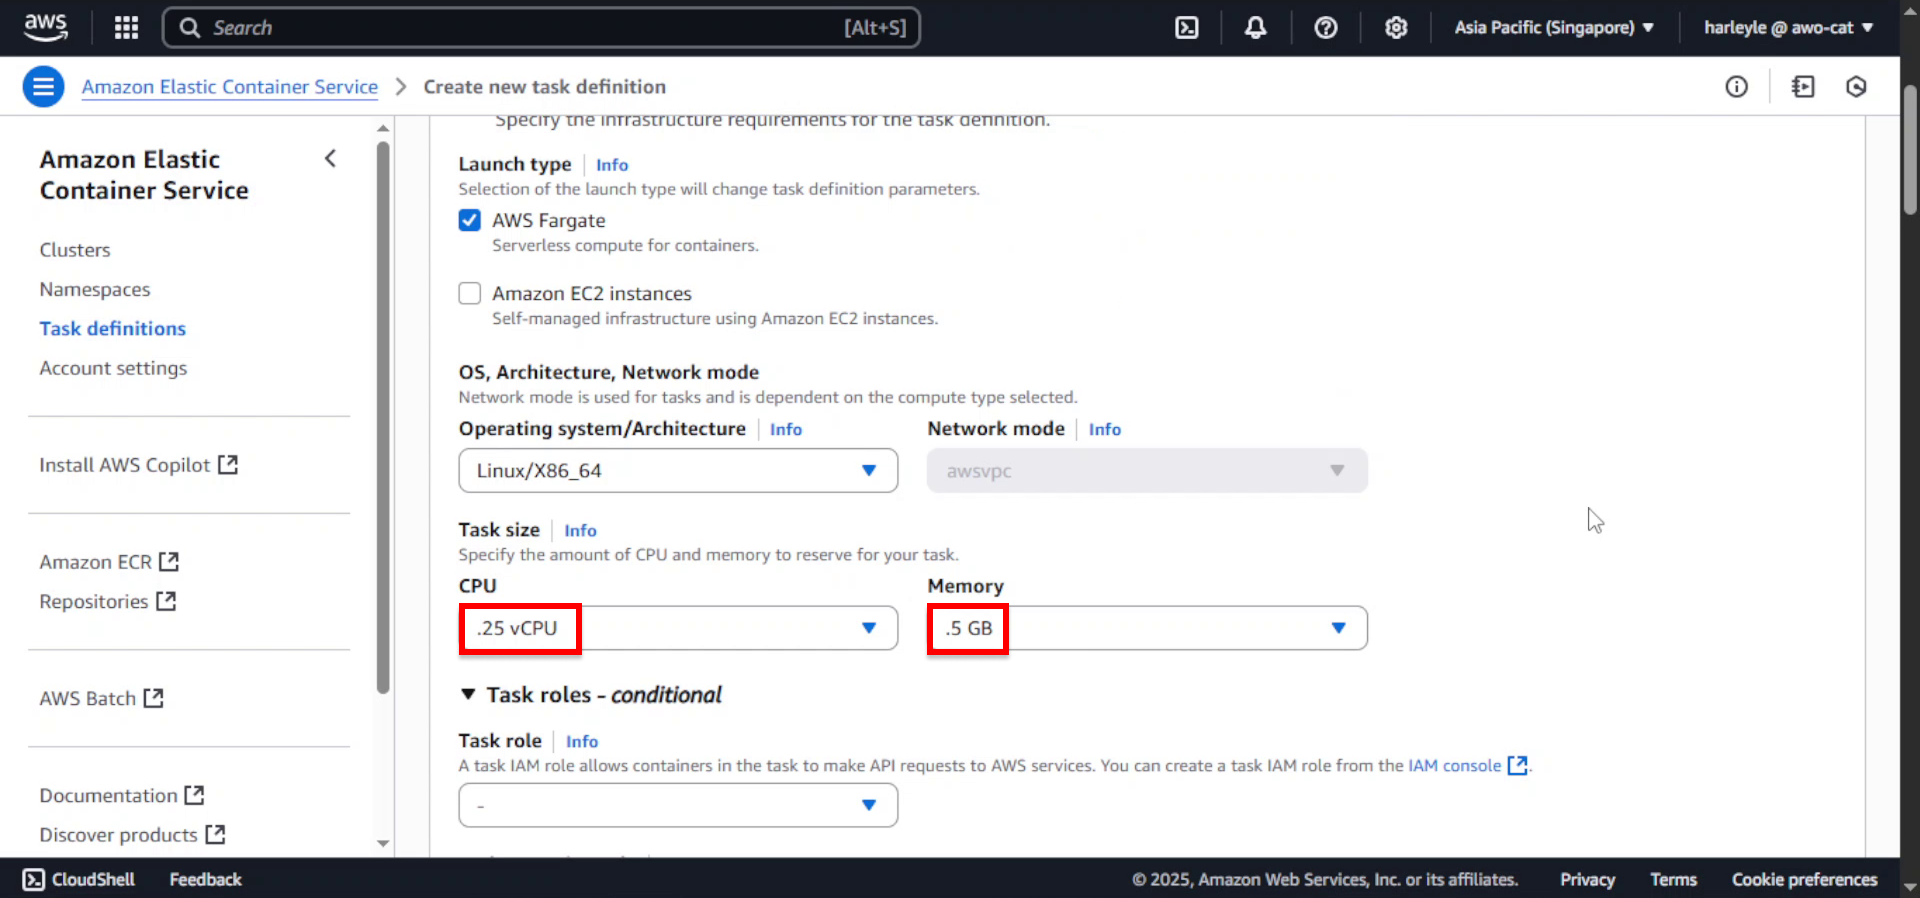
3. Set the resource allocation:
- CPU: .25 vCPU
- Memory: .5 GB
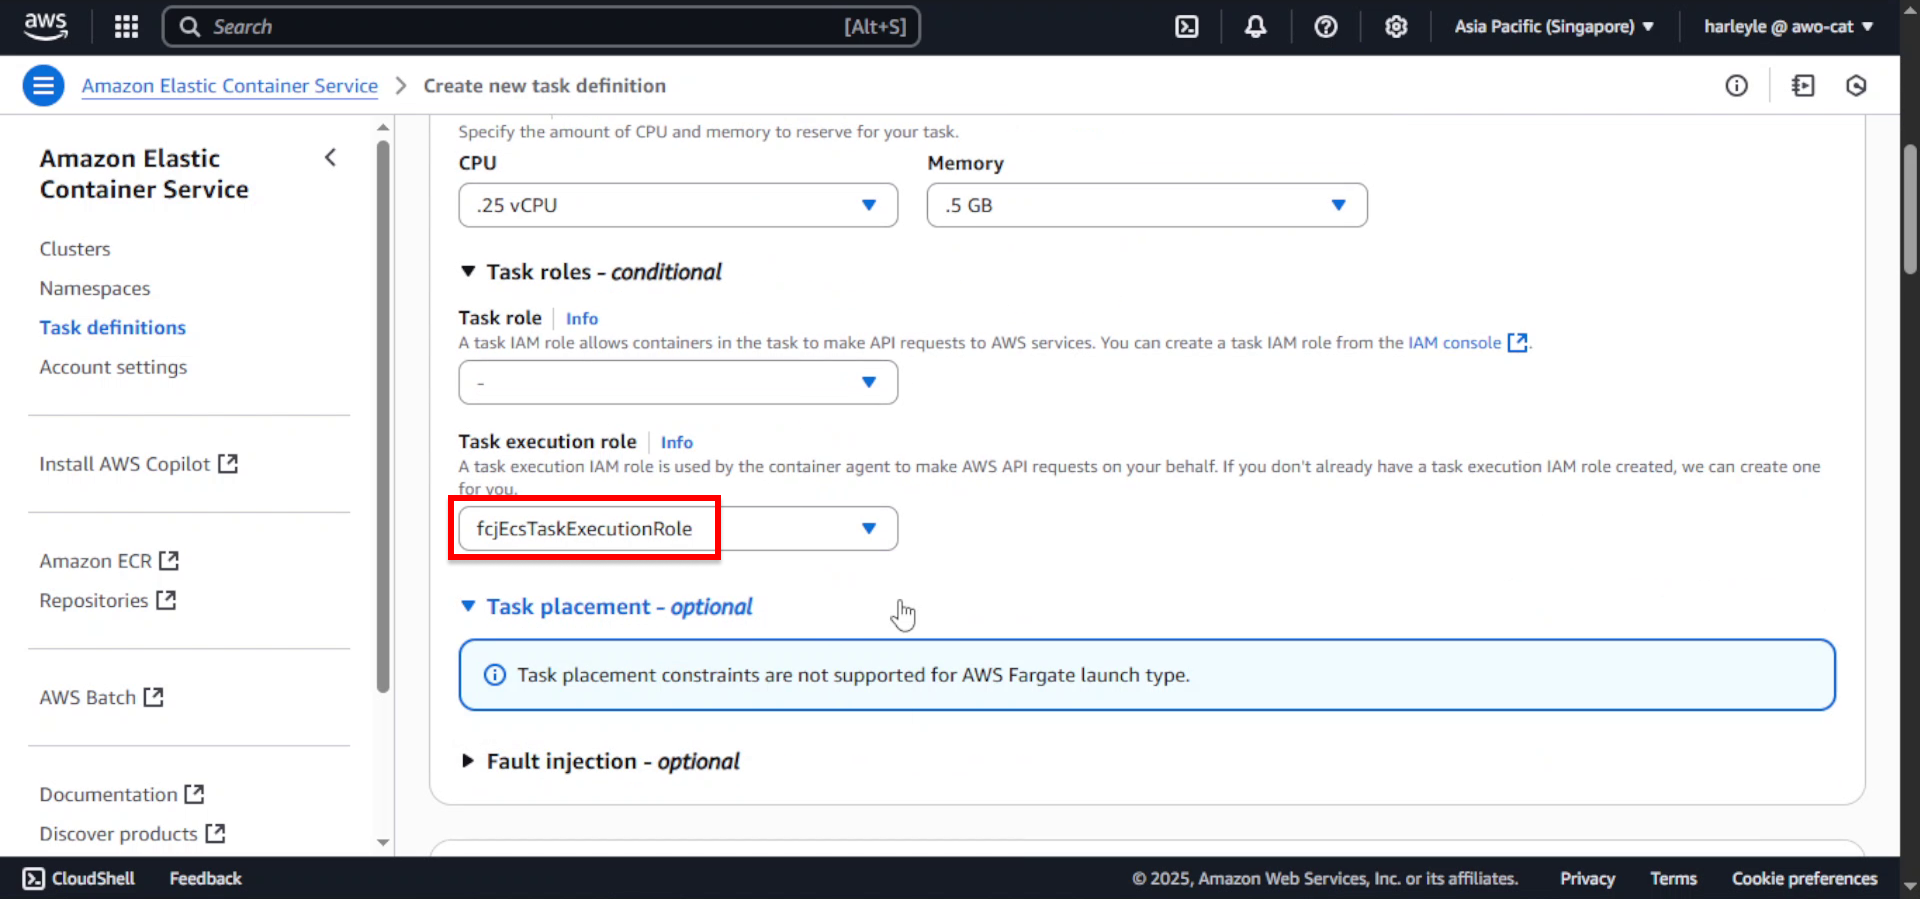
4. For Task execution role, select fcjEcsTaskExecutionRole.
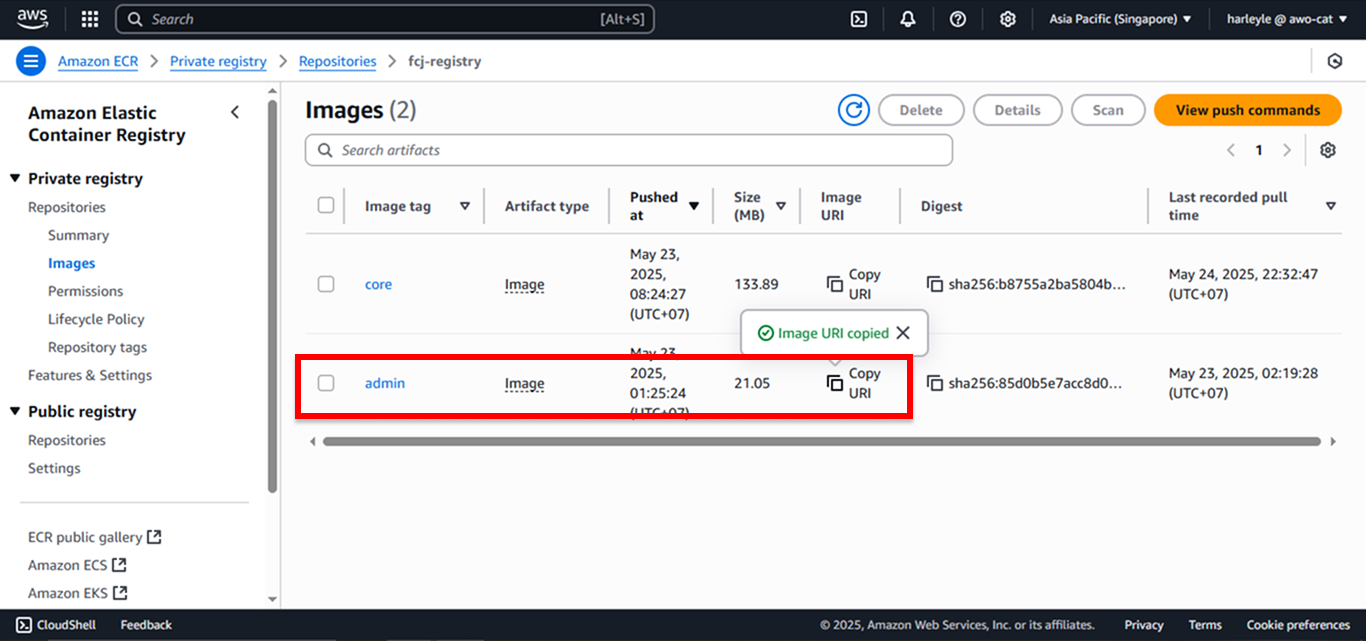
5. Open a new browser tab and navigate to Amazon ECR. Copy the admin image URI.
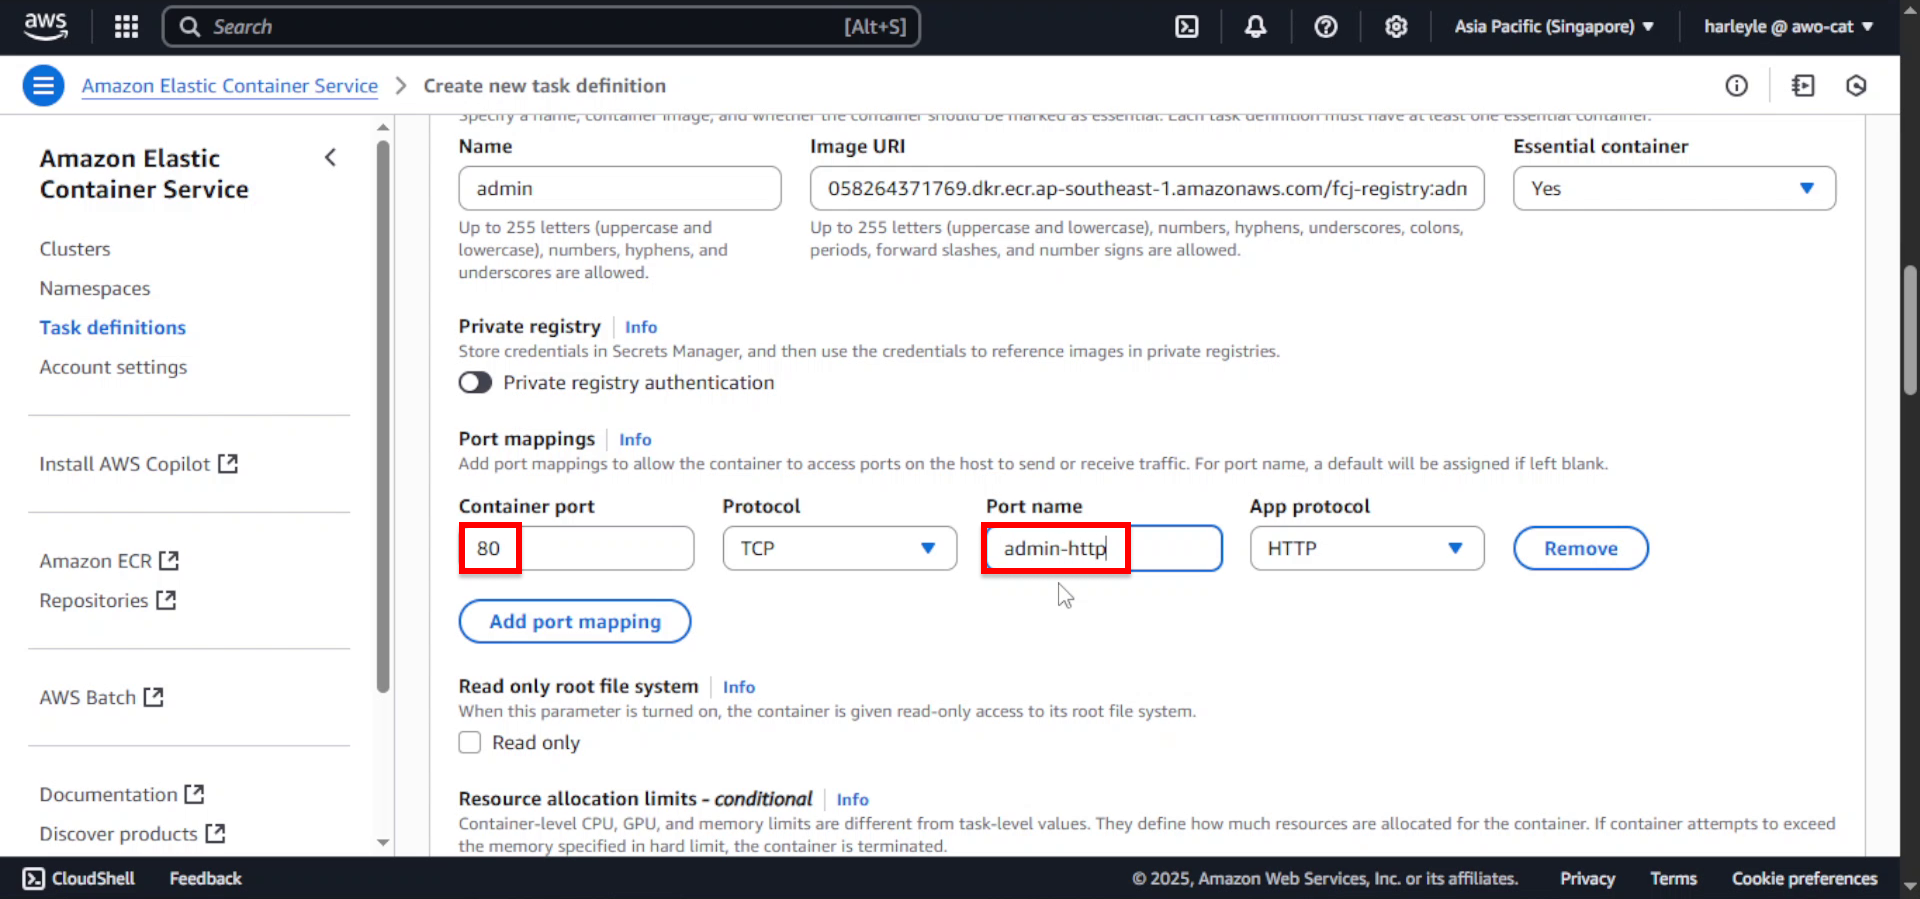
6. Return to the task definition tab. In the Container details section, configure:
- Name:
admin - Image URI: Paste the admin image URI you copied
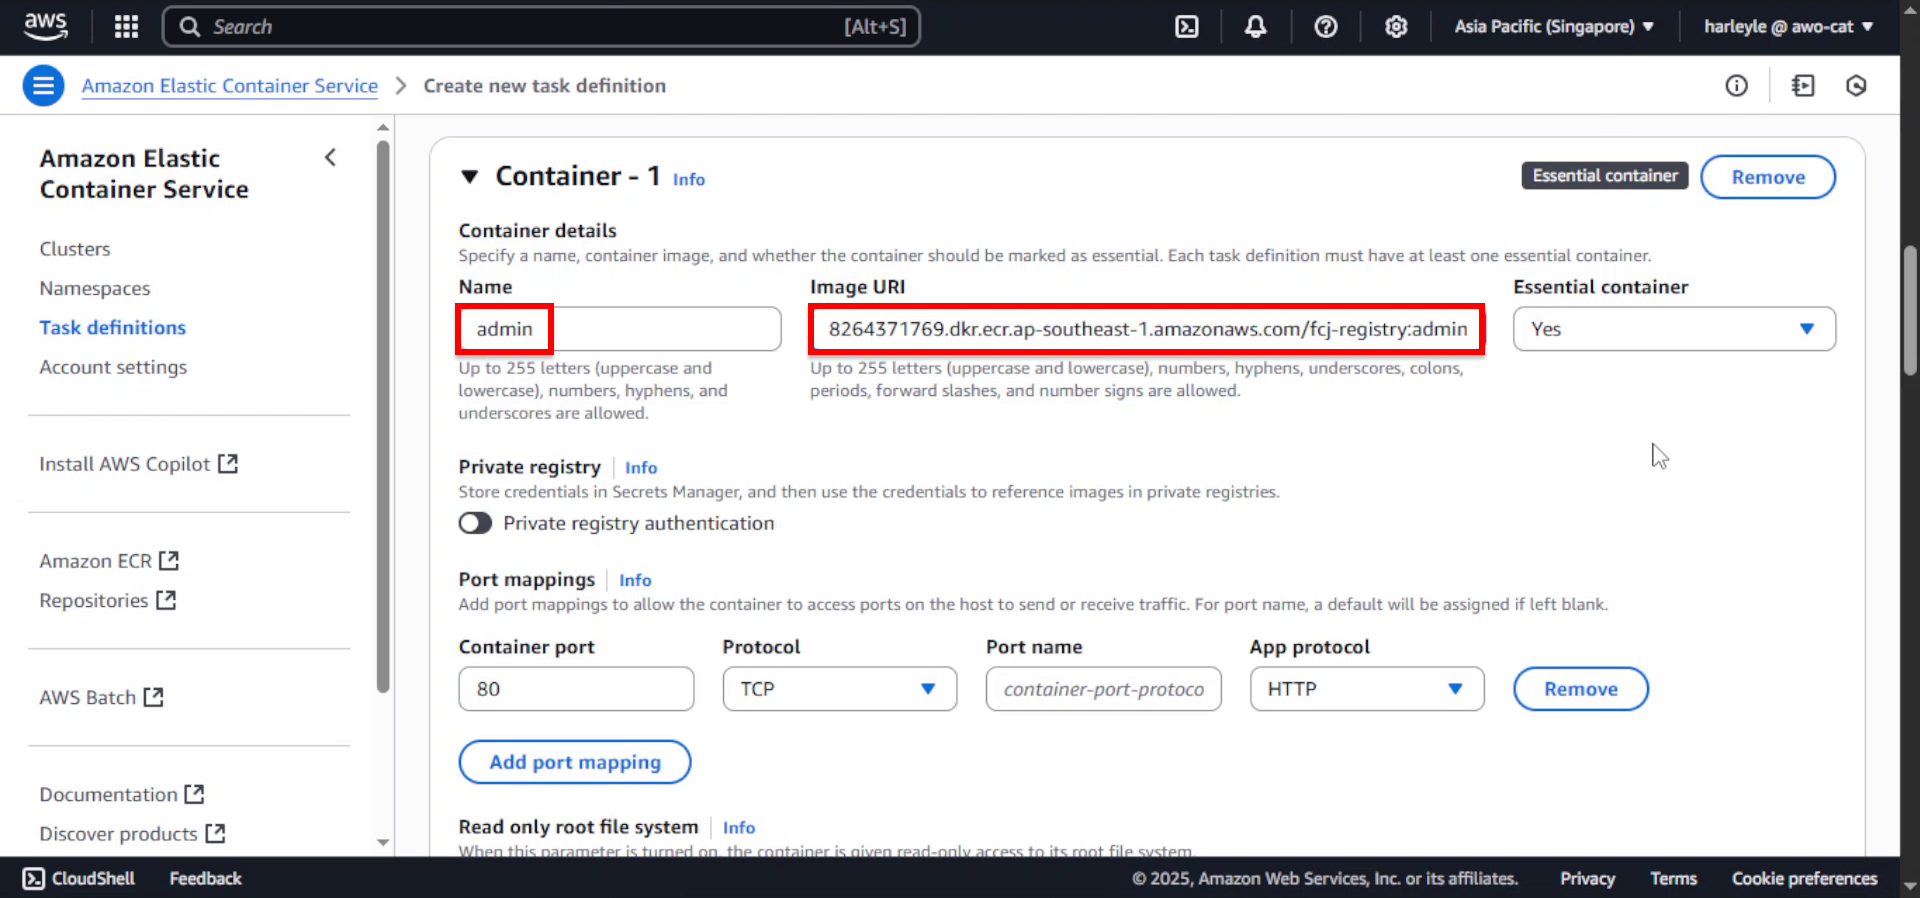
7. Configure the container networking:
- Container port:
80 - Port name:
admin-http
8. Click Add environment variable.
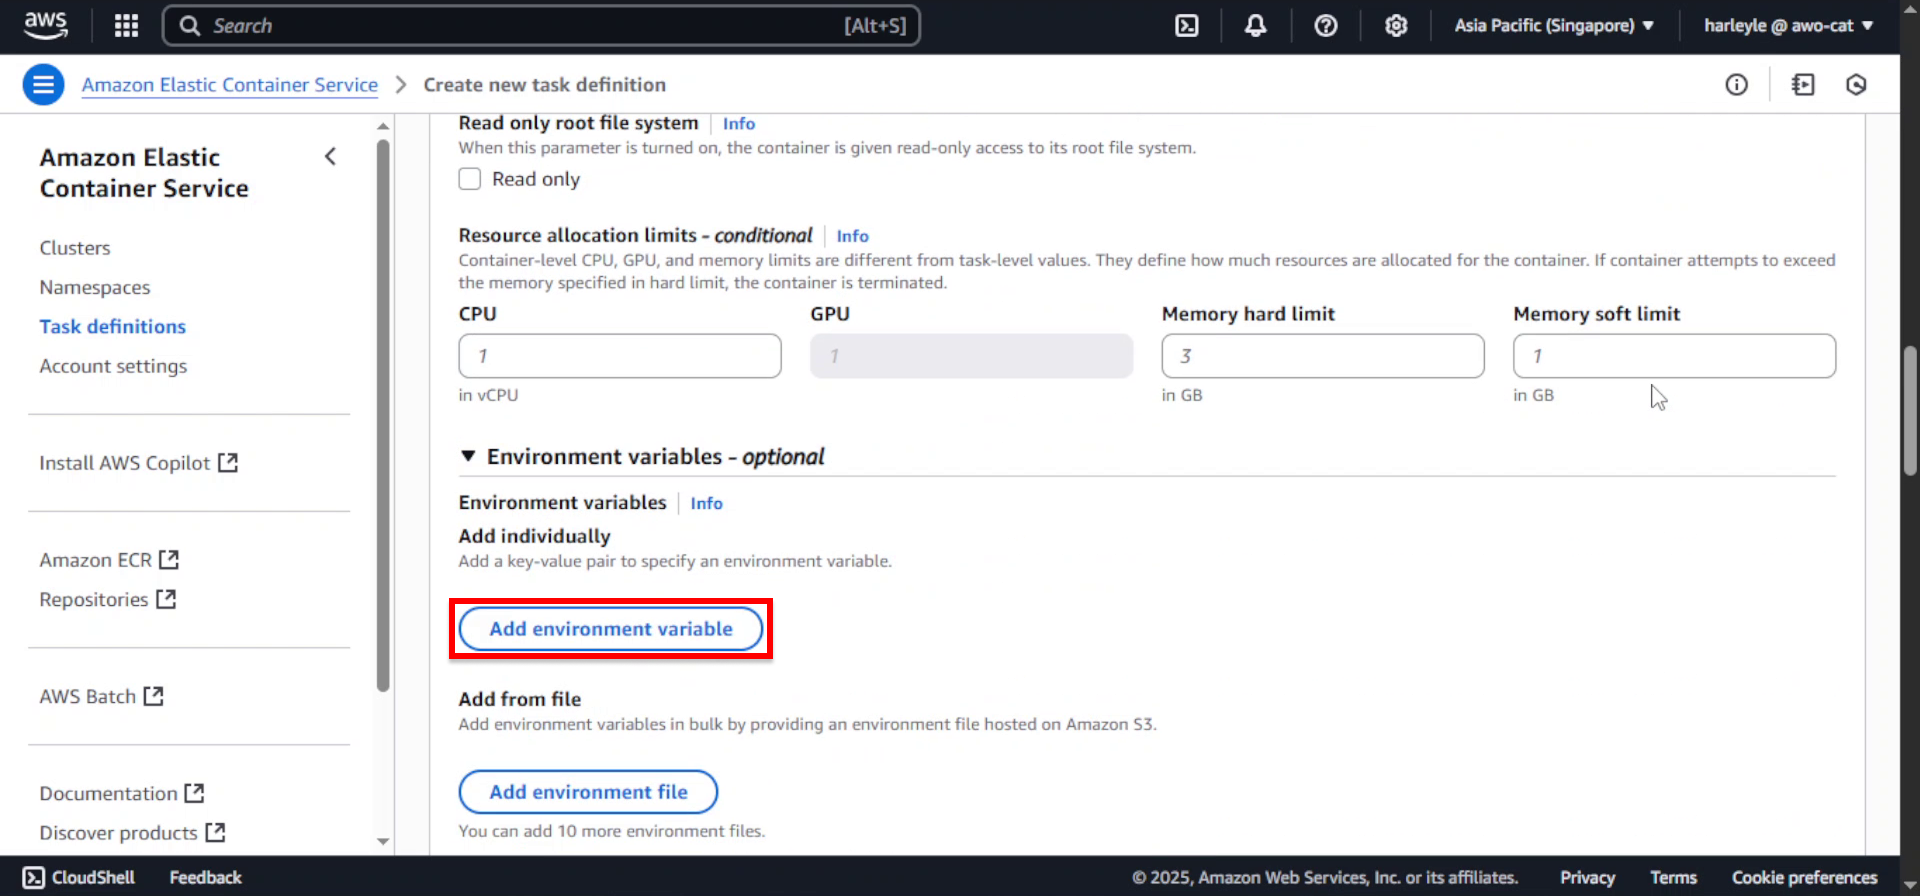
9. Configure the environment variable:
- Key:
REACT_BASE_URL - Value:
http://core:8080/api/

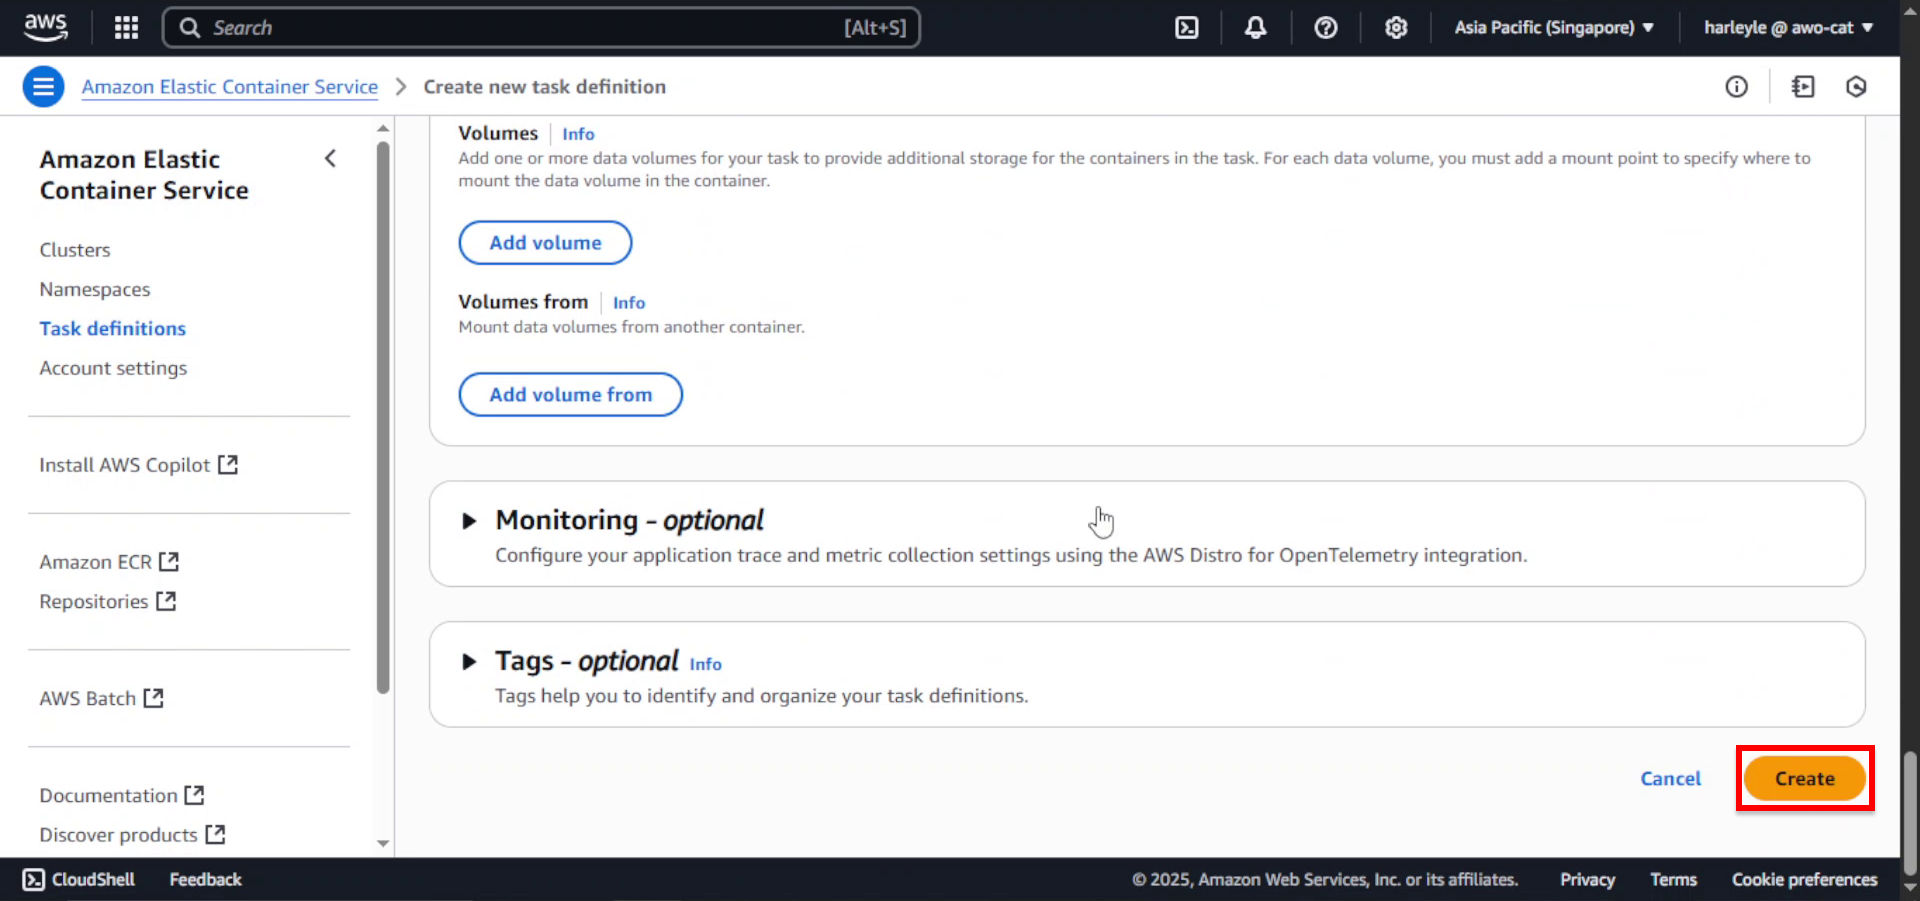
10. Review your configuration and click Create.
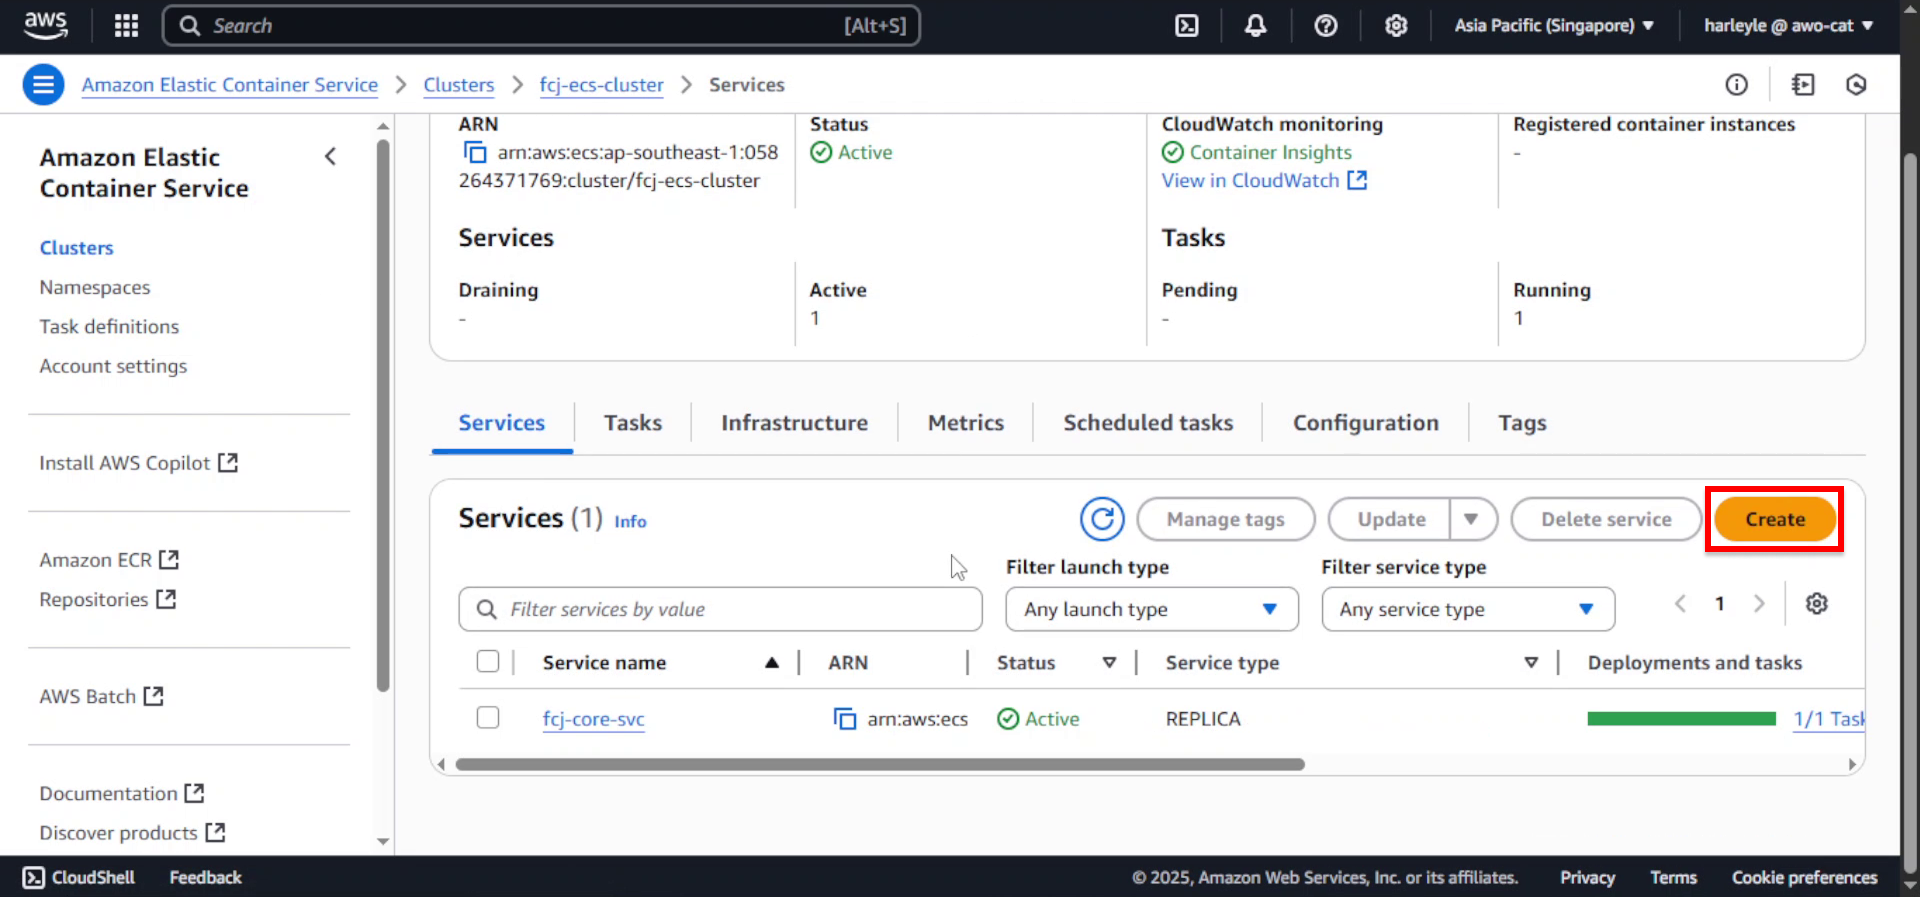
Creating The Admin Application Service
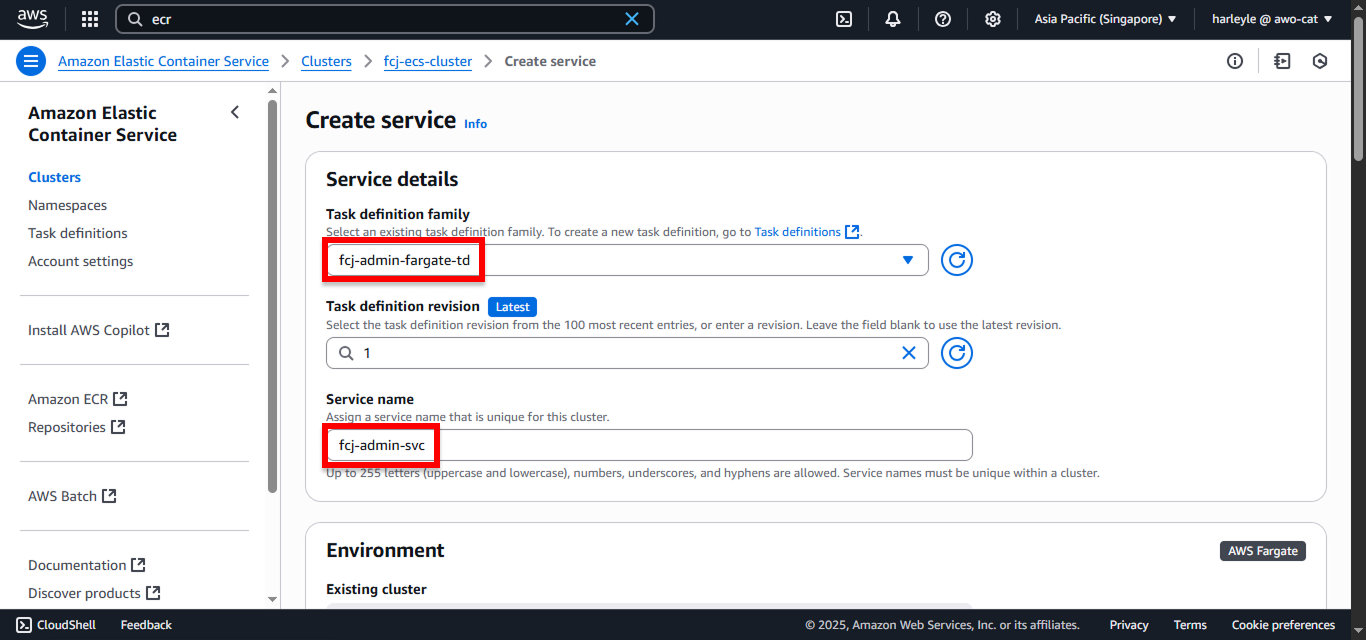
1. Click Create to create a new service.
2. Configure the task definition and service:
- Task definition family: Select fcj-admin-fargate-td
- Service name: Enter
fcj-admin-svc
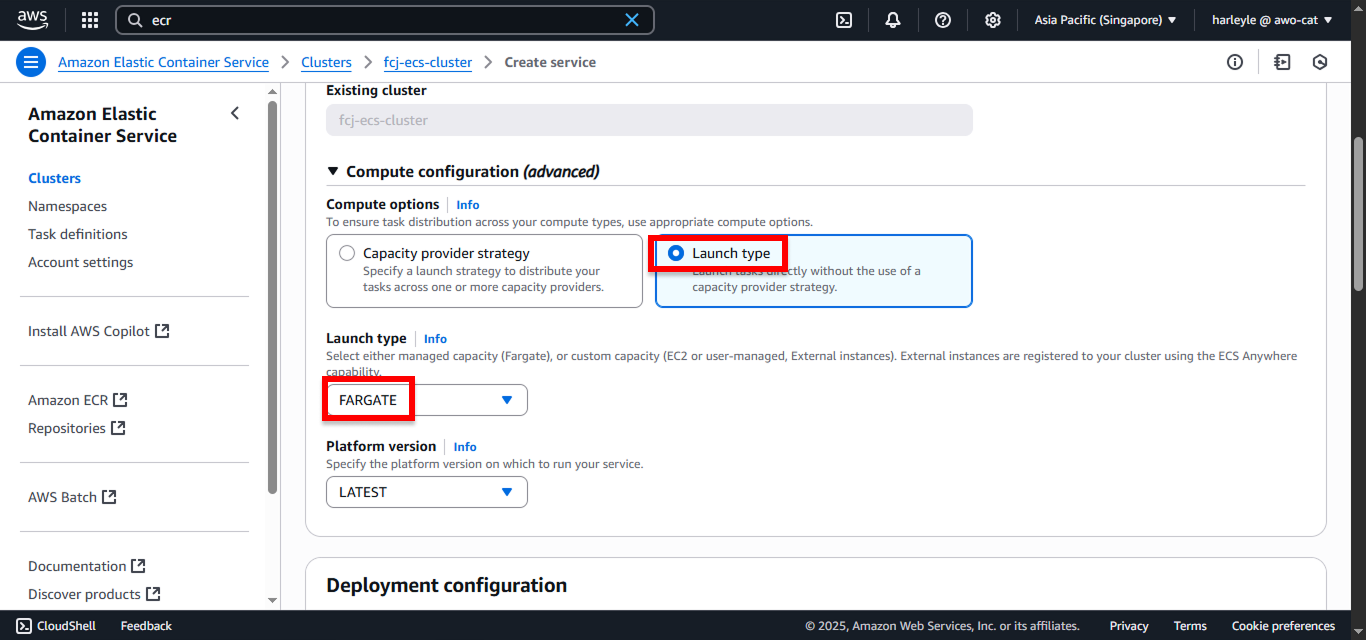
3. Configure compute options:
- Launch type: Select FARGATE
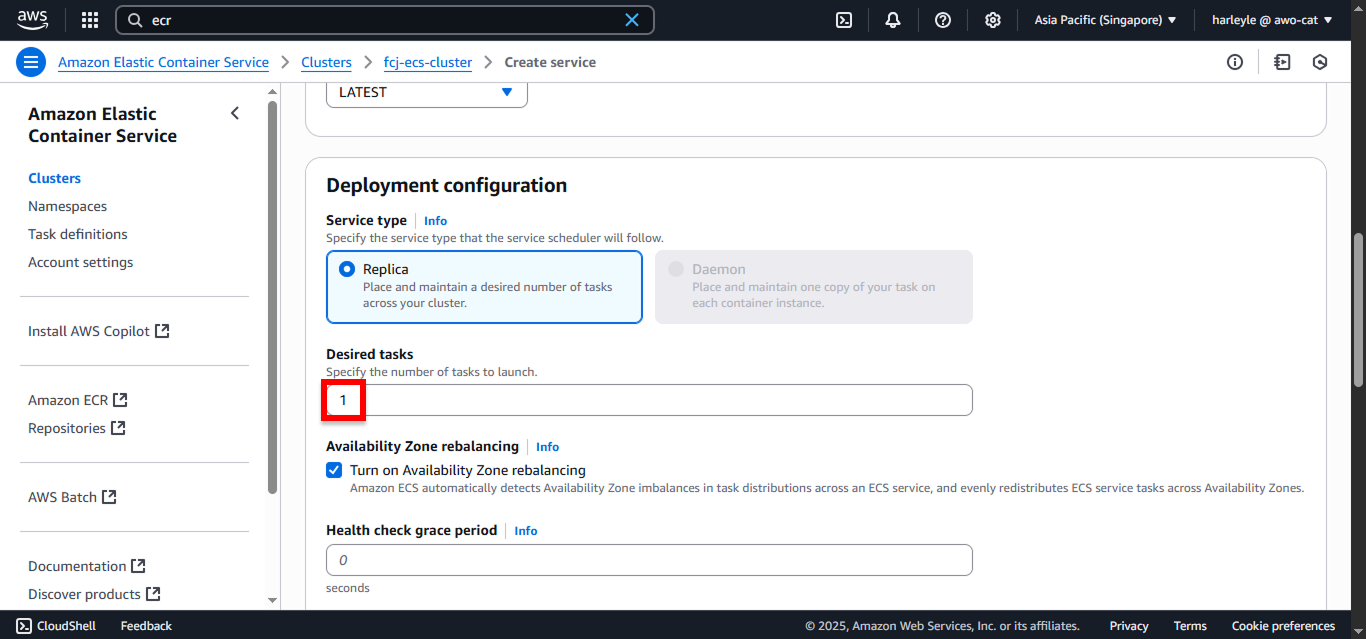
4. For Desired tasks, enter 1.
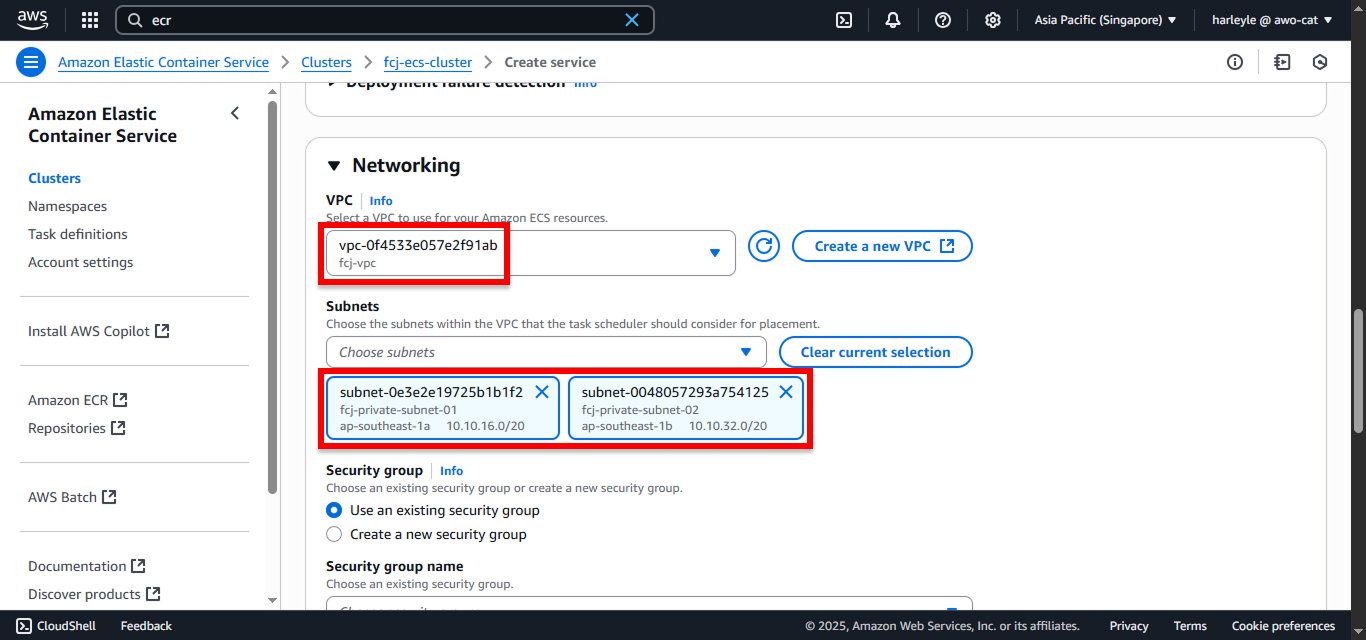
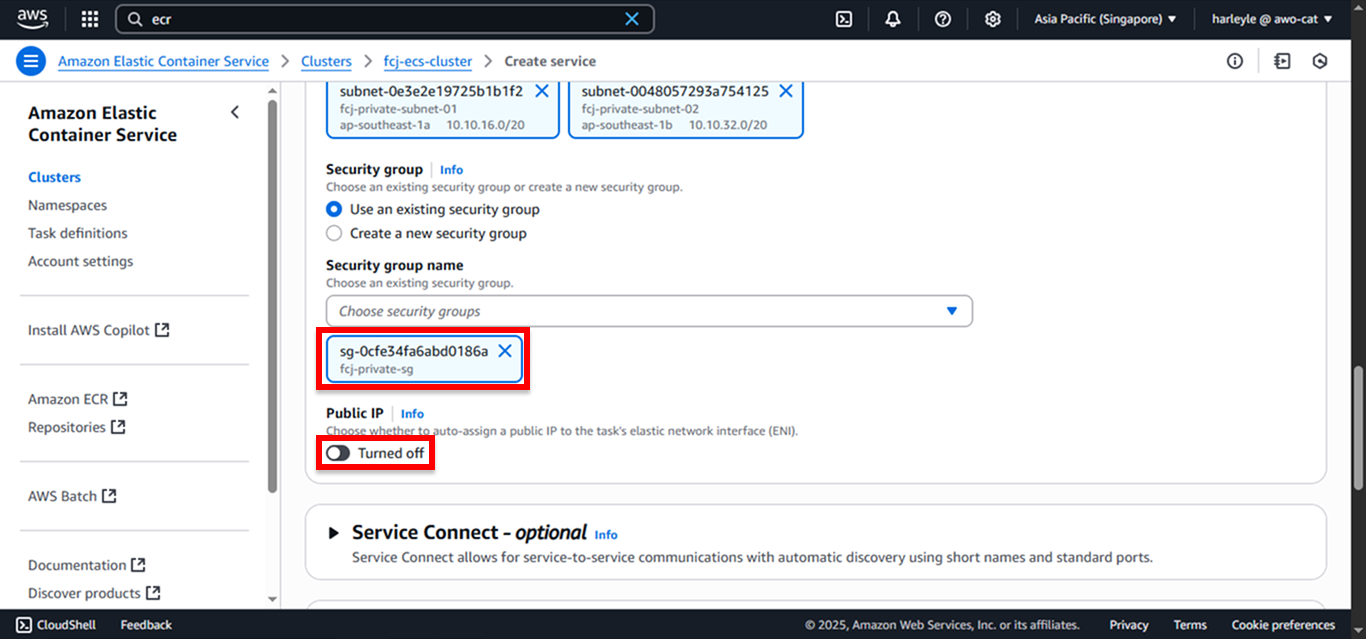
5. Configure networking:
- VPC: Select fcj-vpc
- Subnets: Select the two private subnets
6. Configure security and IP settings:
- Security group: Select fcj-private-sg
- Public IP: Disable
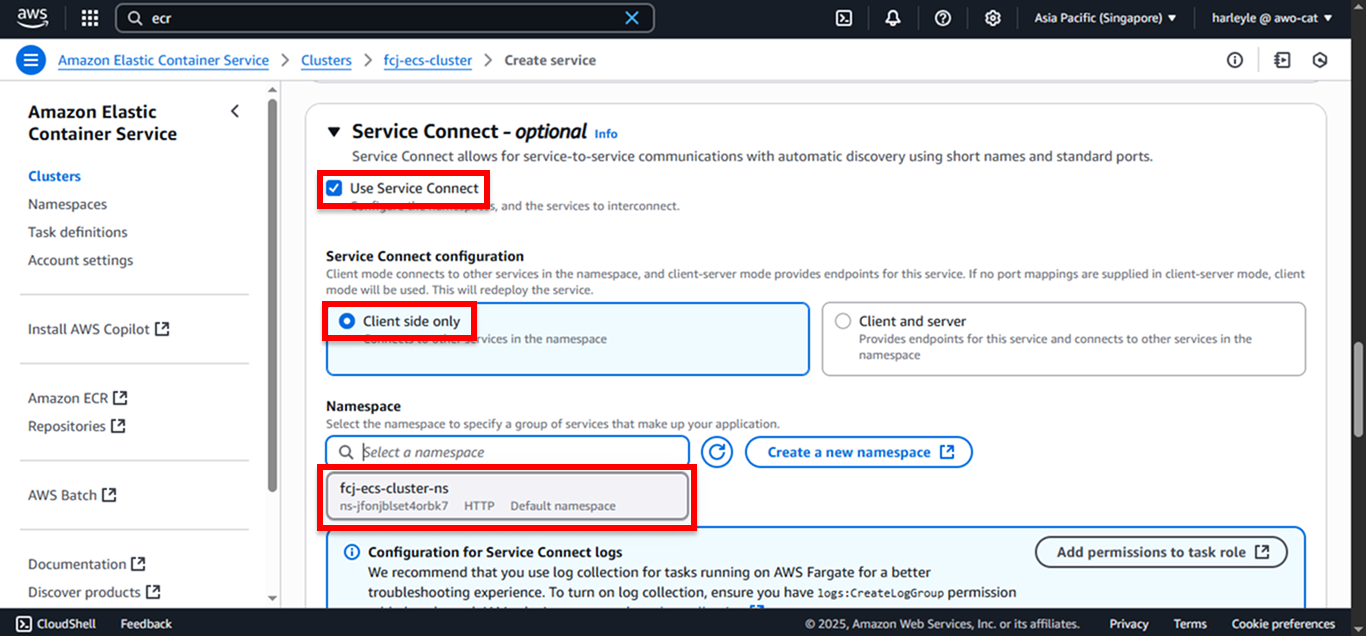
7. Configure Service Connect:
- Check Use Service Connect
- Service Connect configuration: Select Client side only
- Namespace: Select fcj-ecs-cluster-ns
8. Check Use load balancing.
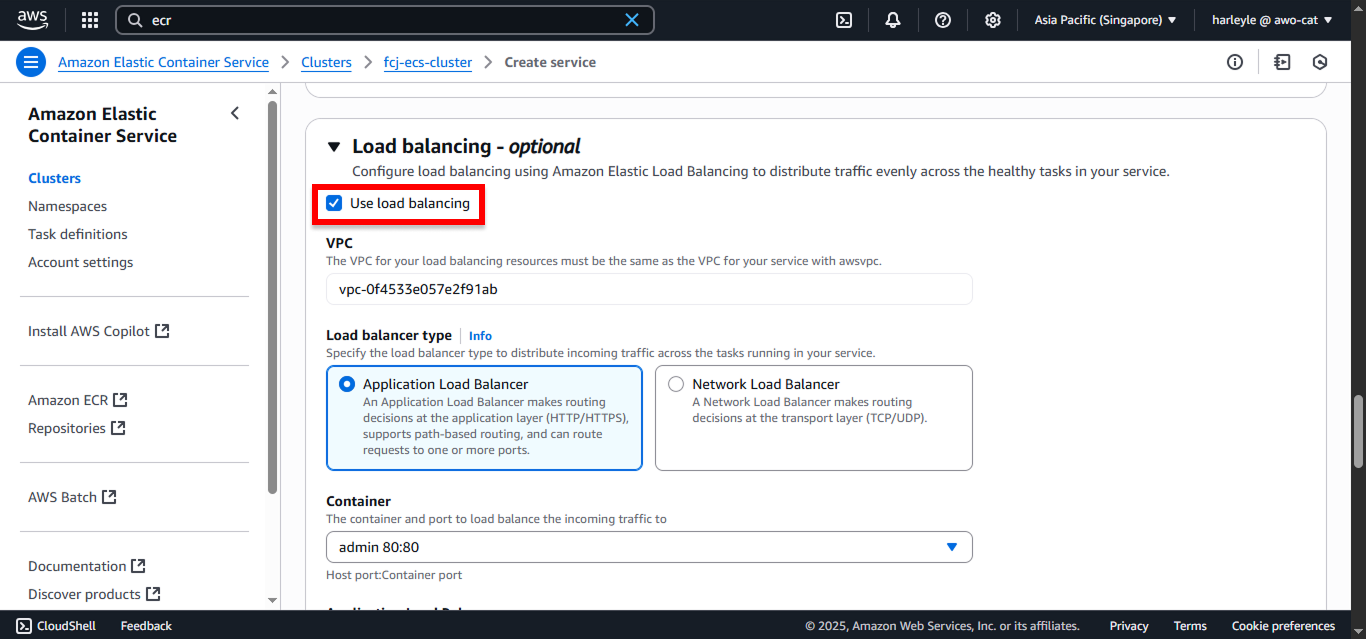
9. Configure load balancer:
- Select Use an existing load balancer
- Choose fcj-alb
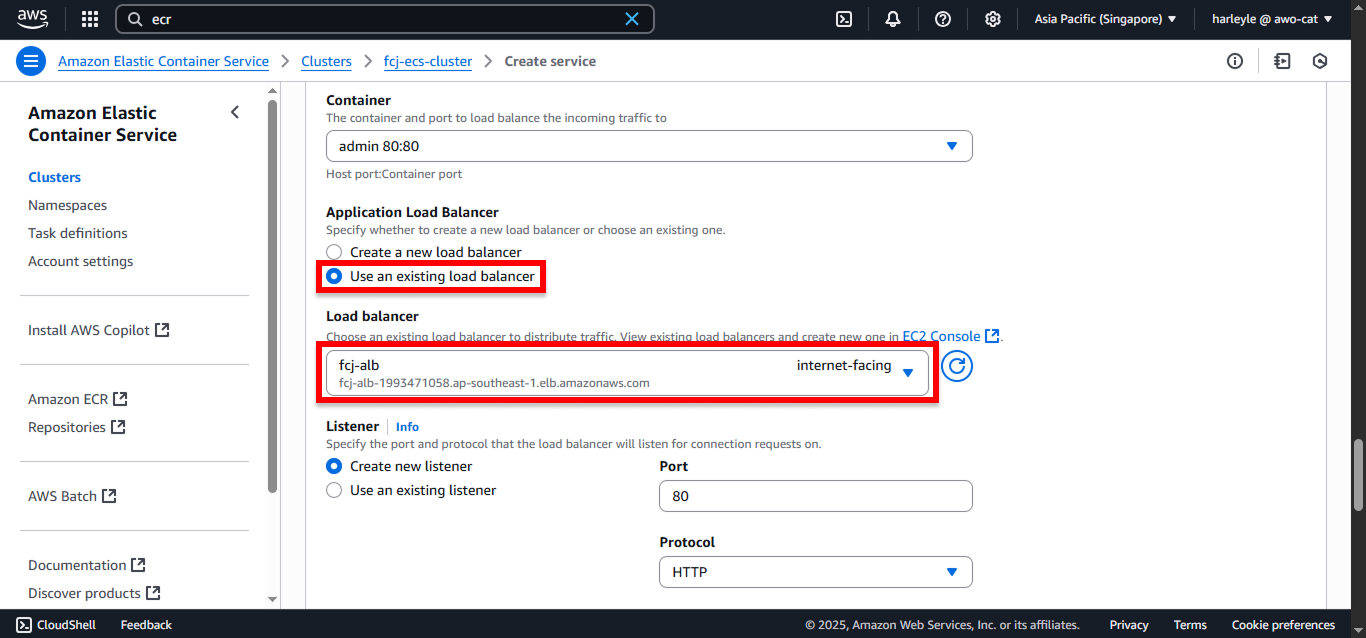
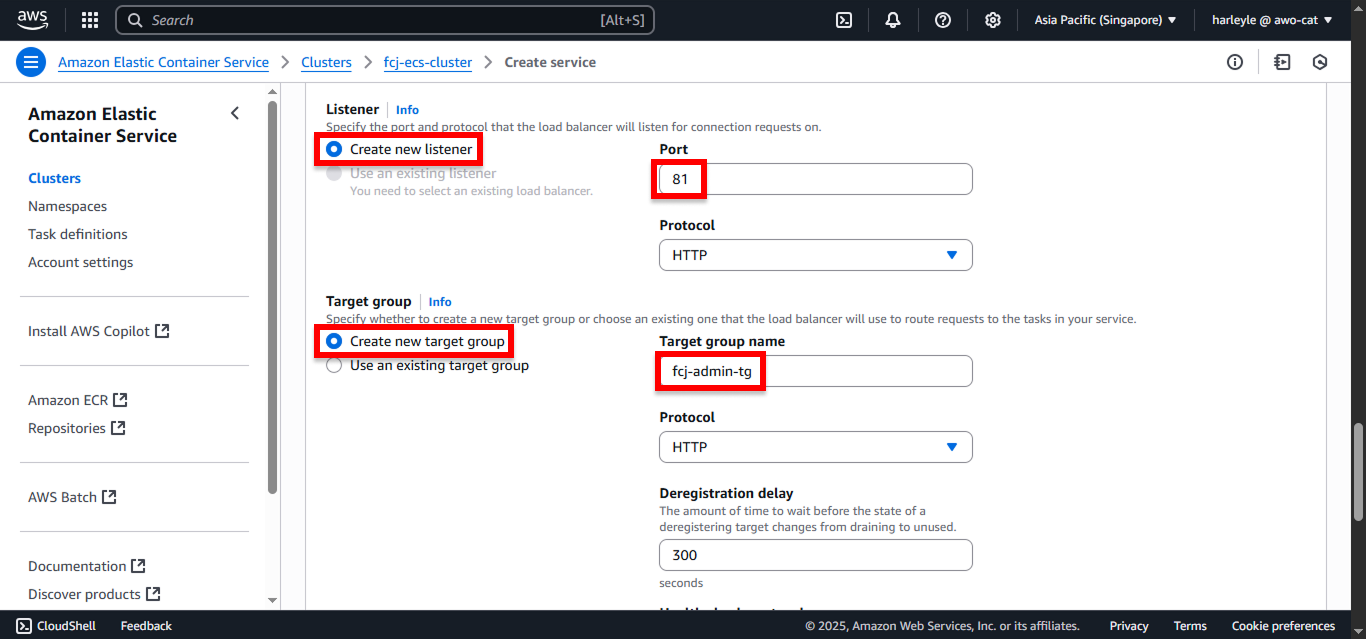
10. Configure listener and target group:
- Listener: Select Create new listener
- Port: Enter
81 - Target group: Select Create new target group
- Target group name: Enter
fcj-admin-tg
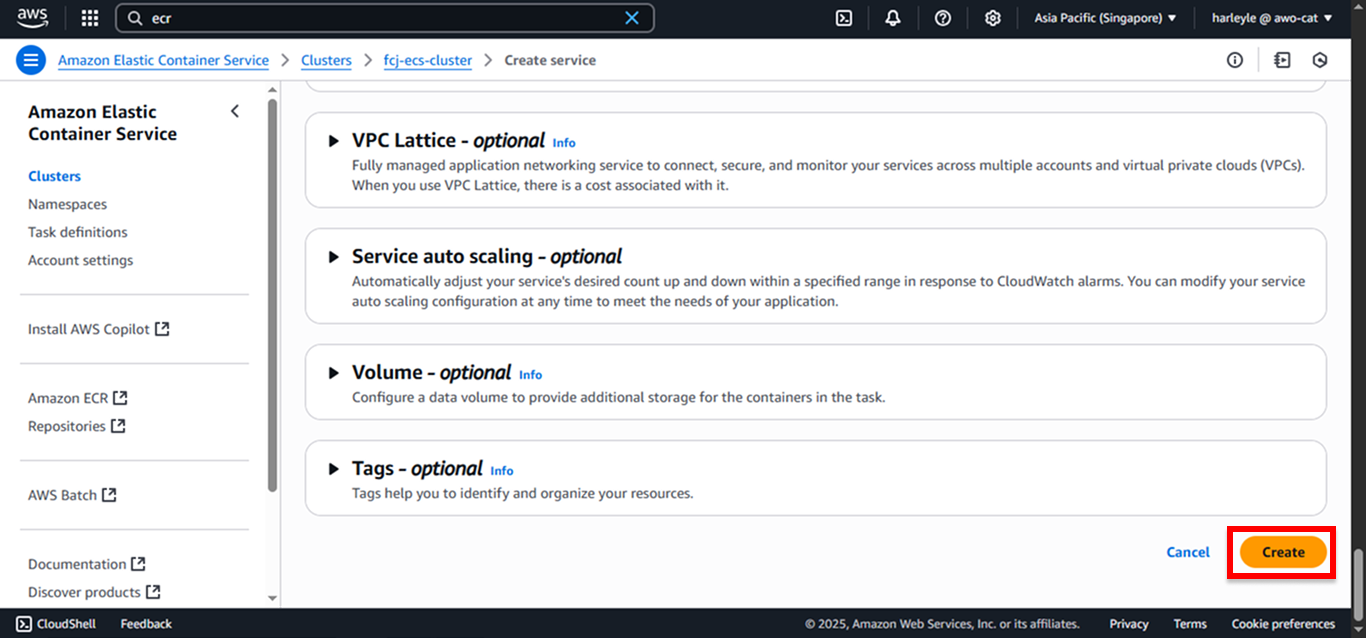
11. Review your configuration and click Create.
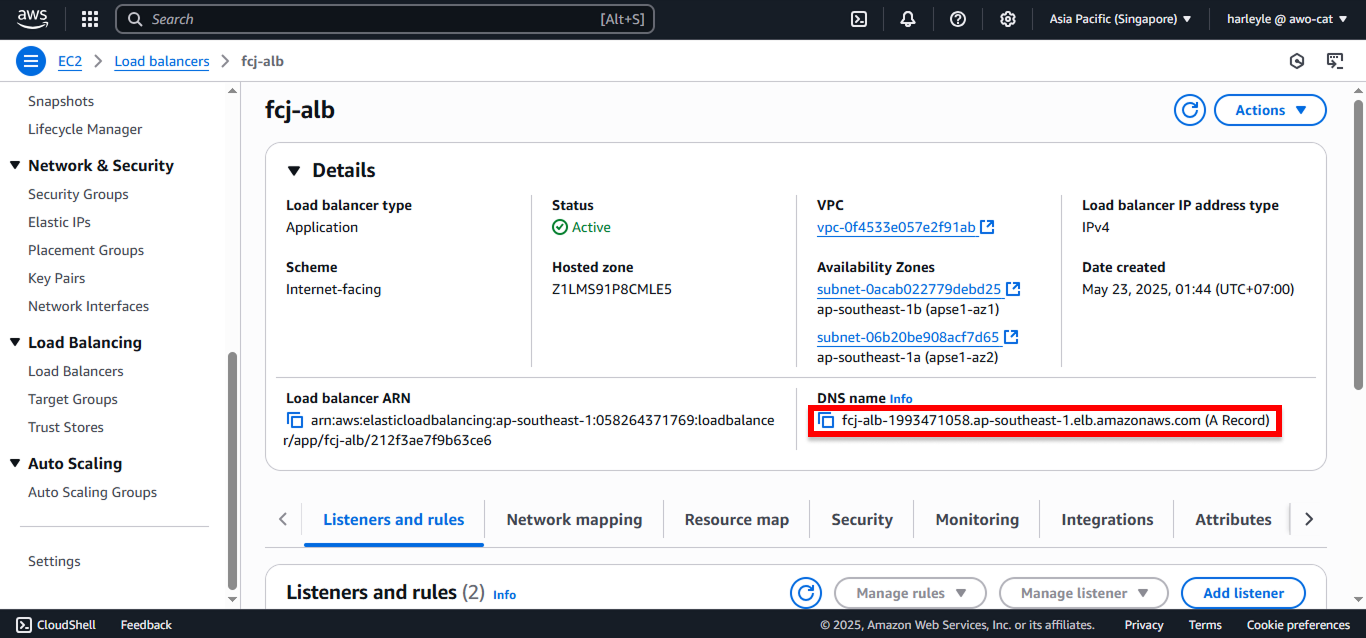
12. Wait for the service to be created (this may take a few minutes). Navigate to your ALB, copy the DNS name, and append :81 to it.
Example: fcj-alb-1993471058.ap-southeast-1.elb.amazonaws.com:81
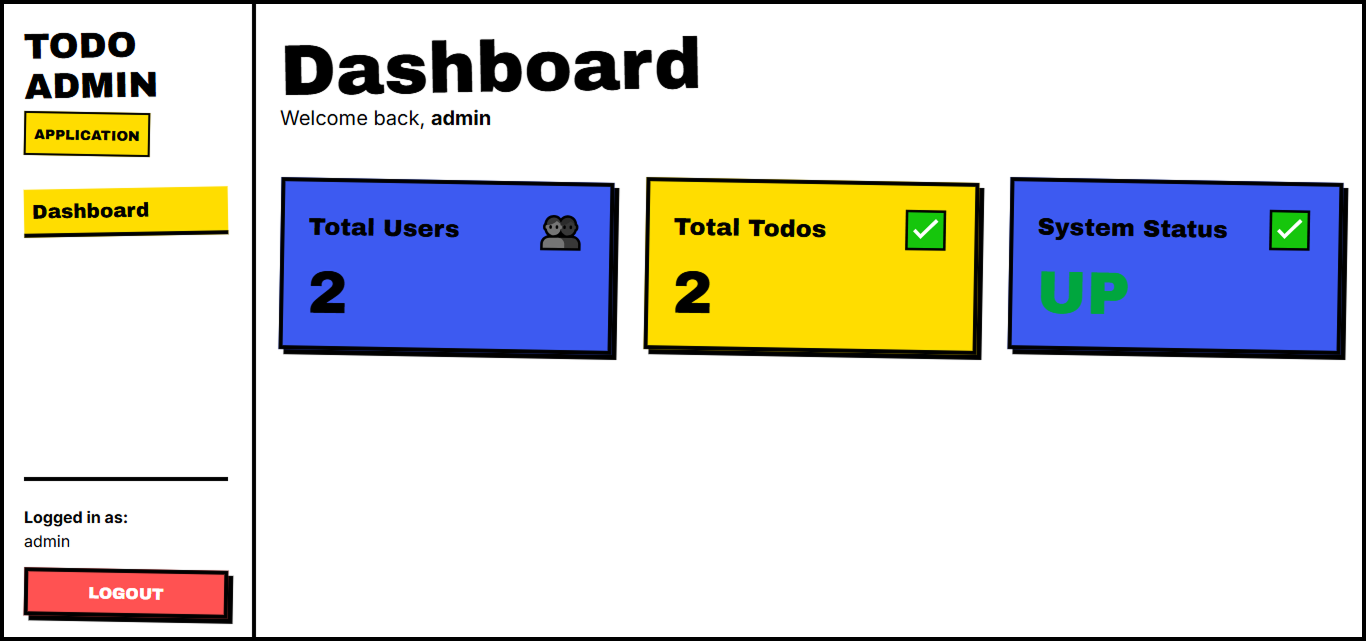
13. Paste the URL into your browser to access the admin application.
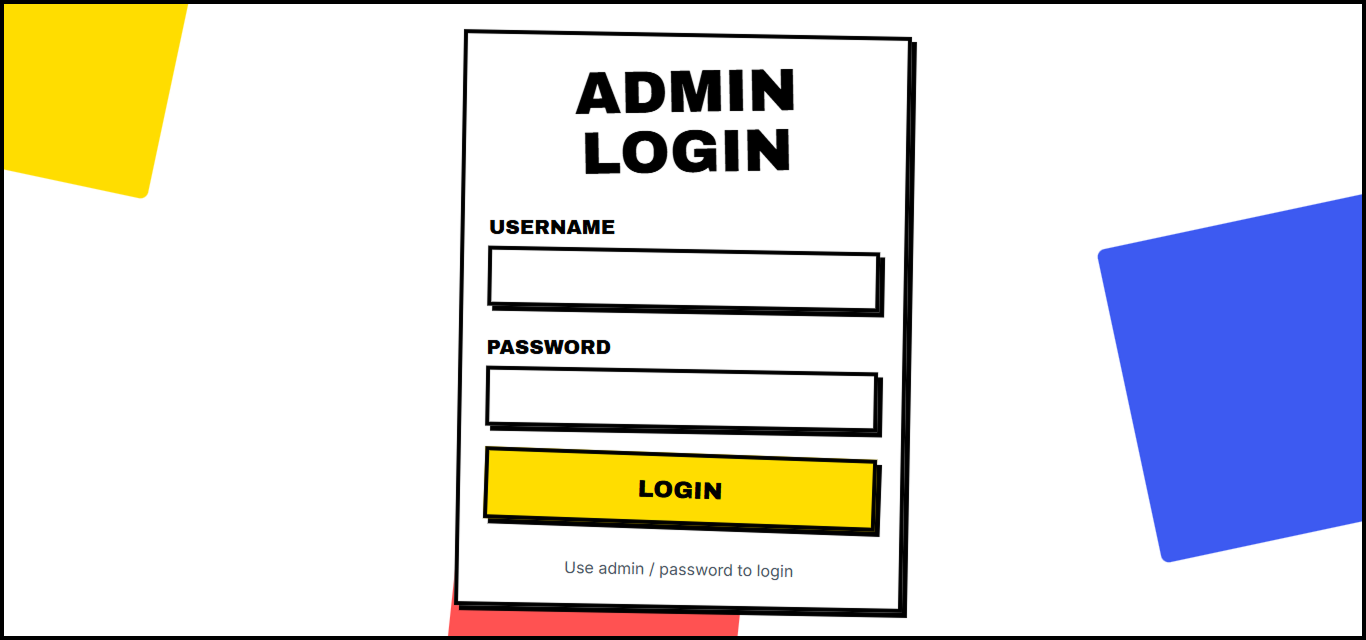
14. Use admin for both Username and Password to log in and access the dashboard.