Implement Load Balancing for Core Application
Application Load Balancer Overview
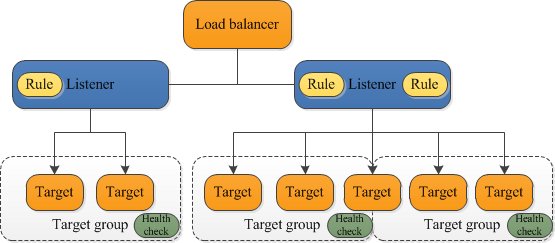
An Application Load Balancer (ALB) operates at the application layer (Layer 7) of the Open Systems Interconnection (OSI) model. When a request reaches the ALB, it first evaluates listener rules in priority order to determine the appropriate action. Based on this rule, it then selects a target from the designated target group. You can configure listener rules to intelligently route requests to different target groups based on application traffic content, such as the path or host.
ALBs offer great flexibility:
- You can add or remove targets as your needs evolve, without disrupting the overall request flow to your application.
- Elastic Load Balancing automatically scales your load balancer capacity in response to traffic changes, handling the vast majority of workloads seamlessly.
- You can configure health checks to monitor the status of registered targets. This ensures the ALB only sends requests to healthy instances, improving your application’s fault tolerance.
Create the Core Application Target Group
Target groups are essential for routing requests to your registered resources, like EC2 instances, Lambda functions, or IP addresses. They use the protocol and port you define for this routing, and a single target can be registered with multiple target groups if needed.
For our AWS Fargate tasks, we will create a target group of type IP addresses. This is because tasks launched using AWS Fargate are associated with an elastic network interface (ENI) and receive their own IP address, rather than running on an underlying Amazon EC2 instance managed by you.
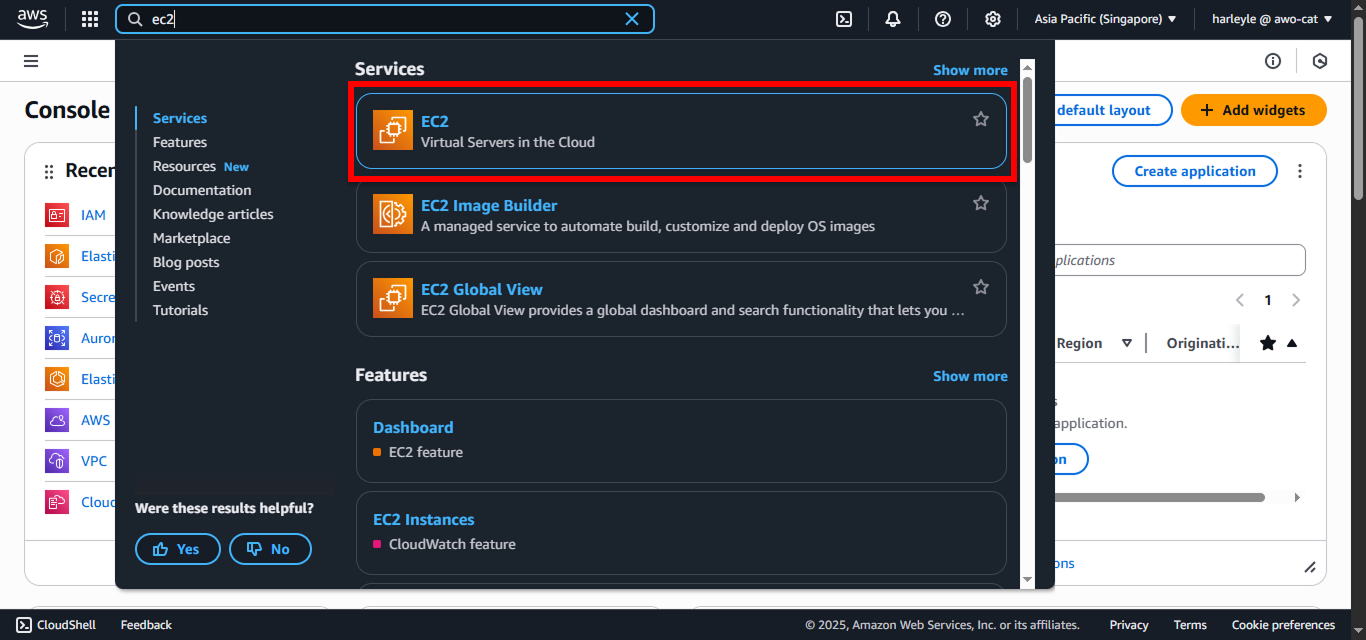
1. Navigate to EC2:
- In the AWS Console search bar, type
EC2 - Select EC2 from the dropdown
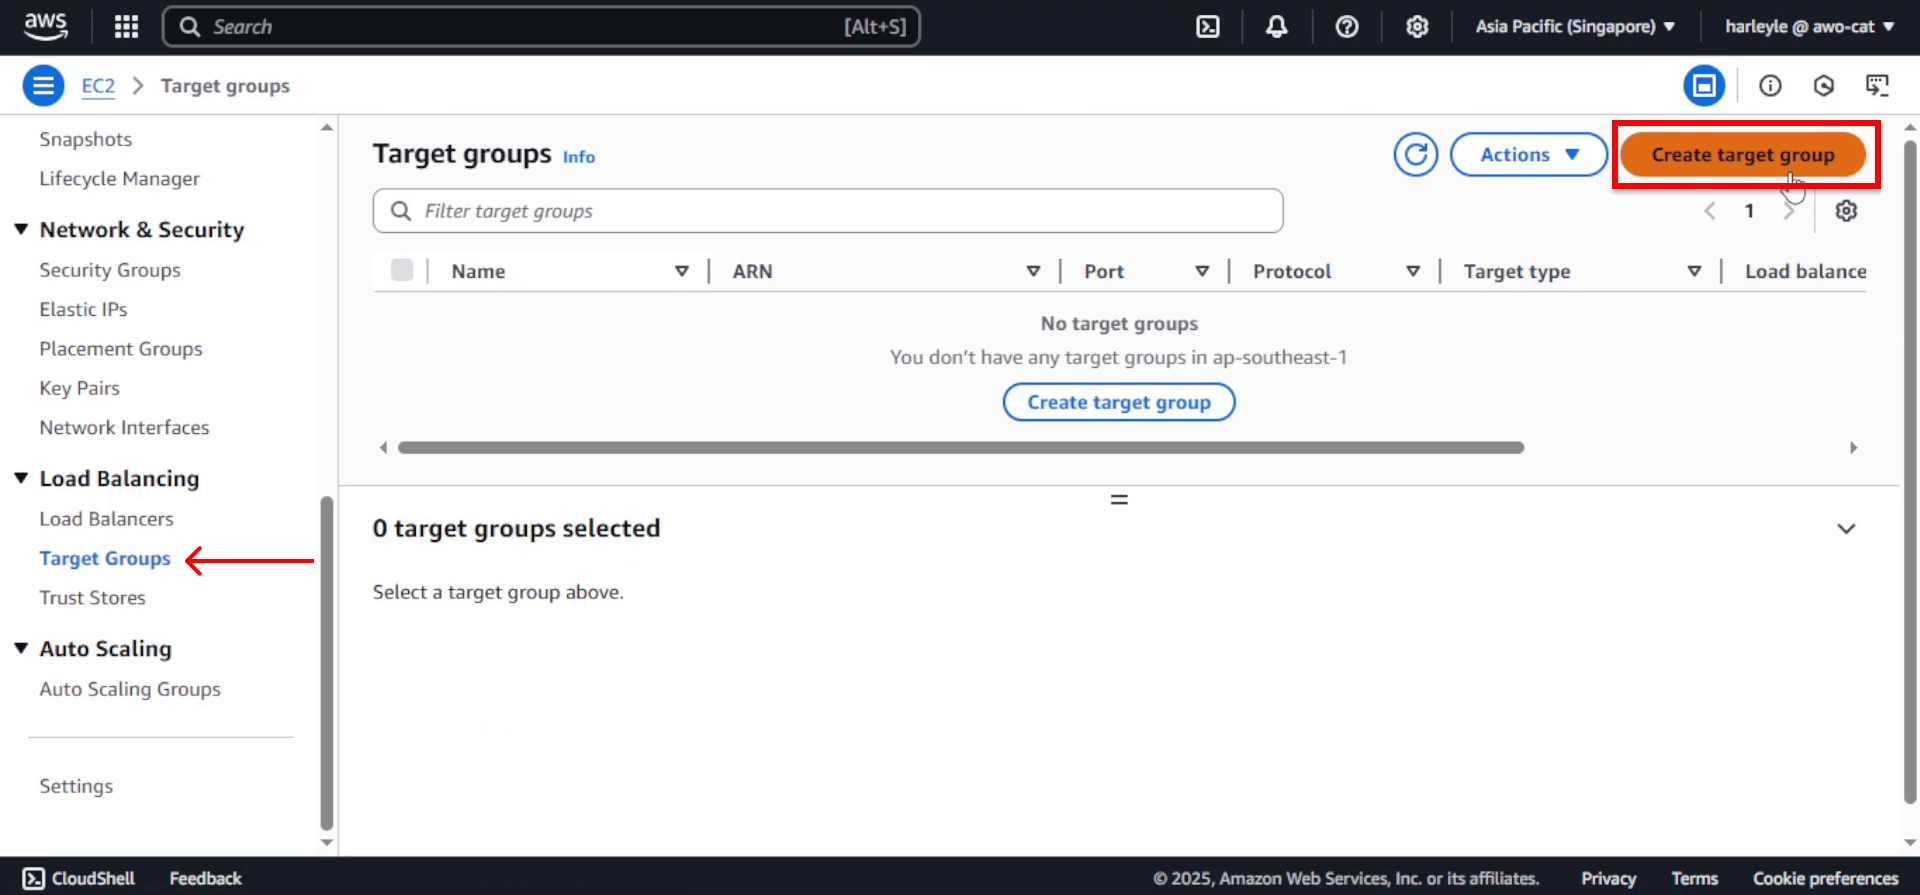
2. In the EC2 Dashboard, scroll down in the left navigation panel to Load Balancing and select Target groups. Click Create target group.
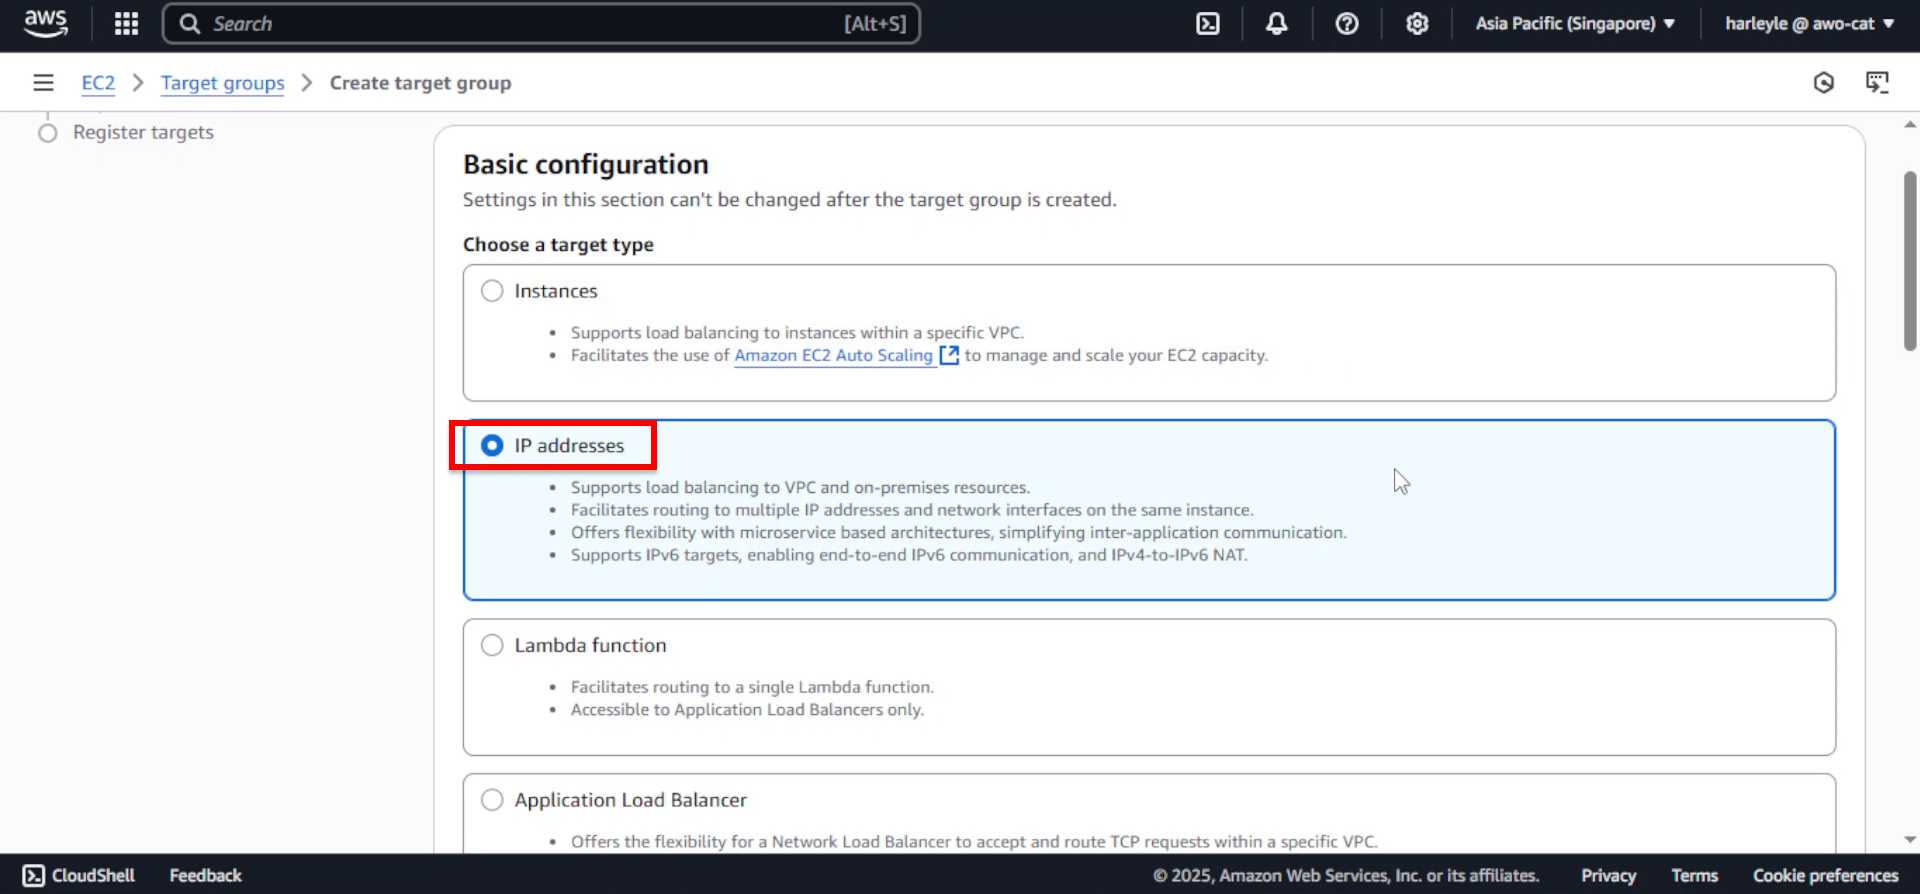
3. Configure the target type:
- Target type: Select IP addresses
4. Configure basic settings:
- Target group name: Enter
fcj-core-tg - Protocol: Select HTTP
- Port: Enter
8080 - VPC: Select fcj-vpc

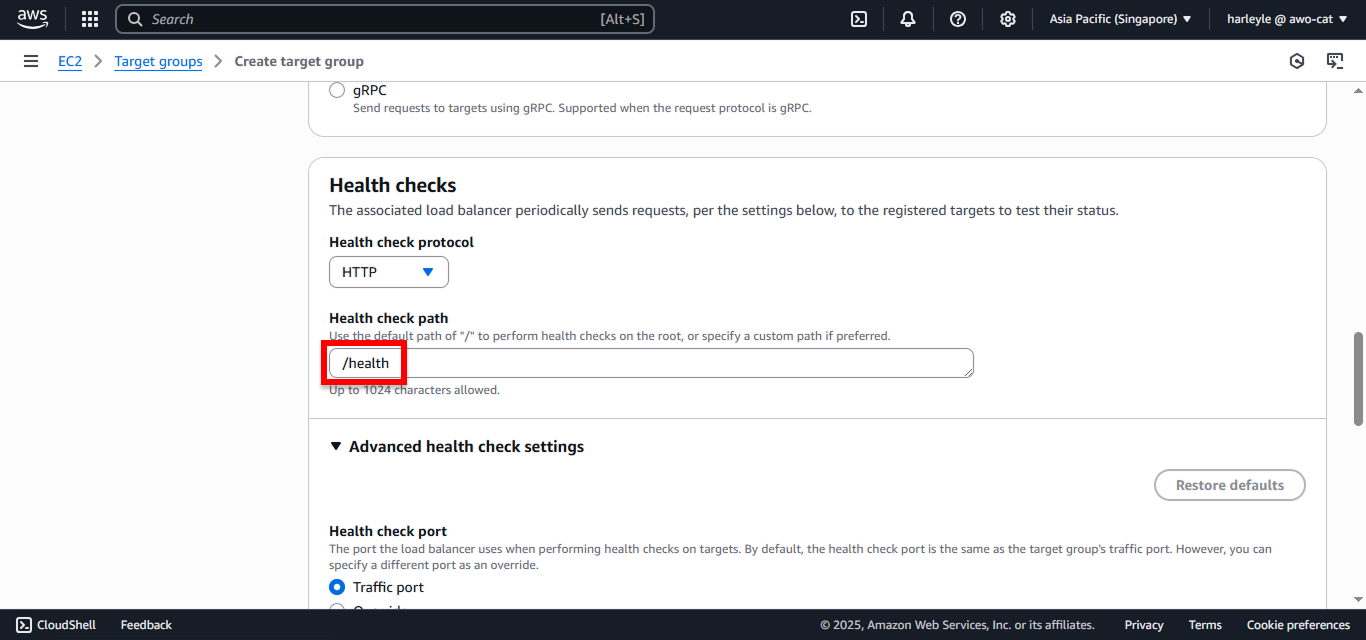
5. Configure health checks:
- Health check path: Enter
/health
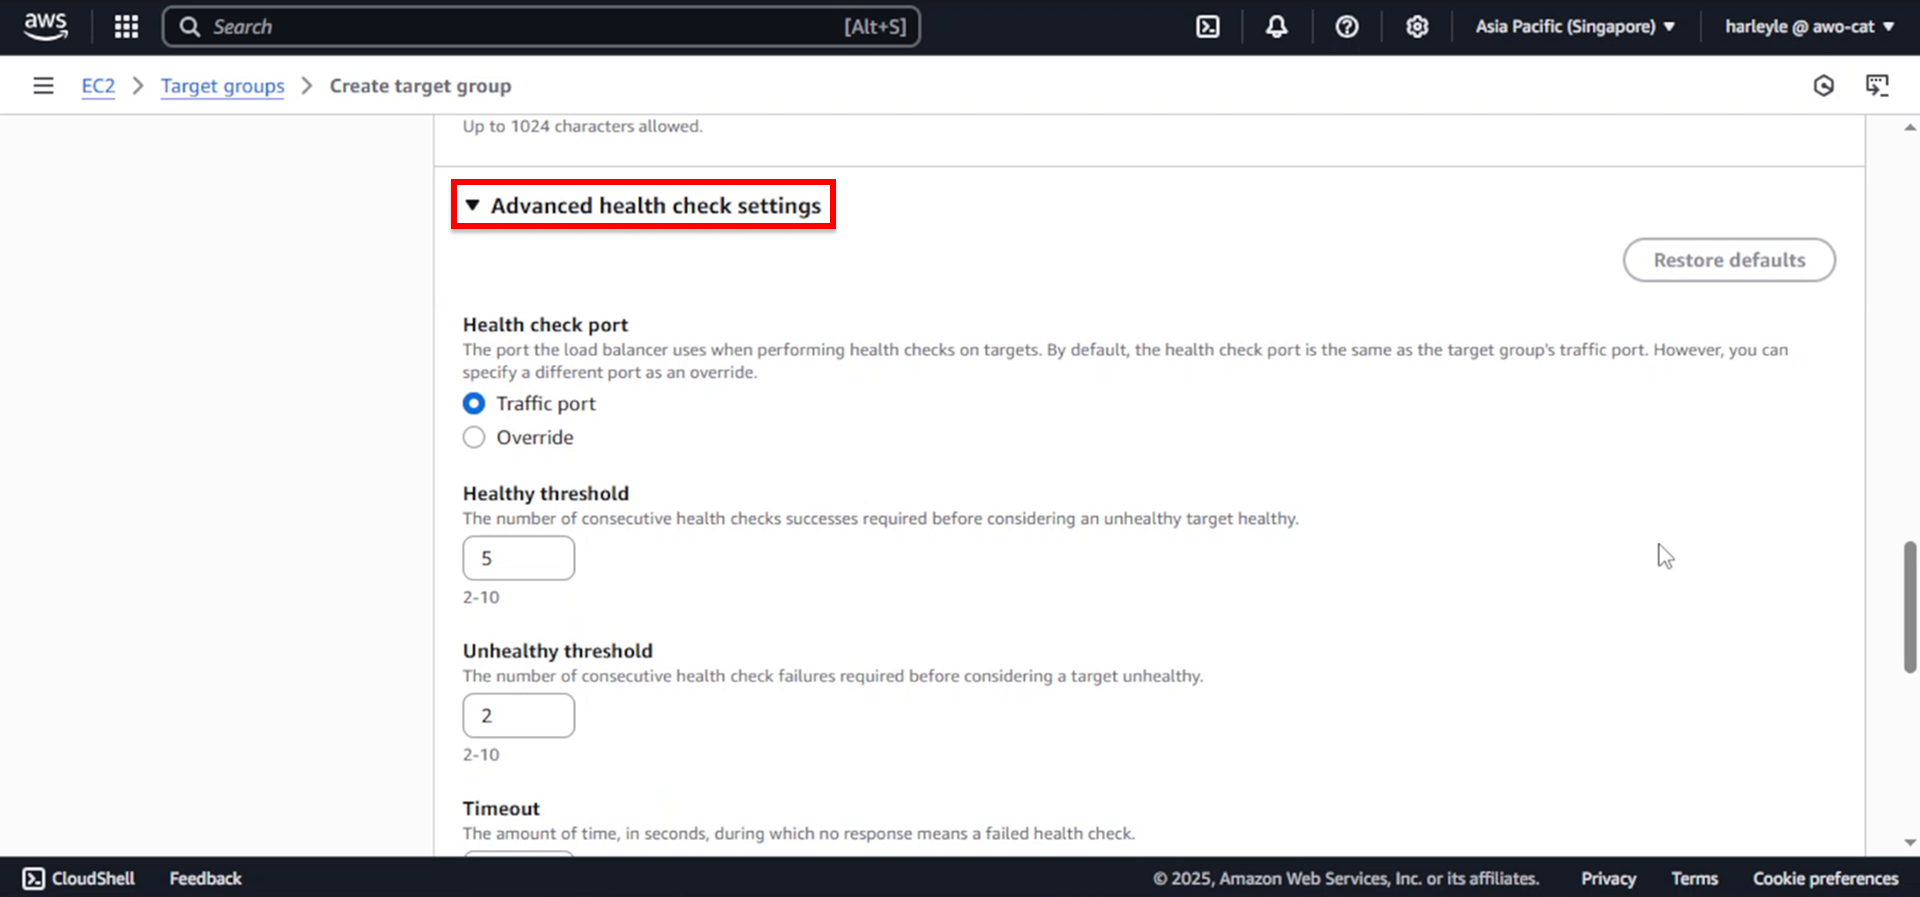
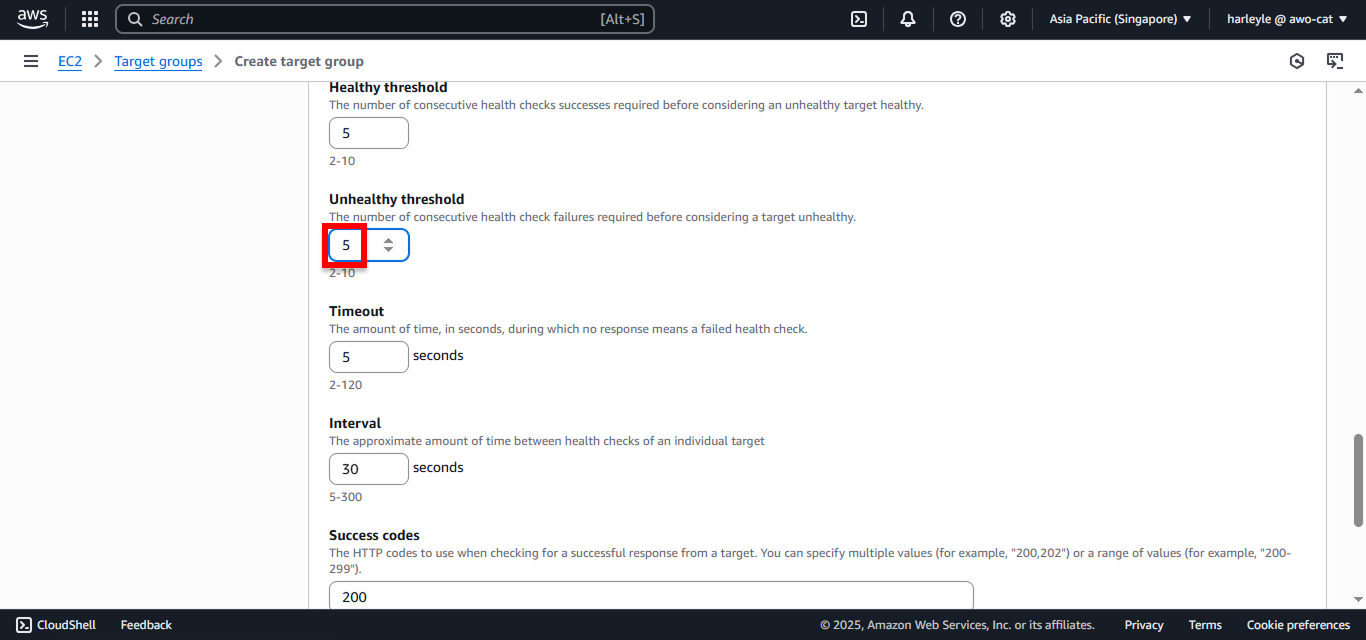
6. Expand Advanced health check settings:
- Unhealthy threshold: Change to
5 - Leave other settings as default
7. Click Next to proceed to target registration.
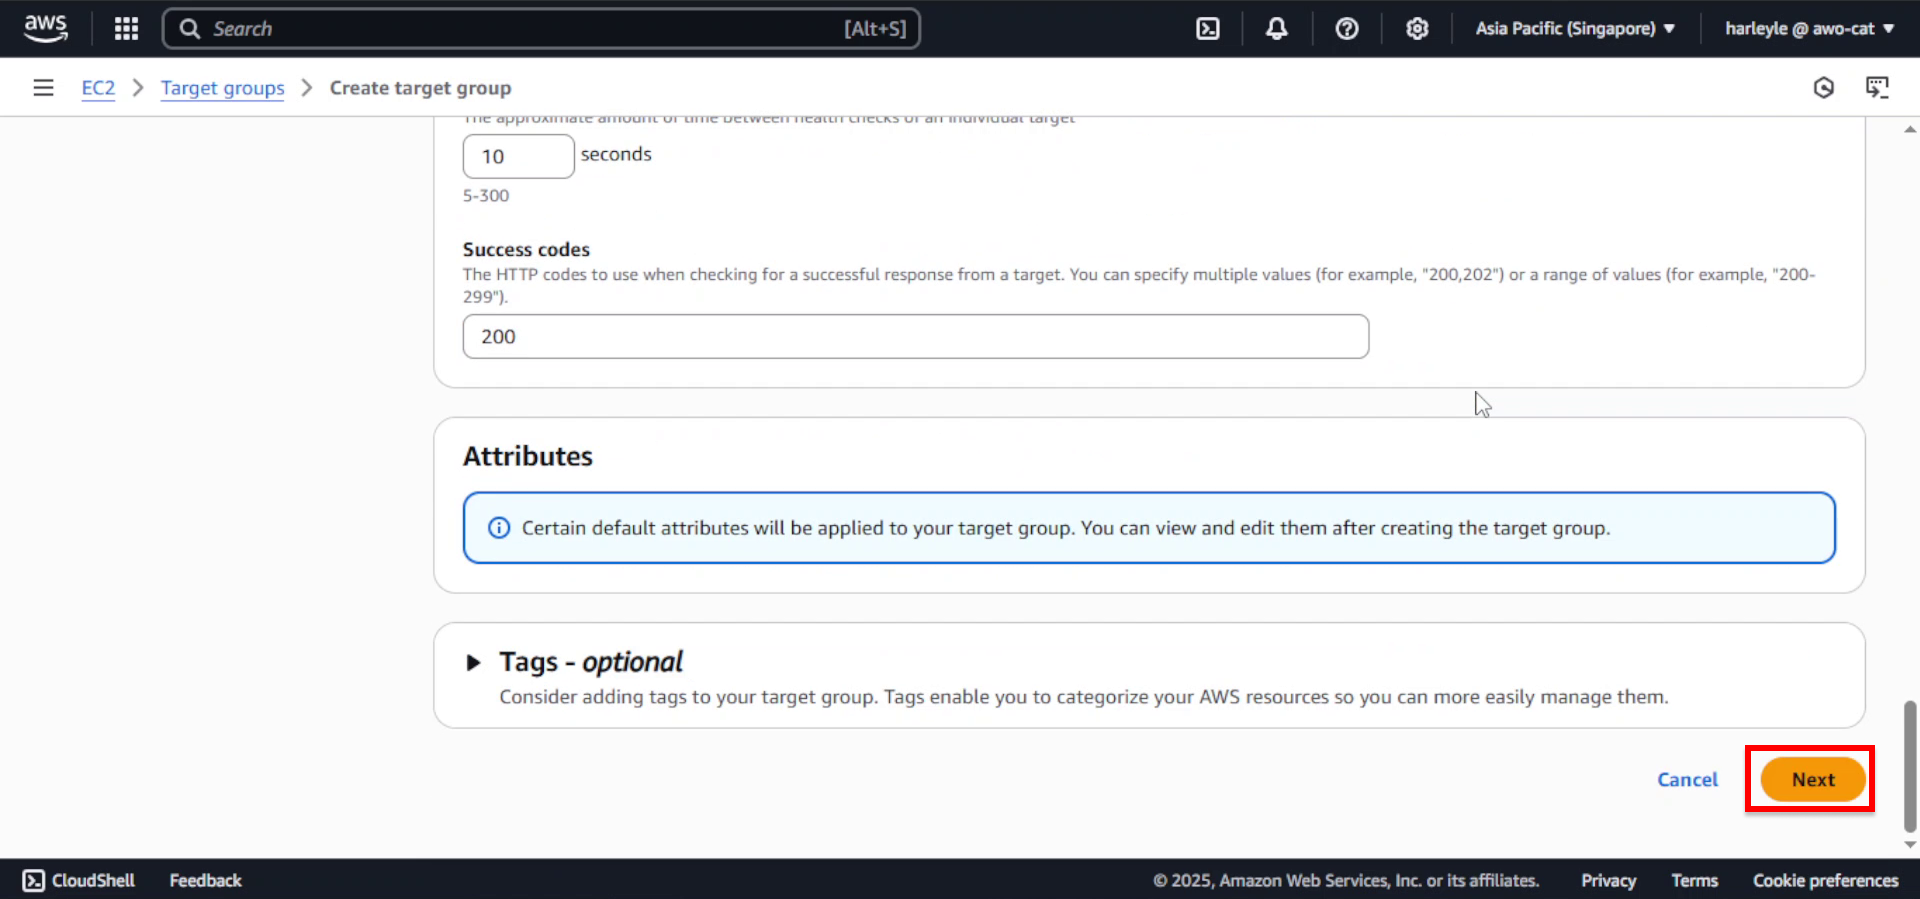
8. Skip target registration for now (we’ll register targets when we create ECS services) and click Create target group.
9. Verify creation: Confirm that fcj-core-tg appears in your target groups list.
Create the Application Load Balancer
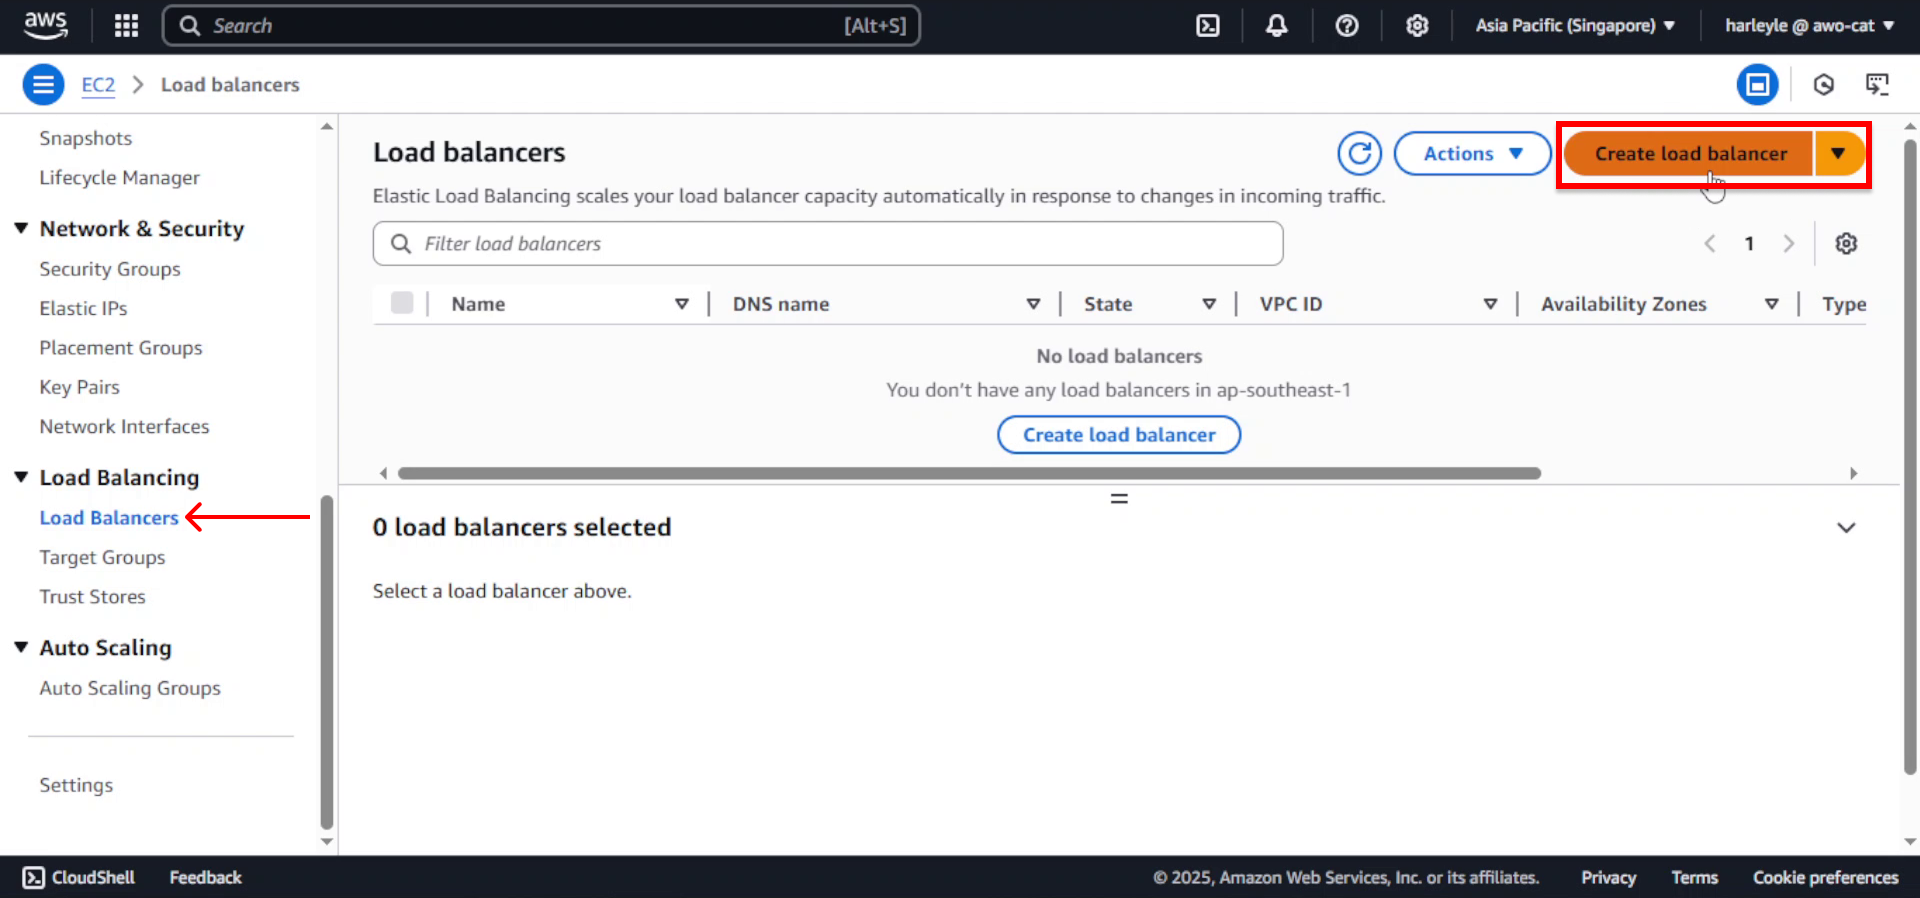
1. In the EC2 Dashboard, under Load Balancing, select Load Balancers and click Create load balancer.
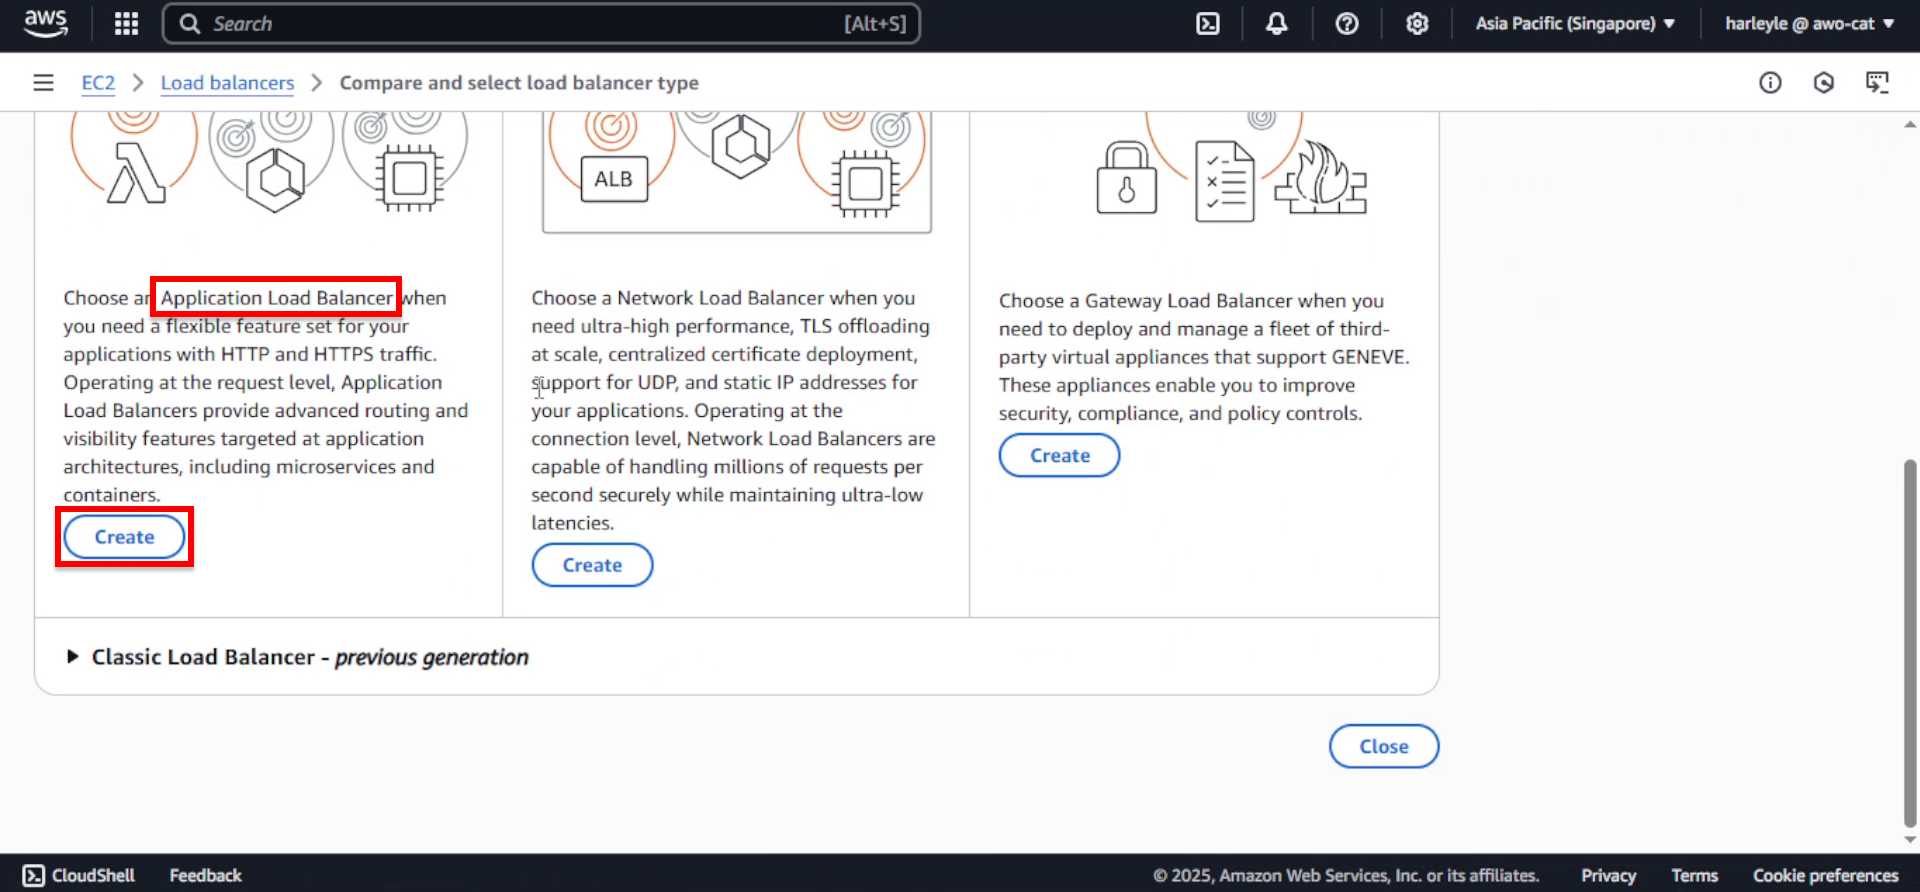
2. Select Application Load Balancer and click Create.
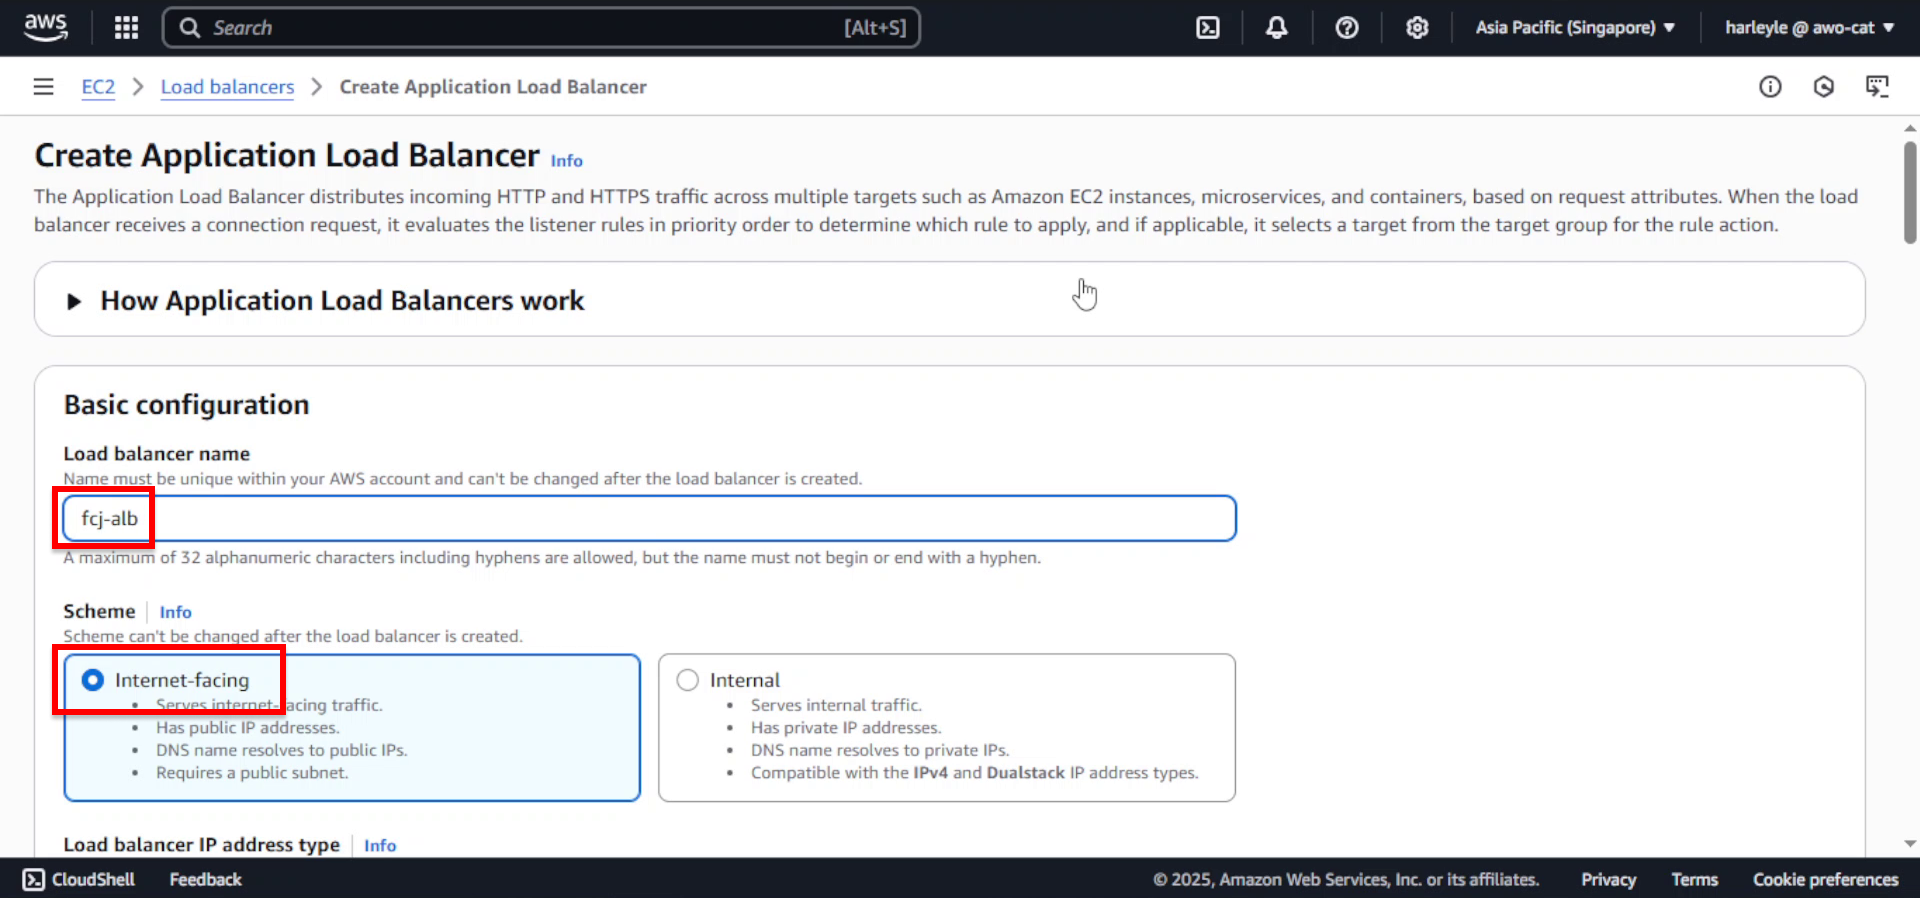
3. Configure basic settings:
- Load balancer name: Enter
fcj-alb - Scheme: Select Internet-facing
- IP address type: Leave as IPv4
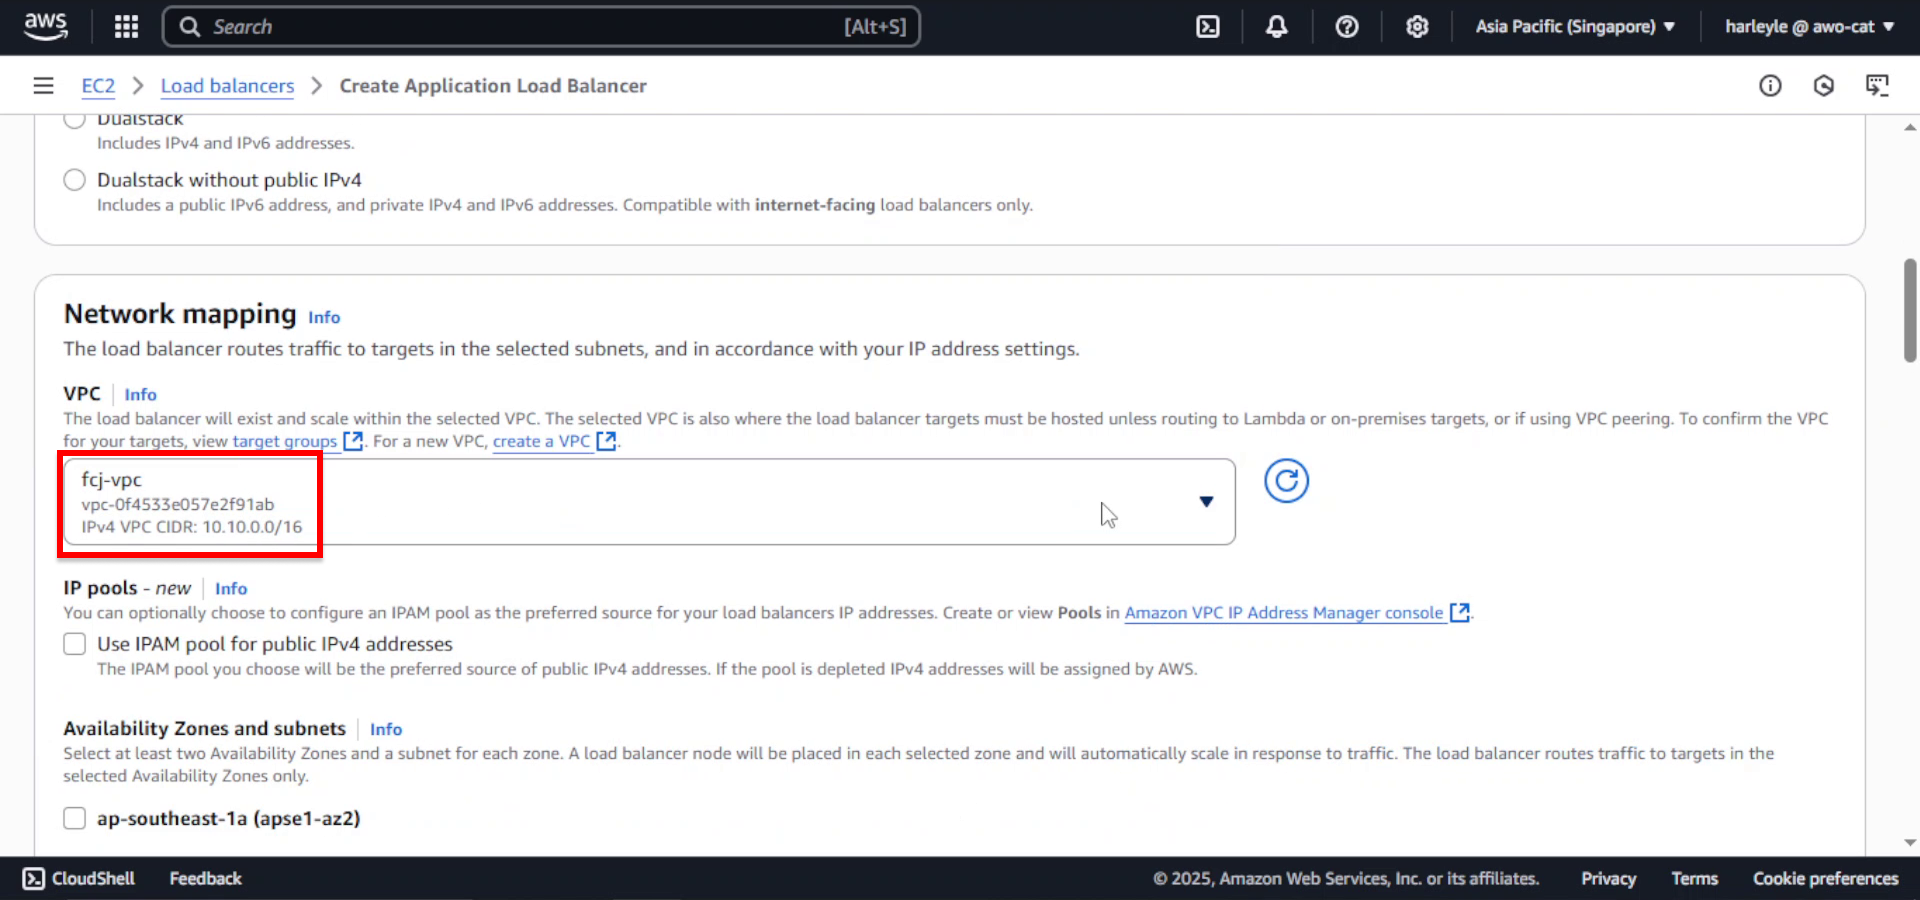
4. Configure network mapping:
- VPC: Select fcj-vpc
- Availability Zones: Select both AZs and their respective public subnets:
- fcj-public-subnet-01
- fcj-public-subnet-02
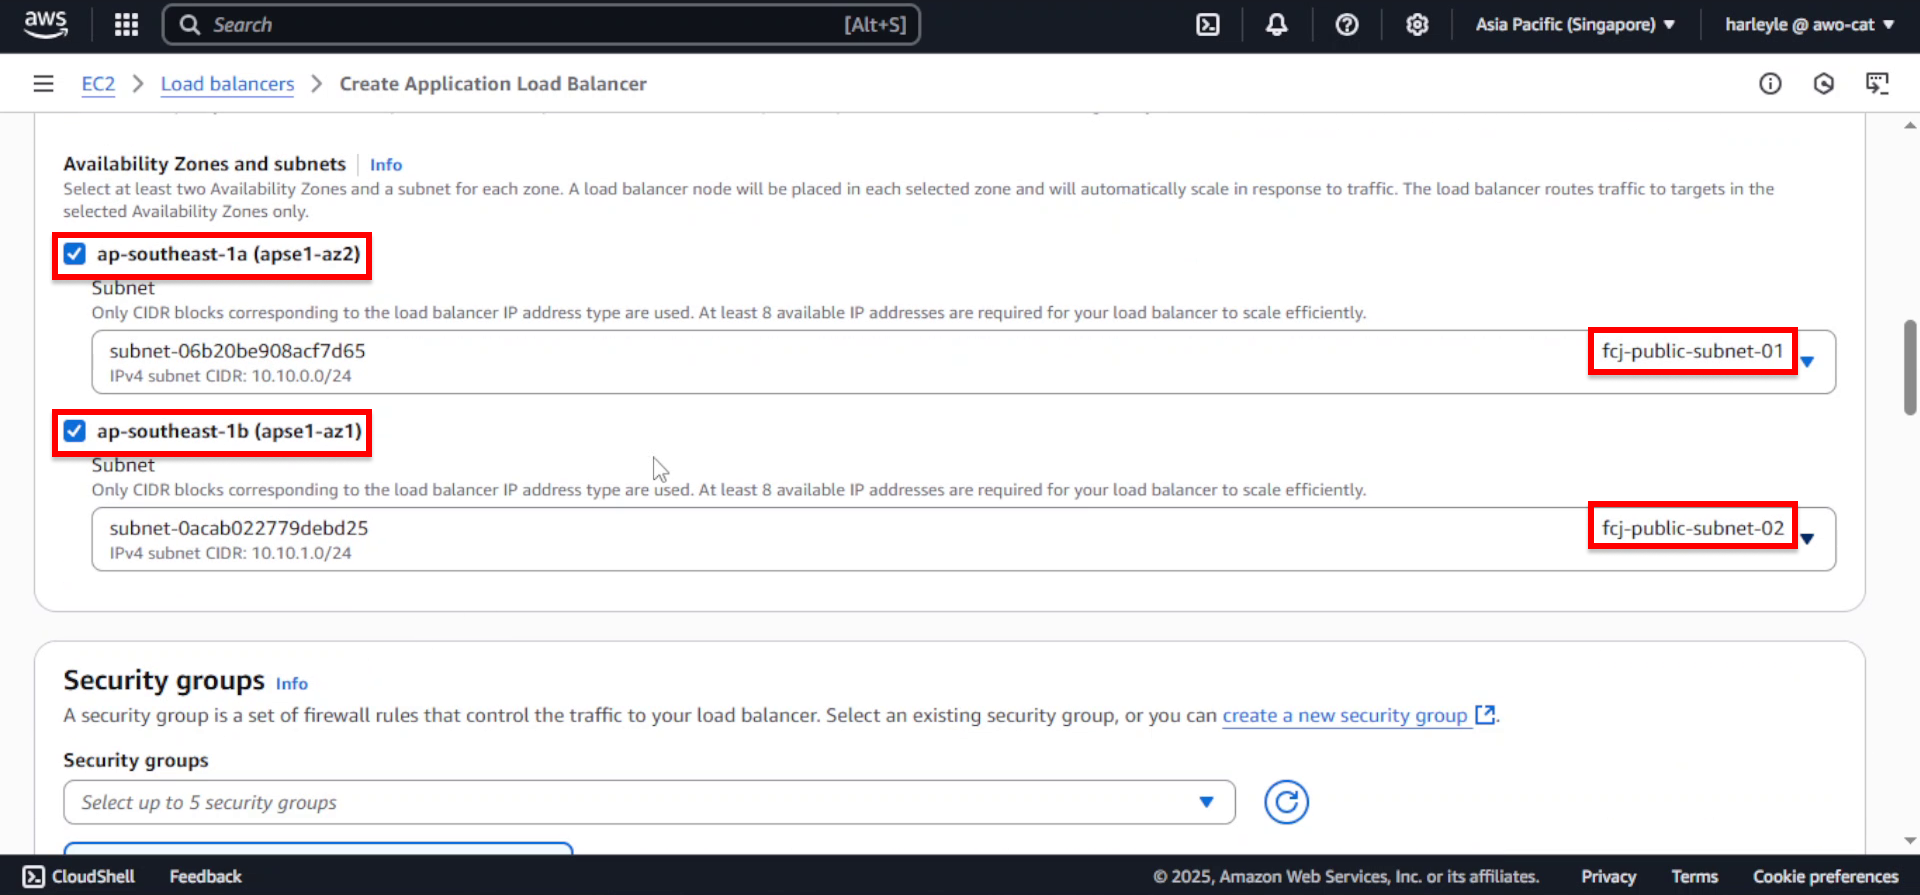
5. Configure security:
- Security groups: Select fcj-public-sg
- Remove the default security group if present

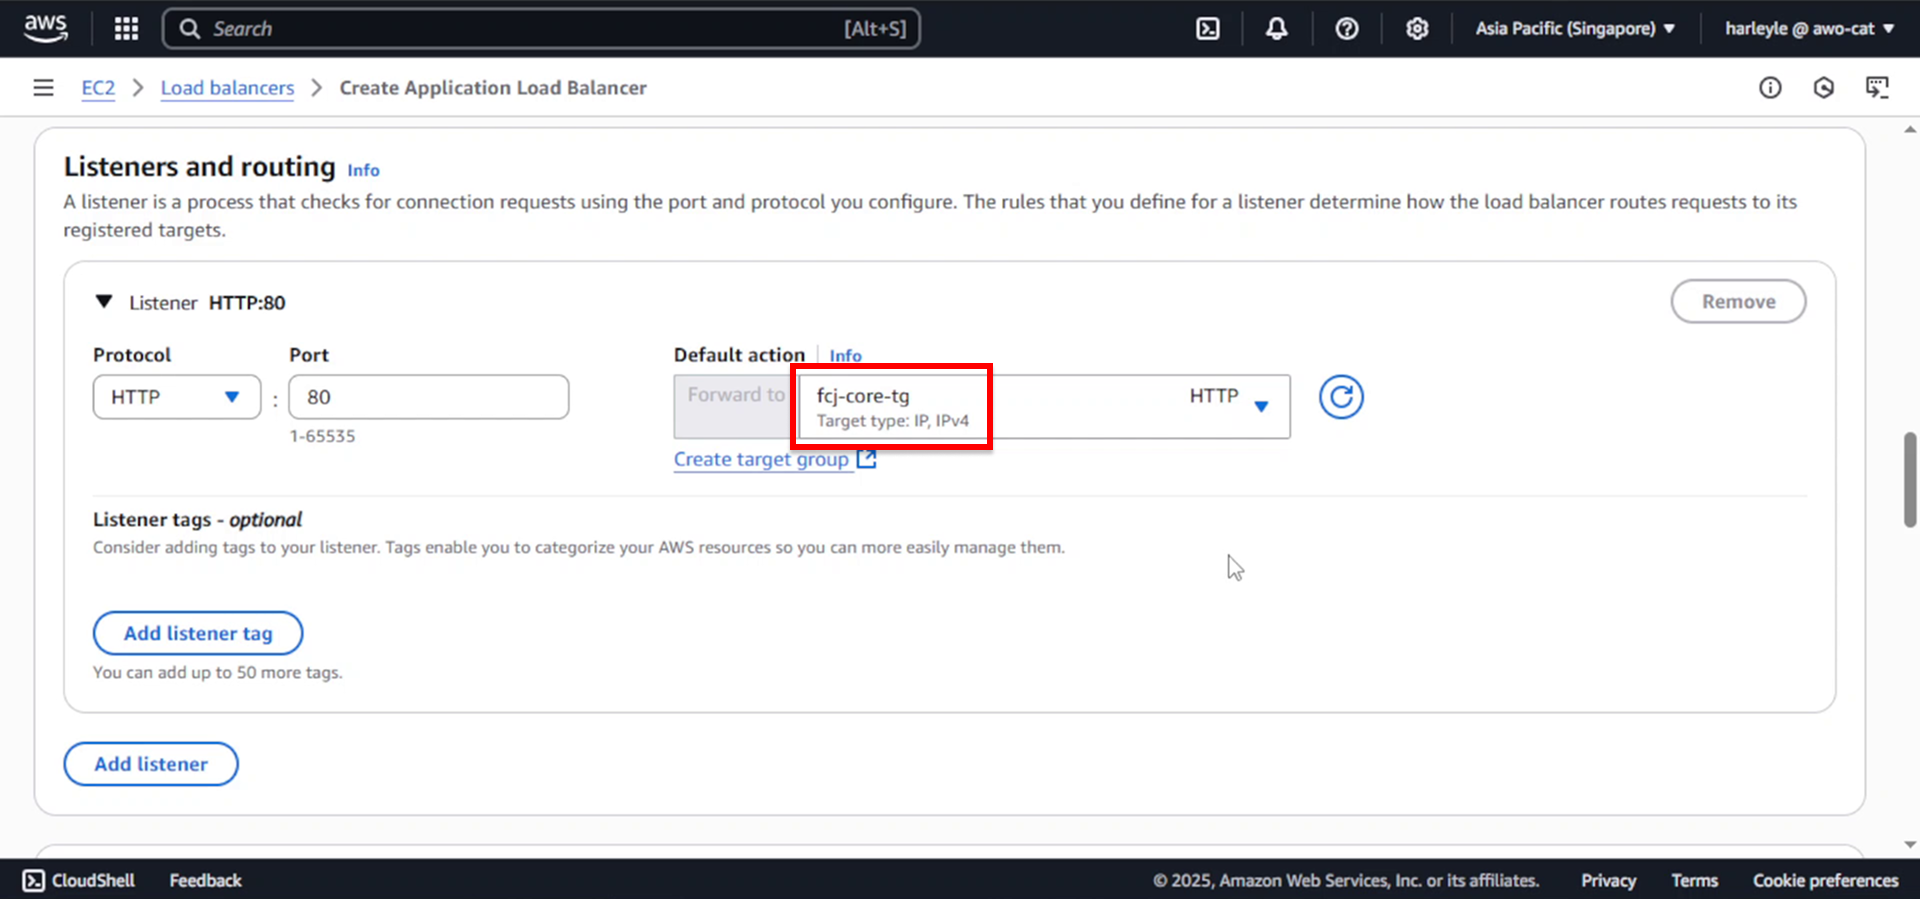
6. Configure listeners and routing:
- Protocol: HTTP
- Port: 80
- Default action: Forward to fcj-core-tg
7. Click Create load balancer.
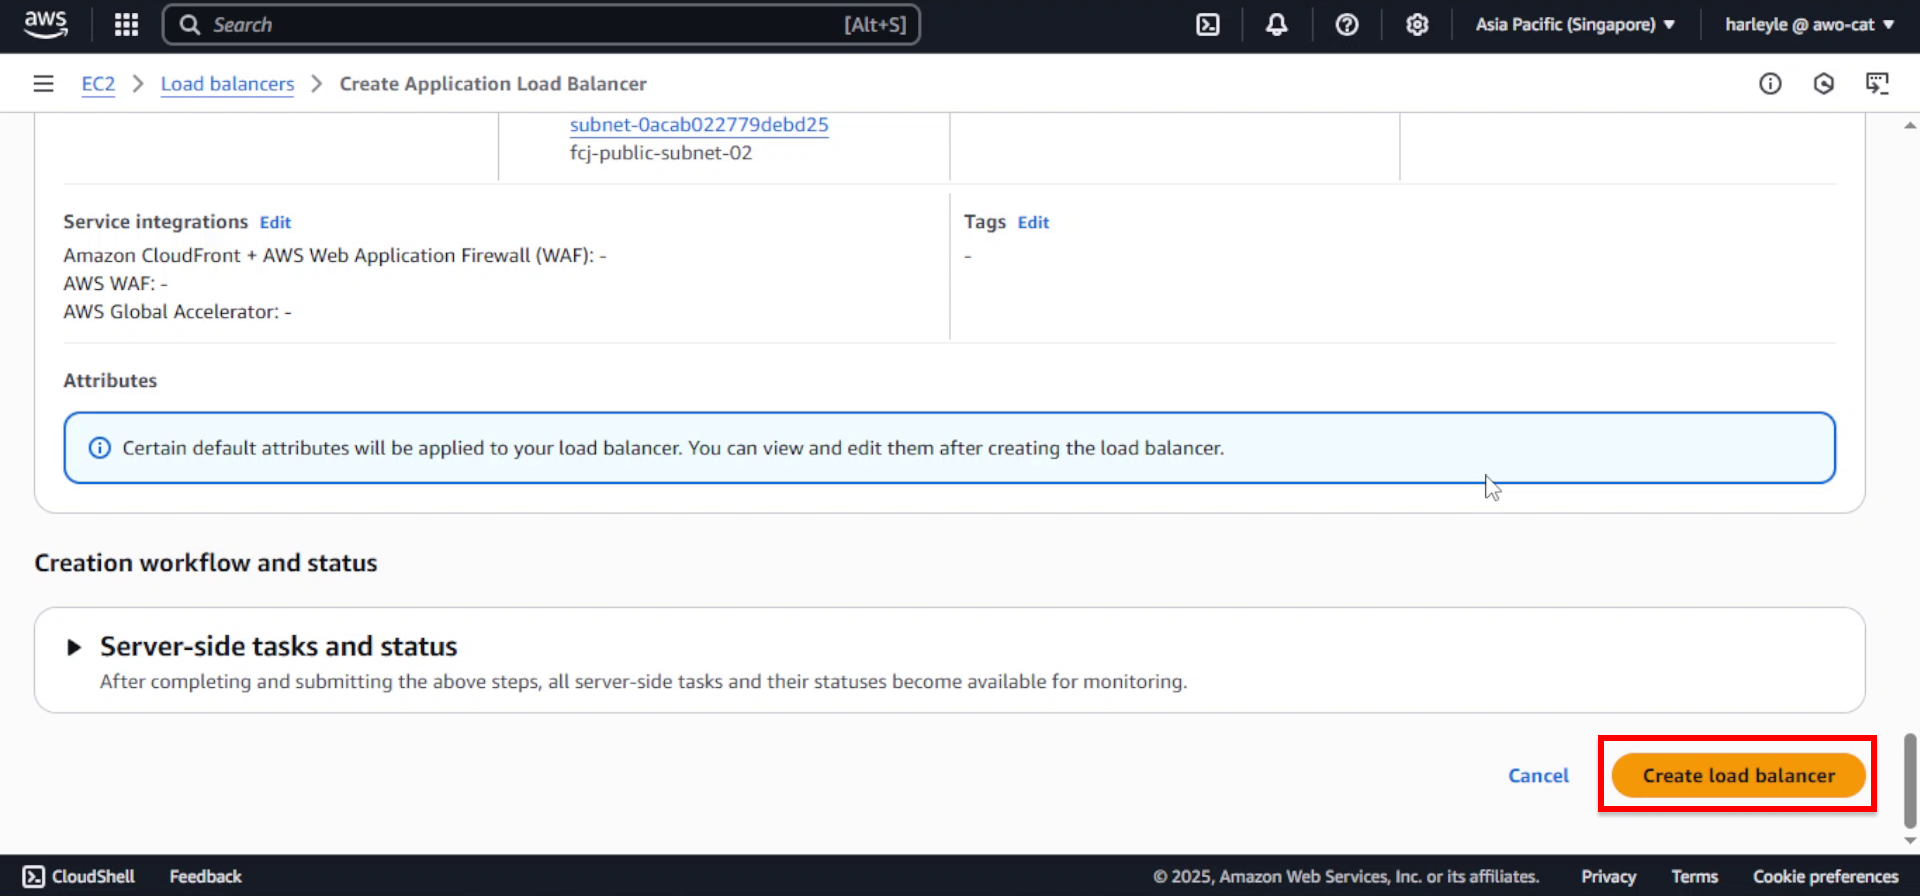
8. Verify creation: Wait for the load balancer to become “Active” and note the DNS name for later use.
You now have:
- fcj-core-tg: Target group for the core application (port 8080)
- fcj-alb: Application Load Balancer that will route traffic to your applications
We’ll configure additional listener rules for the admin application in the later section.