Prepare Container Images
Amazon ECR Overview
Amazon Elastic Container Registry (Amazon ECR) is a fully managed AWS container image registry service. It is designed to be secure, scalable, and reliable, allowing you to store, manage, and deploy container images.
Key features of Amazon ECR include:
- Private Repositories: ECR supports private repositories, with access controlled through resource-based permissions using AWS Identity and Access Management (IAM). This ensures that only specified IAM users or roles (e.g., those assumed by Amazon EC2 instances or ECS tasks) can access your container repositories and images.
- Broad Compatibility: You can use your preferred command-line interface (CLI) — such as the Docker CLI or AWS CLI — to push, pull, and manage Docker images, Open Container Initiative (OCI) images, and OCI-compatible artifacts.
In this workshop, we will first create an ECR repository. Then, we will build and push two distinct container images to this repository: a core image (for our core application) and an admin image (for our admin application).
Create Repository
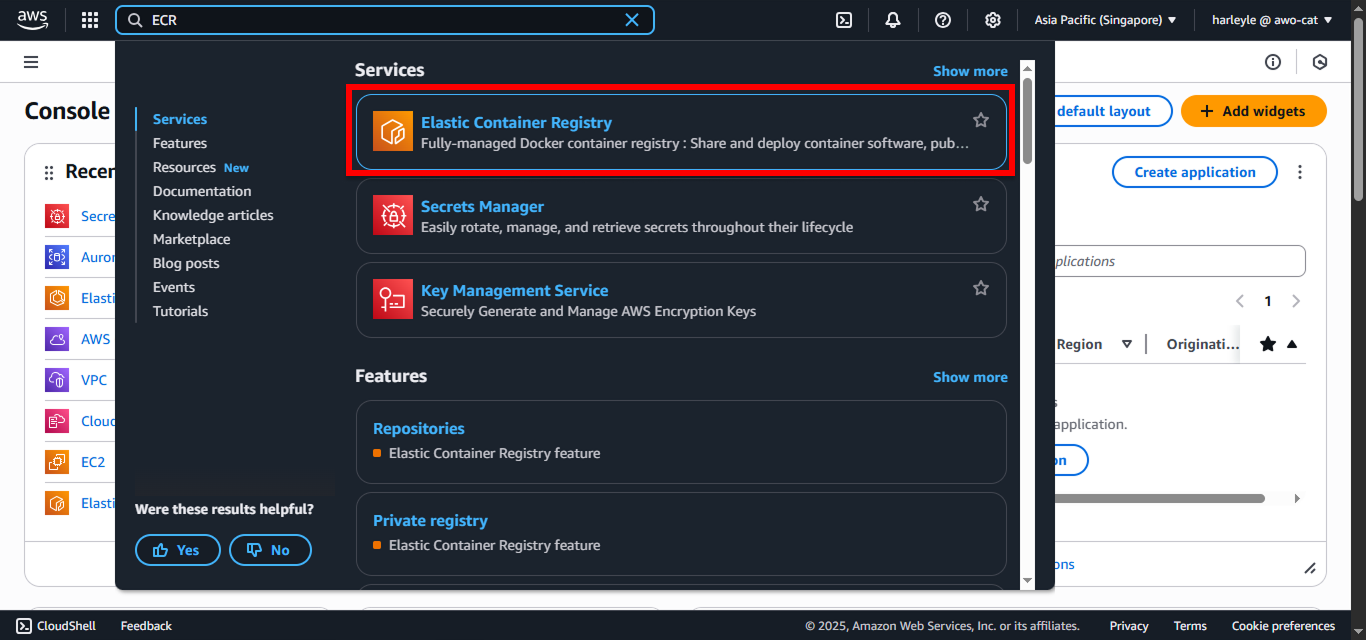
1. Navigate to Amazon ECR:
- In the AWS Console search bar, type
ECR - Select Elastic Container Registry from the dropdown
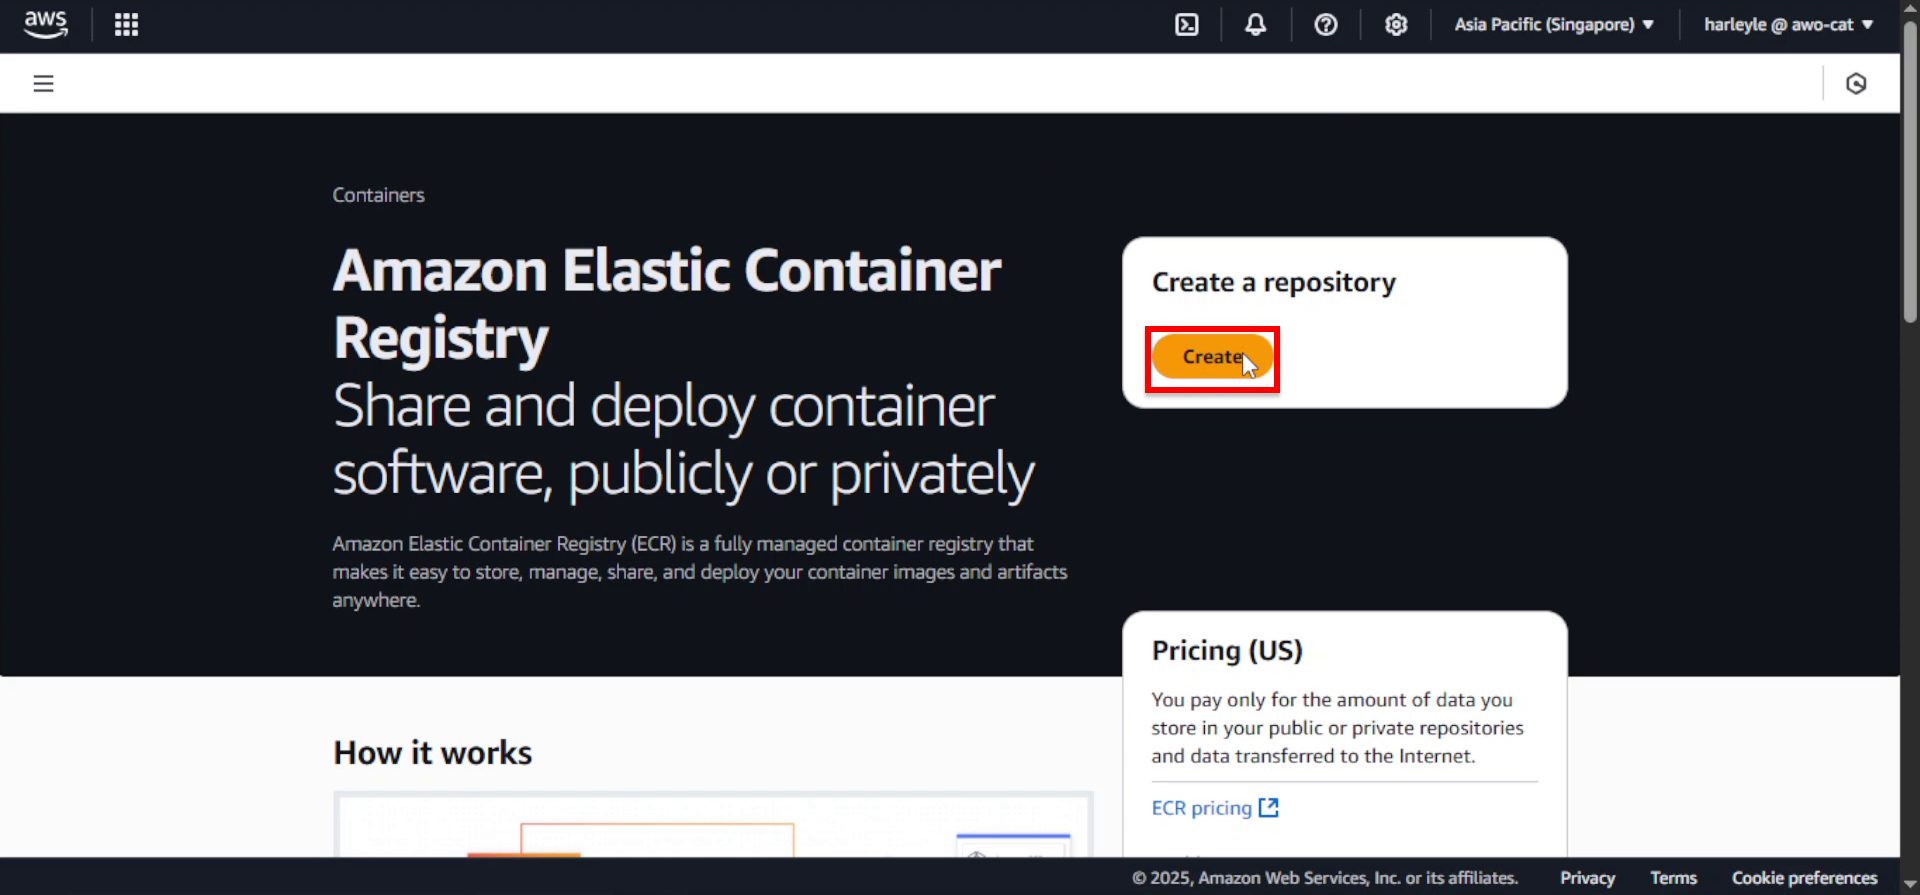
2. Click Create repository.
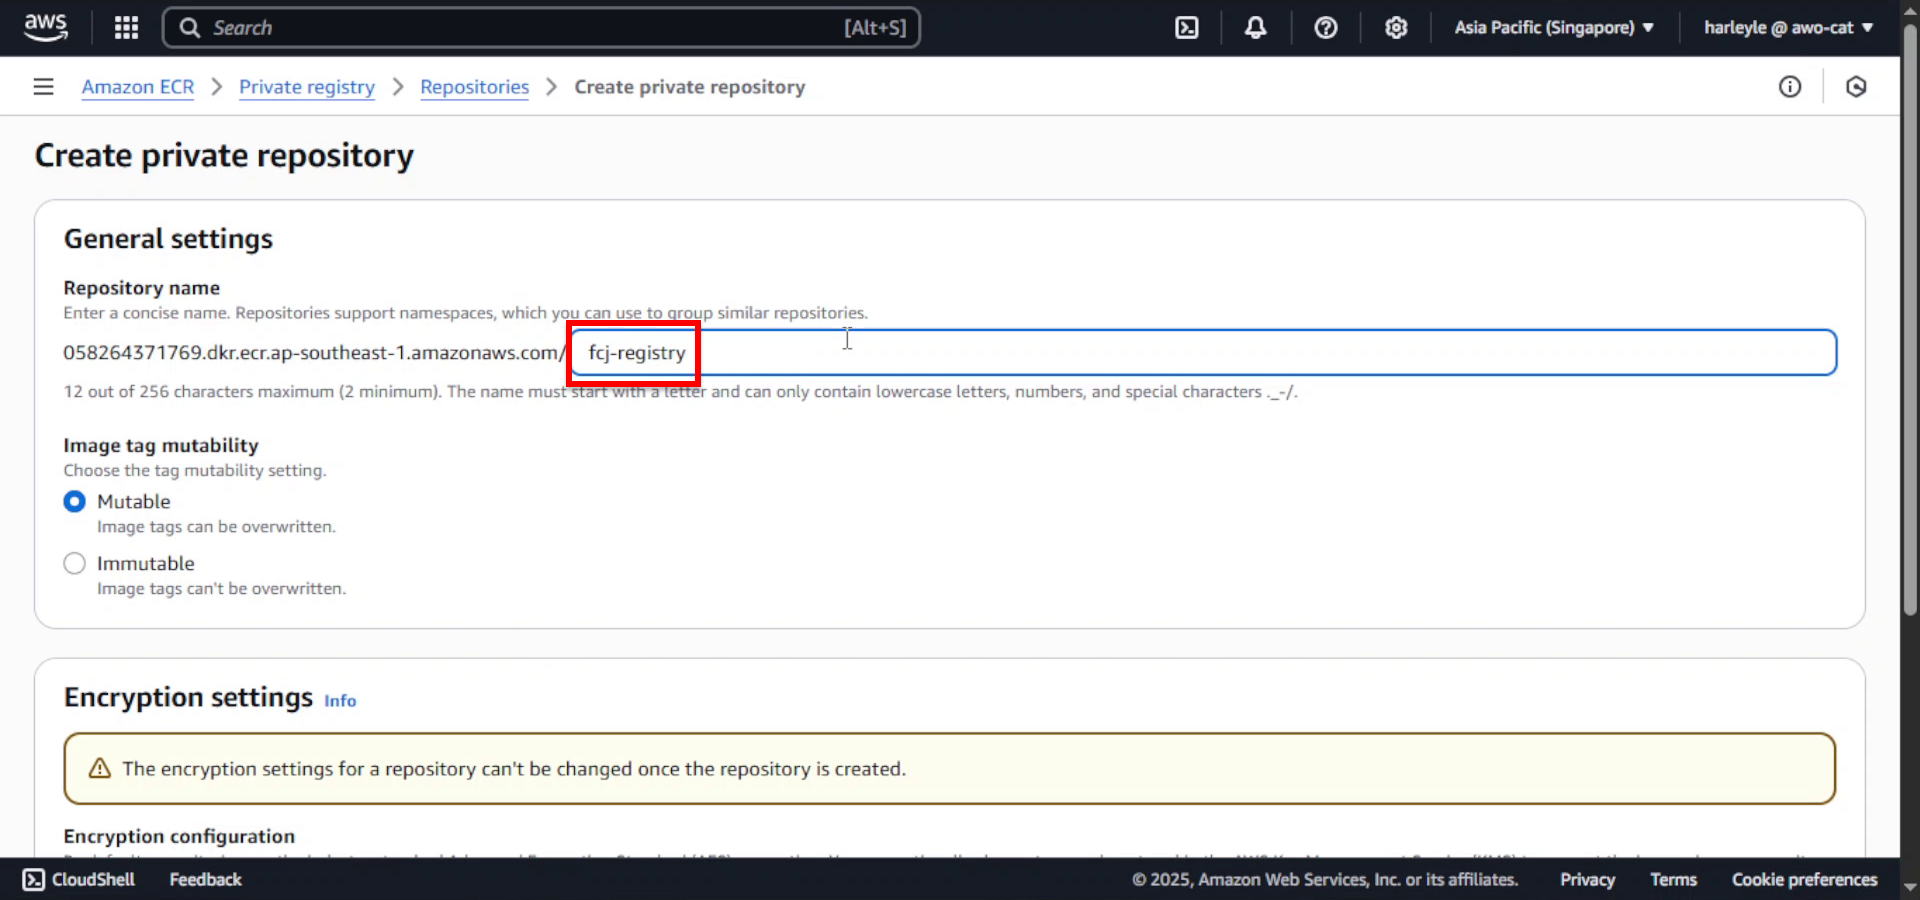
3. Configure the repository settings:
- Visibility settings: Leave as Private (default)
- Repository name: Enter
fcj-registry - Leave other settings as default
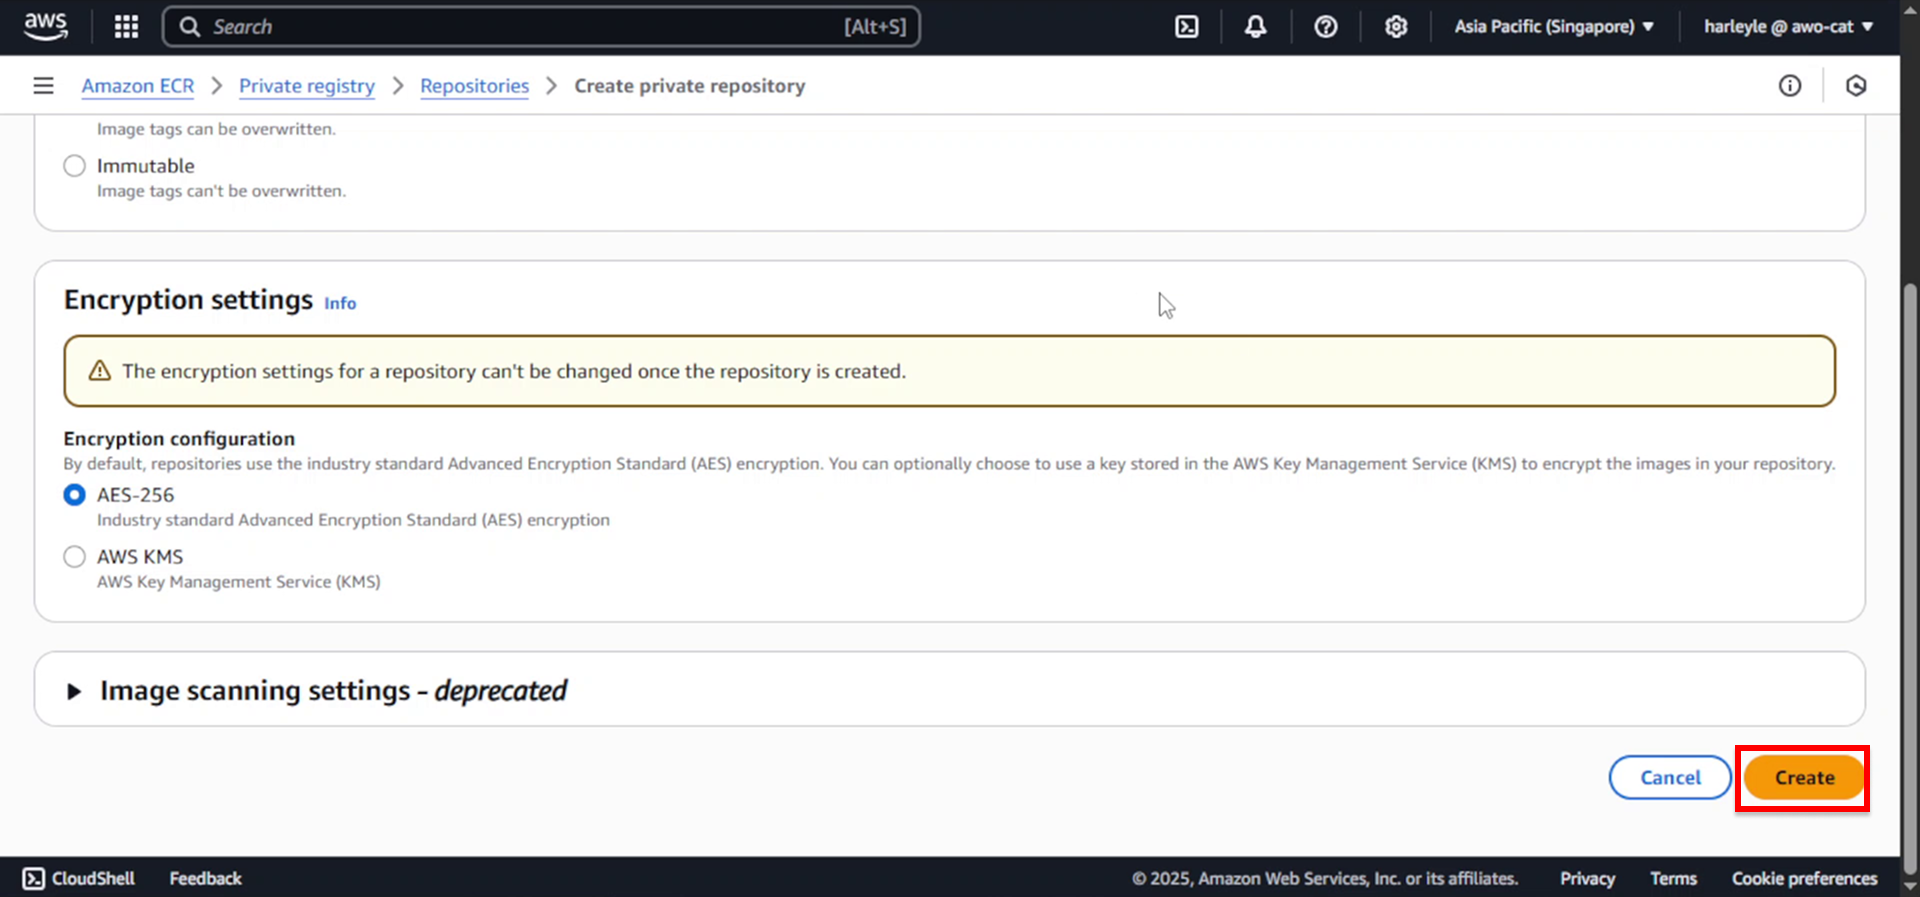
4. Scroll to the bottom and click Create repository.
5. Verify creation: Confirm that the fcj-registry repository appears in your ECR console. Note the repository URI as you’ll need it for pushing images.
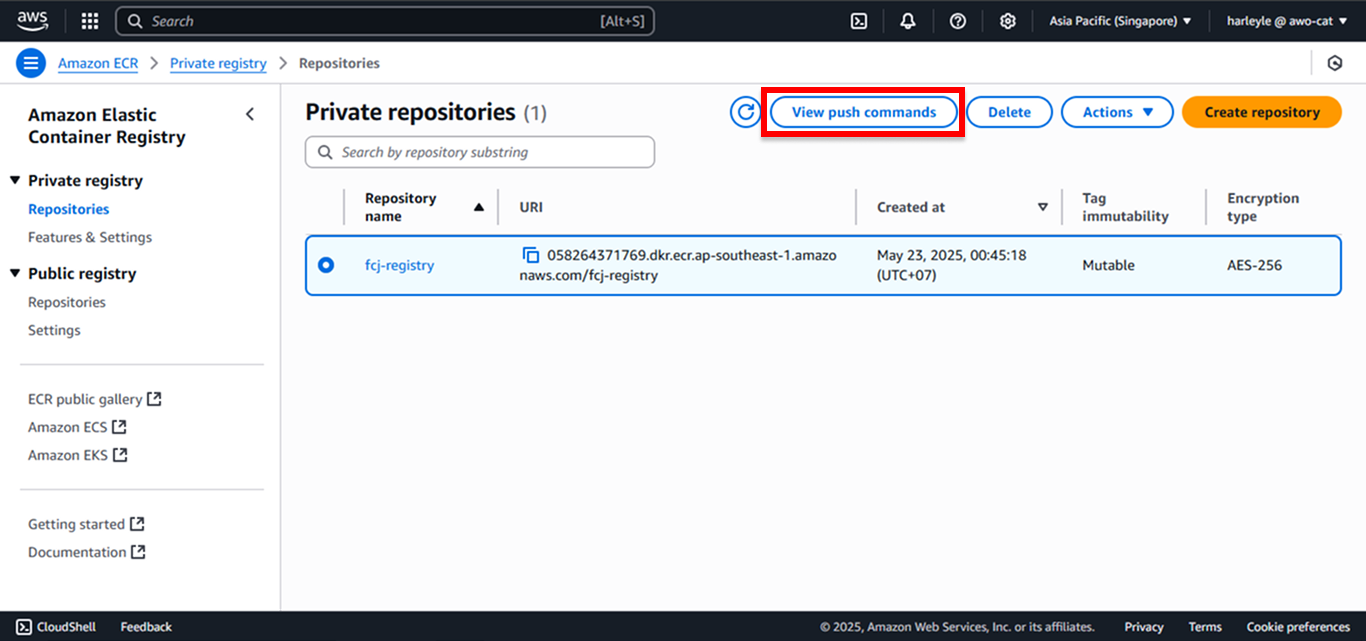
You can optionally view the push commands by clicking on View push commands, but we’ll provide detailed instructions in the next section.
Explore the Dockerfiles
The Dockerfiles used to build the core and admin images have been written, documented, and pushed to our GitHub repository.
Take a moment to explore them by visiting the following links:
- Core Image Dockerfile: View on GitHub
- Admin Image Dockerfile: View on GitHub
Understanding these Dockerfiles will help you see how the Spring Boot applications are containerized for deployment on ECS Fargate.
Build and Push Container Images
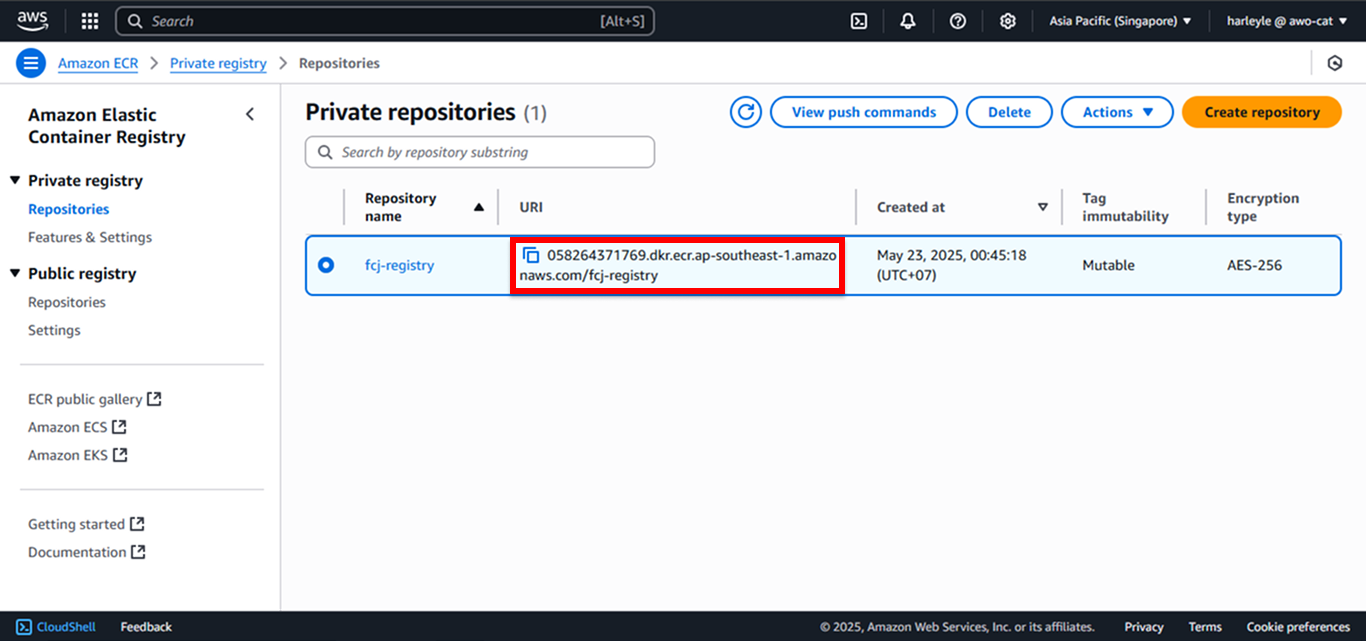
1. Copy the repository URI: In your ECR repository page, copy the URI of the repository. You’ll need this for pushing container images.
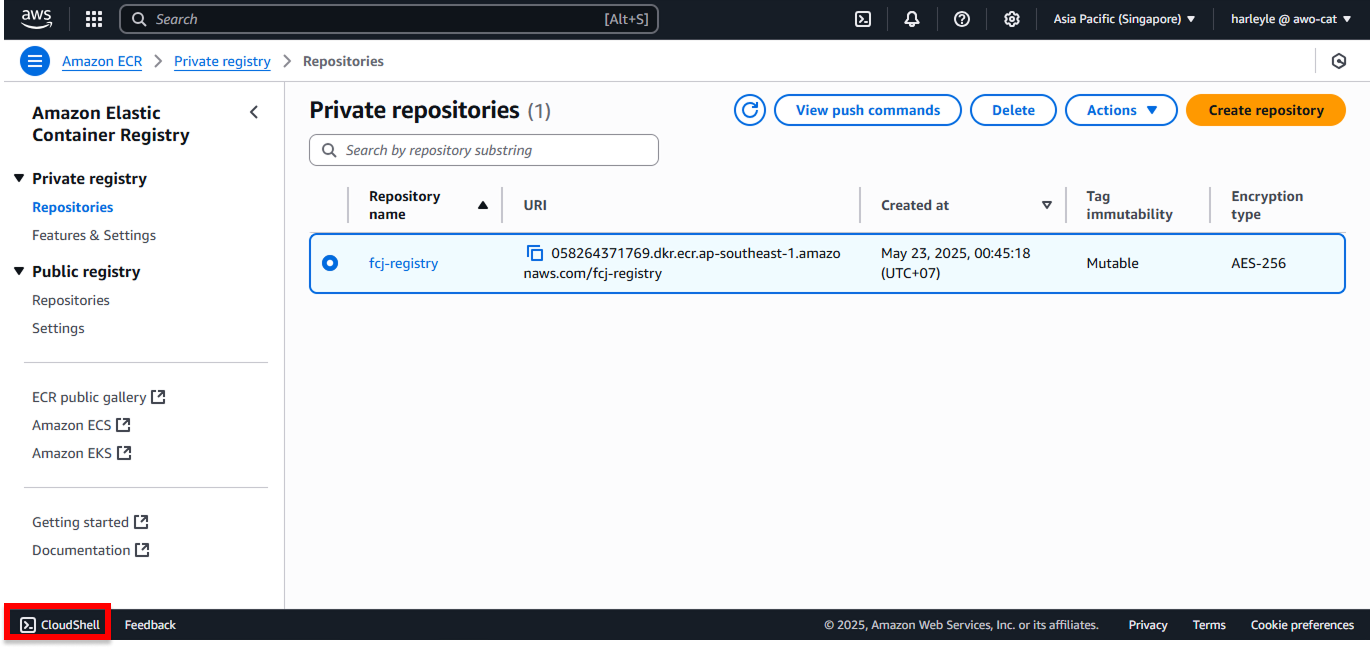
2. Open CloudShell: Click on CloudShell in the bottom left corner to open AWS CloudShell.
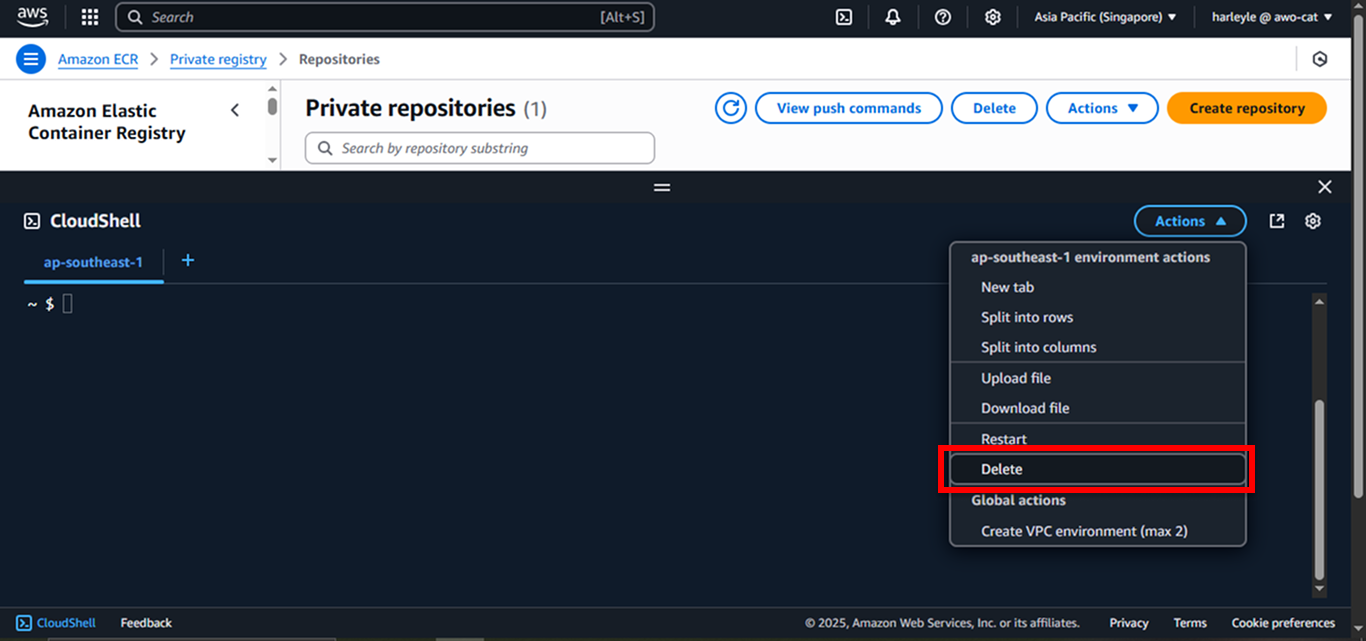
3. (Optional) Clear previous data: Click on Actions, then Delete to clear any data from previous sessions.
Building and Pushing the Core Application
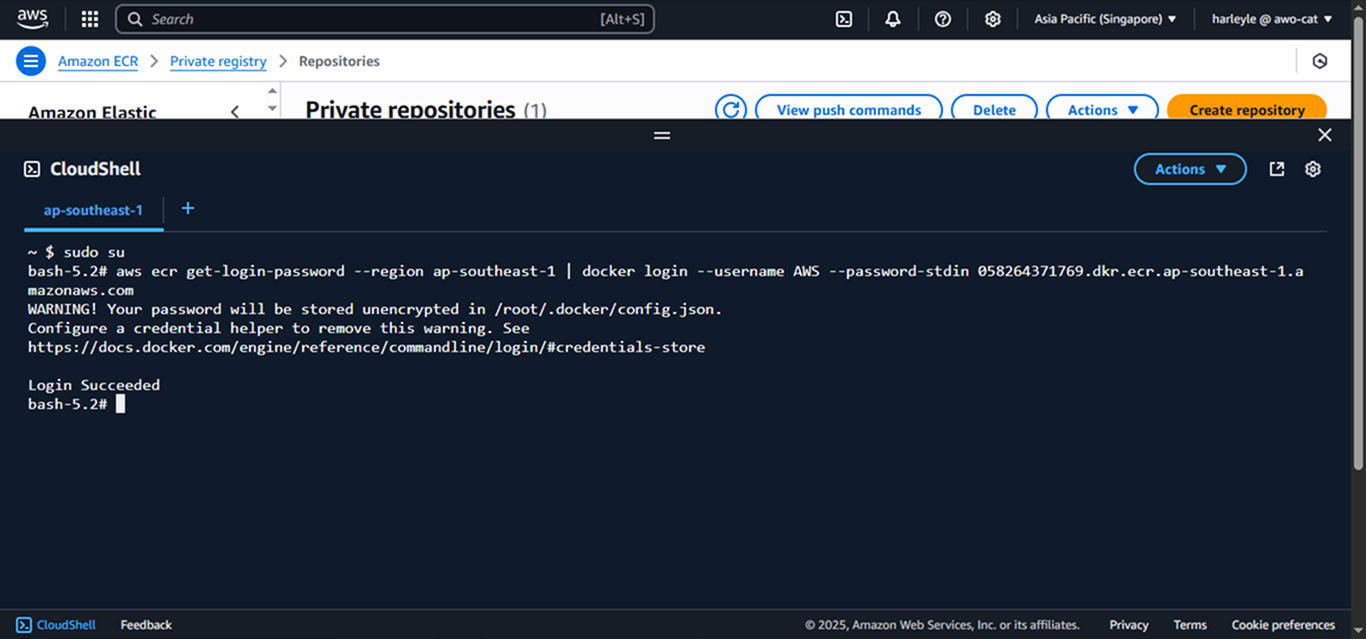
4. Authenticate with ECR: Execute the following command to authenticate Docker with your ECR registry.
- Replace the placeholders with your actual values:
<your-region>: Your AWS region (e.g.,ap-southeast-1)<account-id>: Your AWS account ID (the numbers before.dkr.ecrin your repository URI)
sudo su

aws ecr get-login-password --region <your-region> | docker login --username AWS --password-stdin <account-id>.dkr.ecr.<your-region>.amazonaws.com
5. Clone the repository and navigate to core application:
git clone https://github.com/weebNeedWeed/ws-deploying-spring-ecs-fargate.git

cd /home/cloudshell-user/ws-deploying-spring-ecs-fargate/application/Momentum

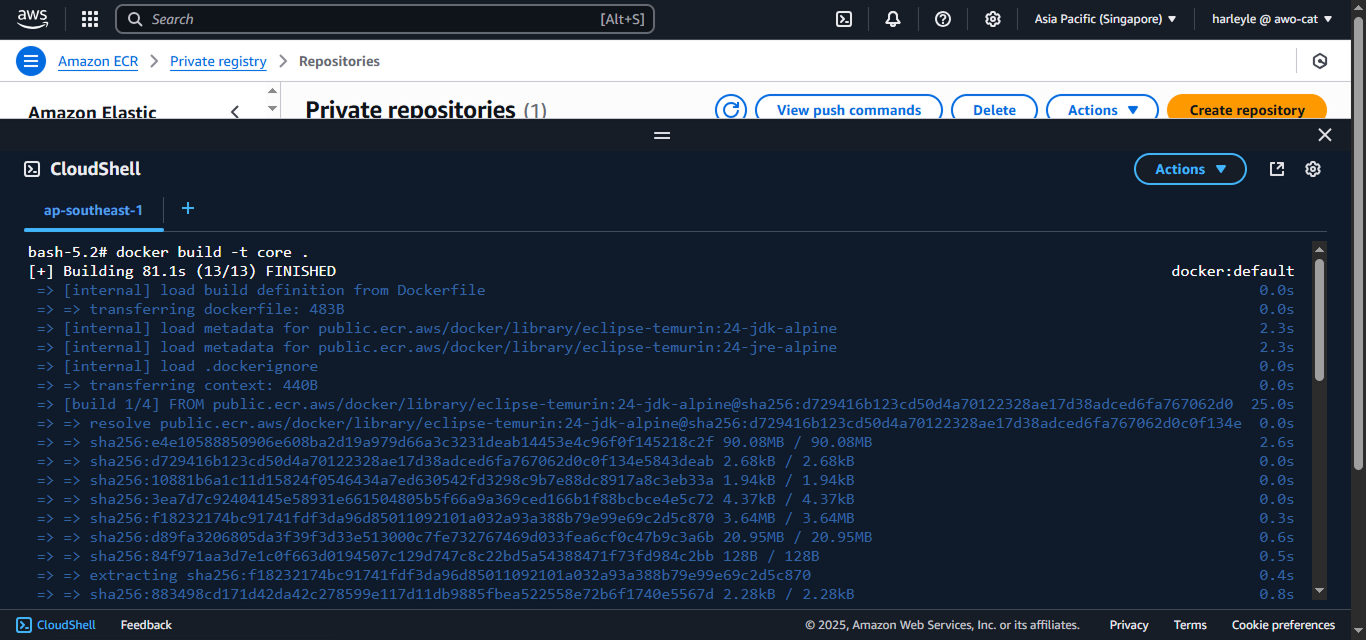
6. Build the core application image:
docker build -t core .
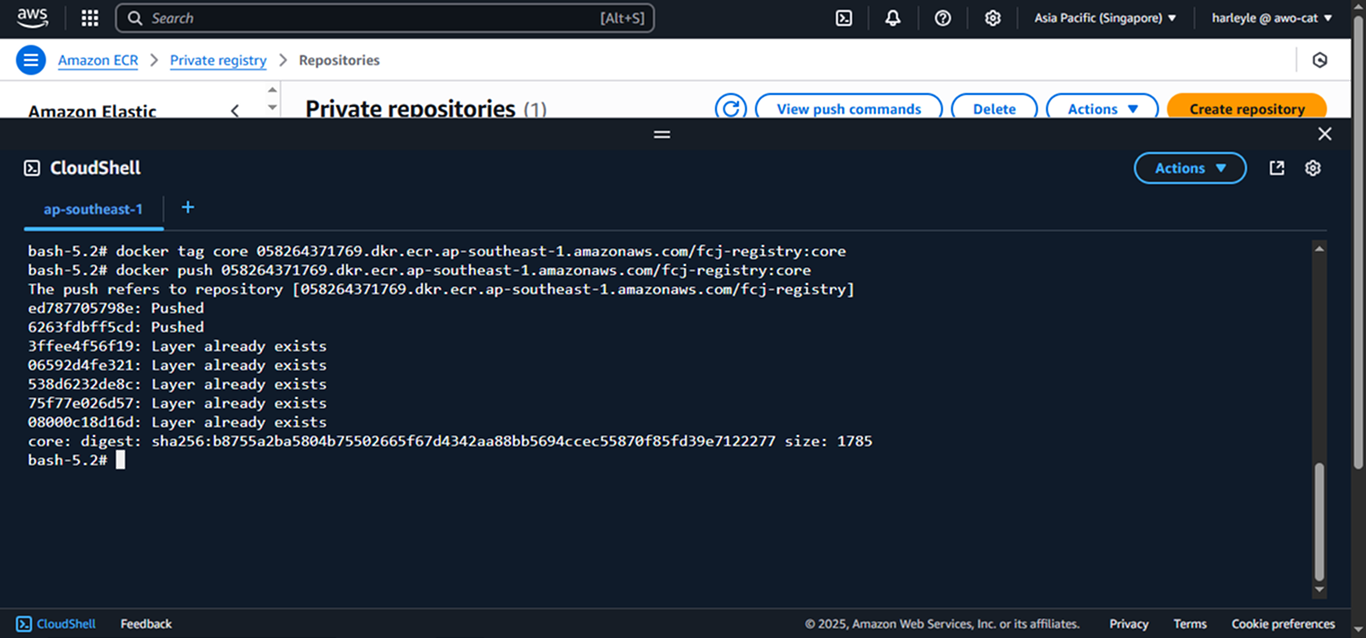
7. Tag and push the core image:
- Replace
<repo-uri>with your full repository URI (e.g.,123456789012.dkr.ecr.ap-southeast-1.amazonaws.com/fcj-registry)
docker tag core <repo-uri>:core

docker push <repo-uri>:core
Building and Pushing the Admin Application
8. Navigate to admin application directory:
cd /home/cloudshell-user/ws-deploying-spring-ecs-fargate/application/MomentumAdmin
9. Build, tag, and push the admin application image:
docker build -t admin .

docker tag admin <repo-uri>:admin

docker push <repo-uri>:admin
10. Verify your images: Return to the ECR console and refresh your repository. You should see both images with their respective tags.
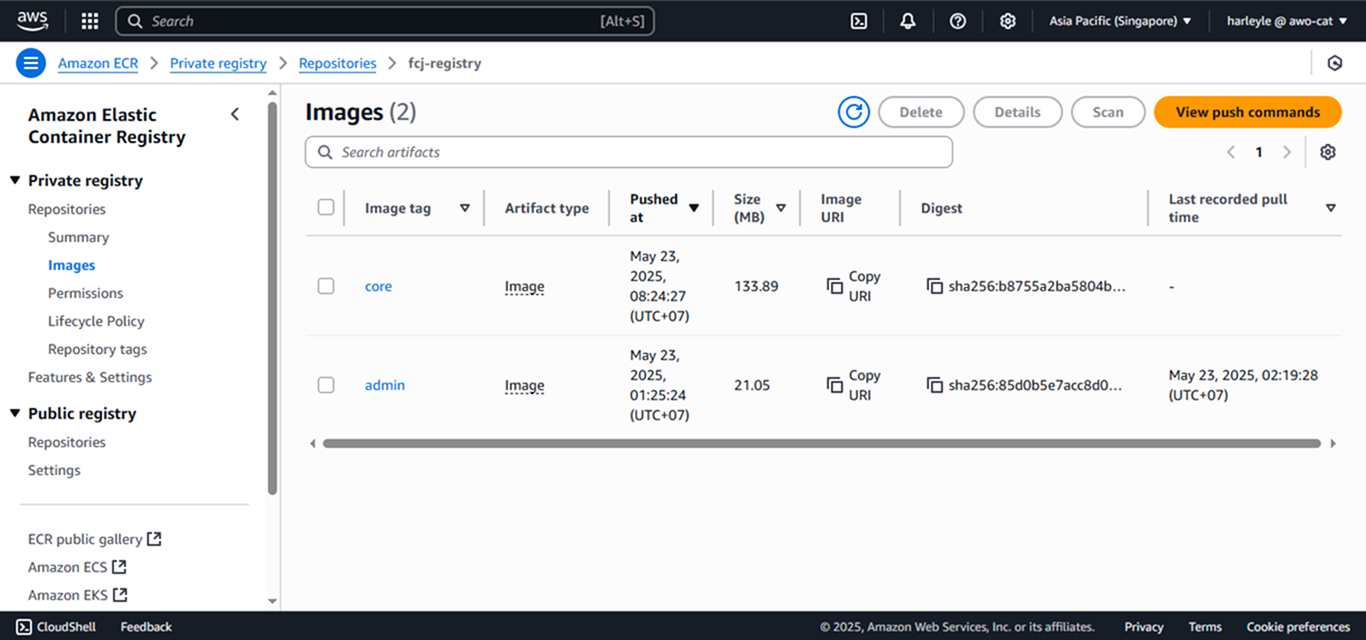
You have successfully built and pushed both container images to Amazon ECR:
- core: Contains the main Spring Boot application
- admin: Contains the administrative interface
Both images are now ready to be deployed to Amazon ECS.