Set Up RDS PostgreSQL Database
Amazon RDS Overview
Amazon Relational Database Service (Amazon RDS) is a web service designed to simplify setting up, operating, and scaling relational databases in the AWS Cloud. It offers cost-efficient, resizable capacity for industry-standard relational databases while managing common database administration tasks.
Compared to self-managed database deployments, Amazon RDS offers several key advantages:
- Familiar Database Engines: You can use popular database engines like IBM Db2, MariaDB, Microsoft SQL Server, MySQL, Oracle Database, and PostgreSQL.
- Managed Services: Amazon RDS handles essential tasks such as backups, software patching, automatic failure detection, and recovery. This frees you to focus on your application.
- High Availability and Read Scaling: You can achieve high availability with a primary DB instance and a synchronous secondary instance for failover. Additionally, read replicas can be used to scale read-heavy workloads.
While AWS generally recommends provisioning databases across at least two Availability Zones (AZs) for enhanced resilience, this workshop will deploy a single database instance in one subnet within a single AZ to minimize costs.
Create Subnet Group
A database subnet group is a collection of subnets (typically private) that you create in a VPC and that you then designate for your database instances. By using a database subnet group, you can specify a particular VPC when creating database instances.
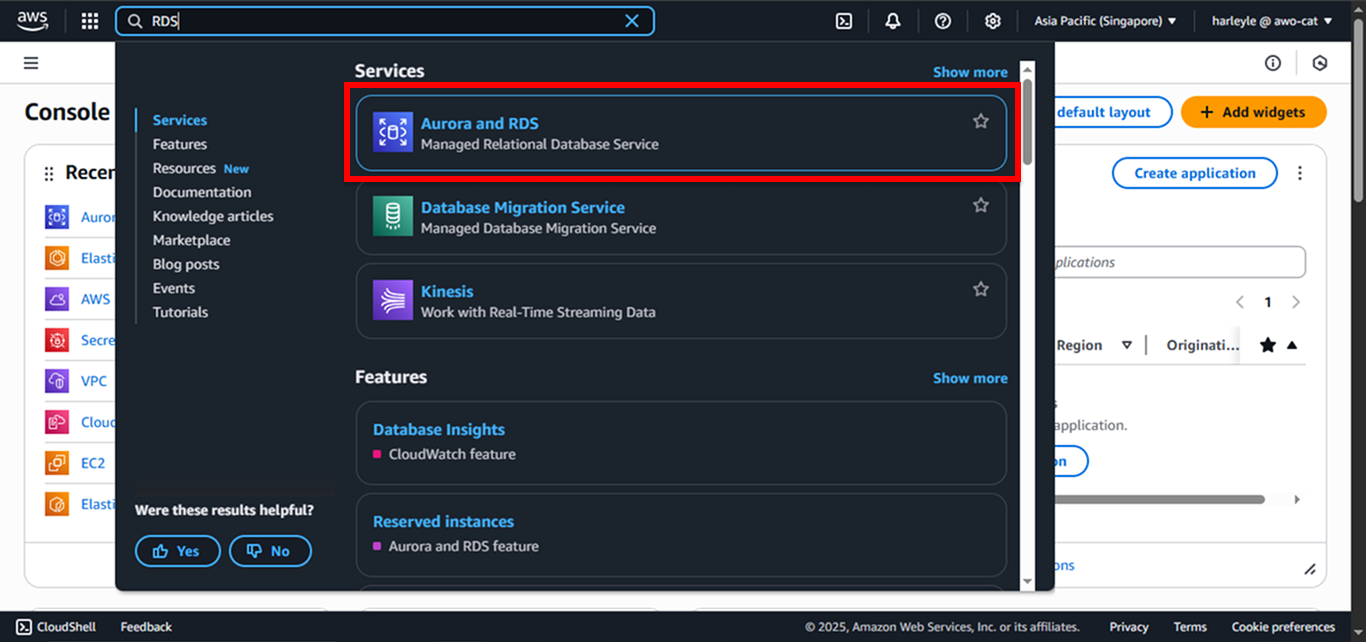
1. In the AWS Console search bar, type “RDS” and select Aurora and RDS from the dropdown, or navigate to Services > Database > Aurora and RDS.
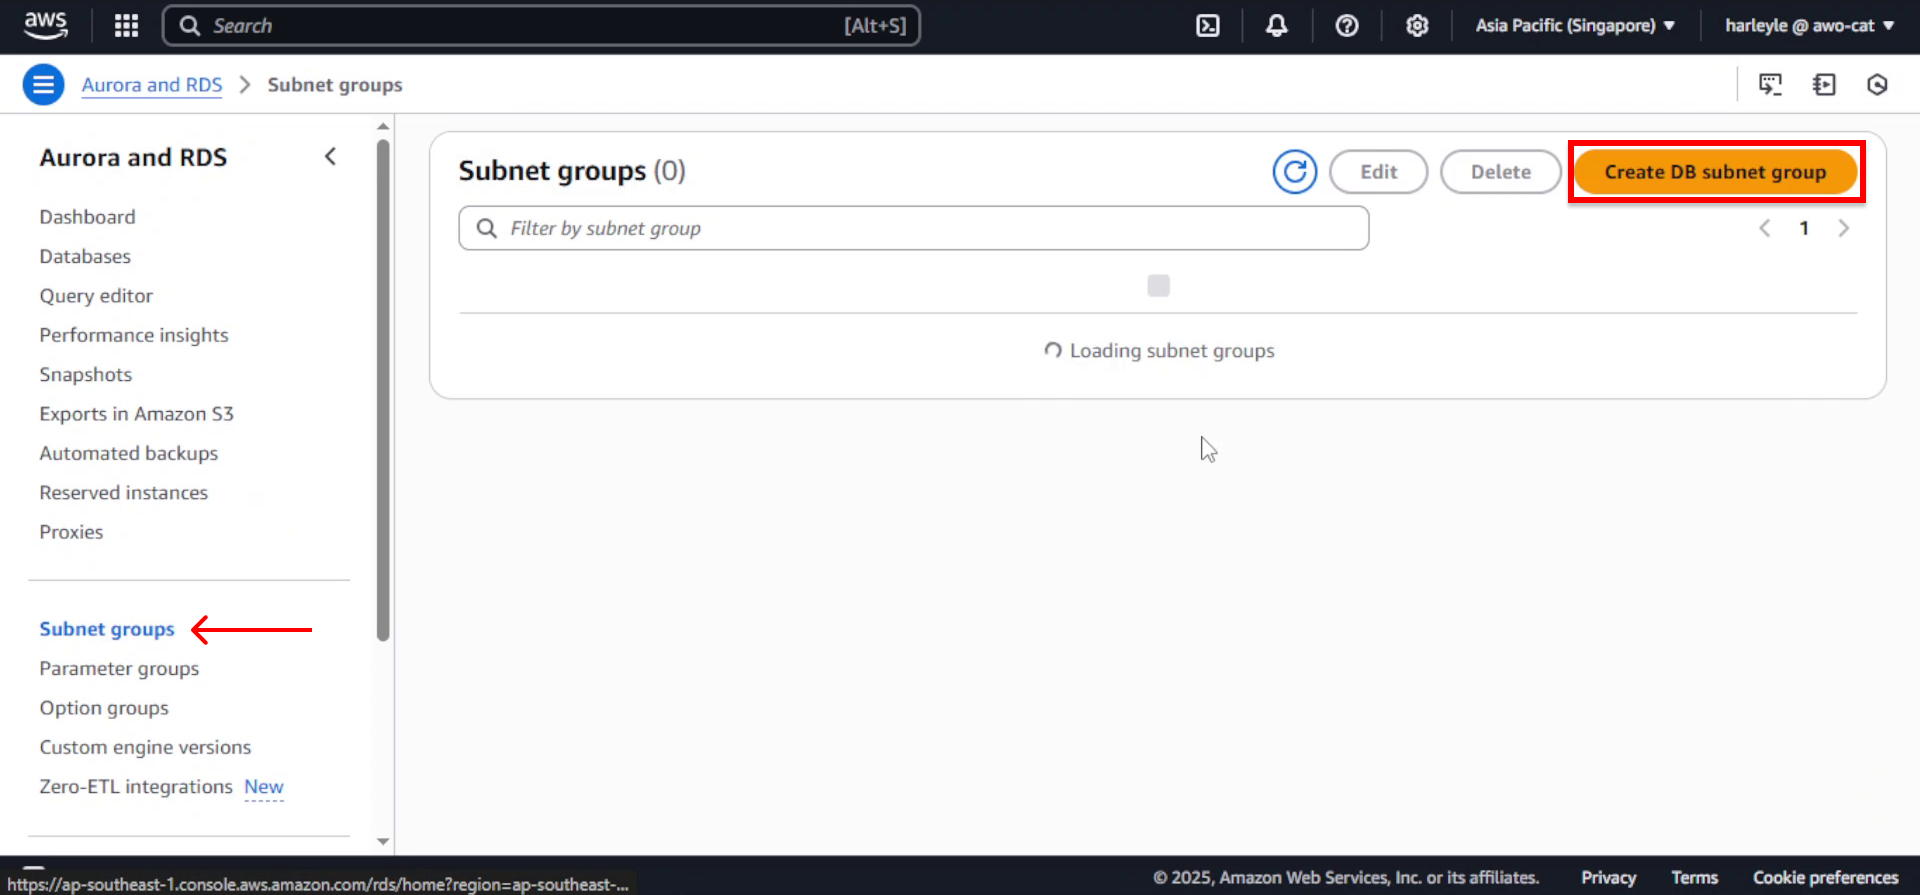
2. In the RDS Dashboard, select Subnet groups from the left navigation panel, then click Create DB subnet group.
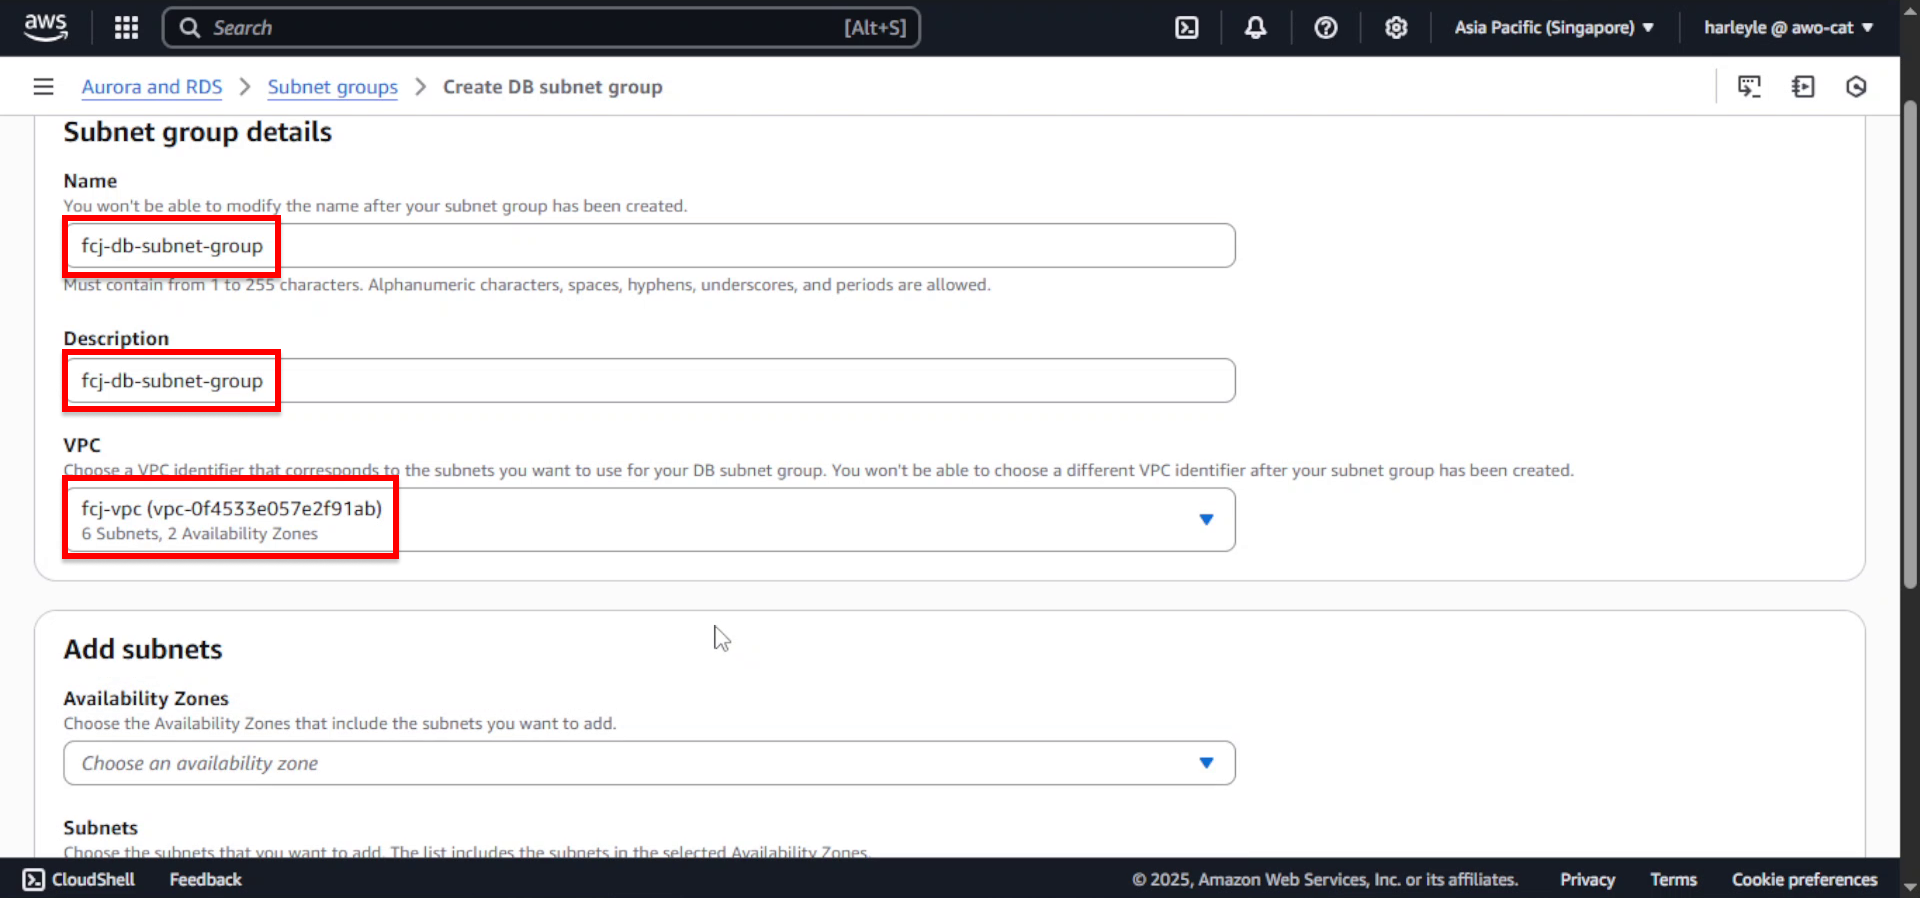
3. Configure the subnet group settings:
- Name: Enter
fcj-db-subnet-group - Description: Enter
fcj-db-subnet-group - VPC: Select fcj-vpc
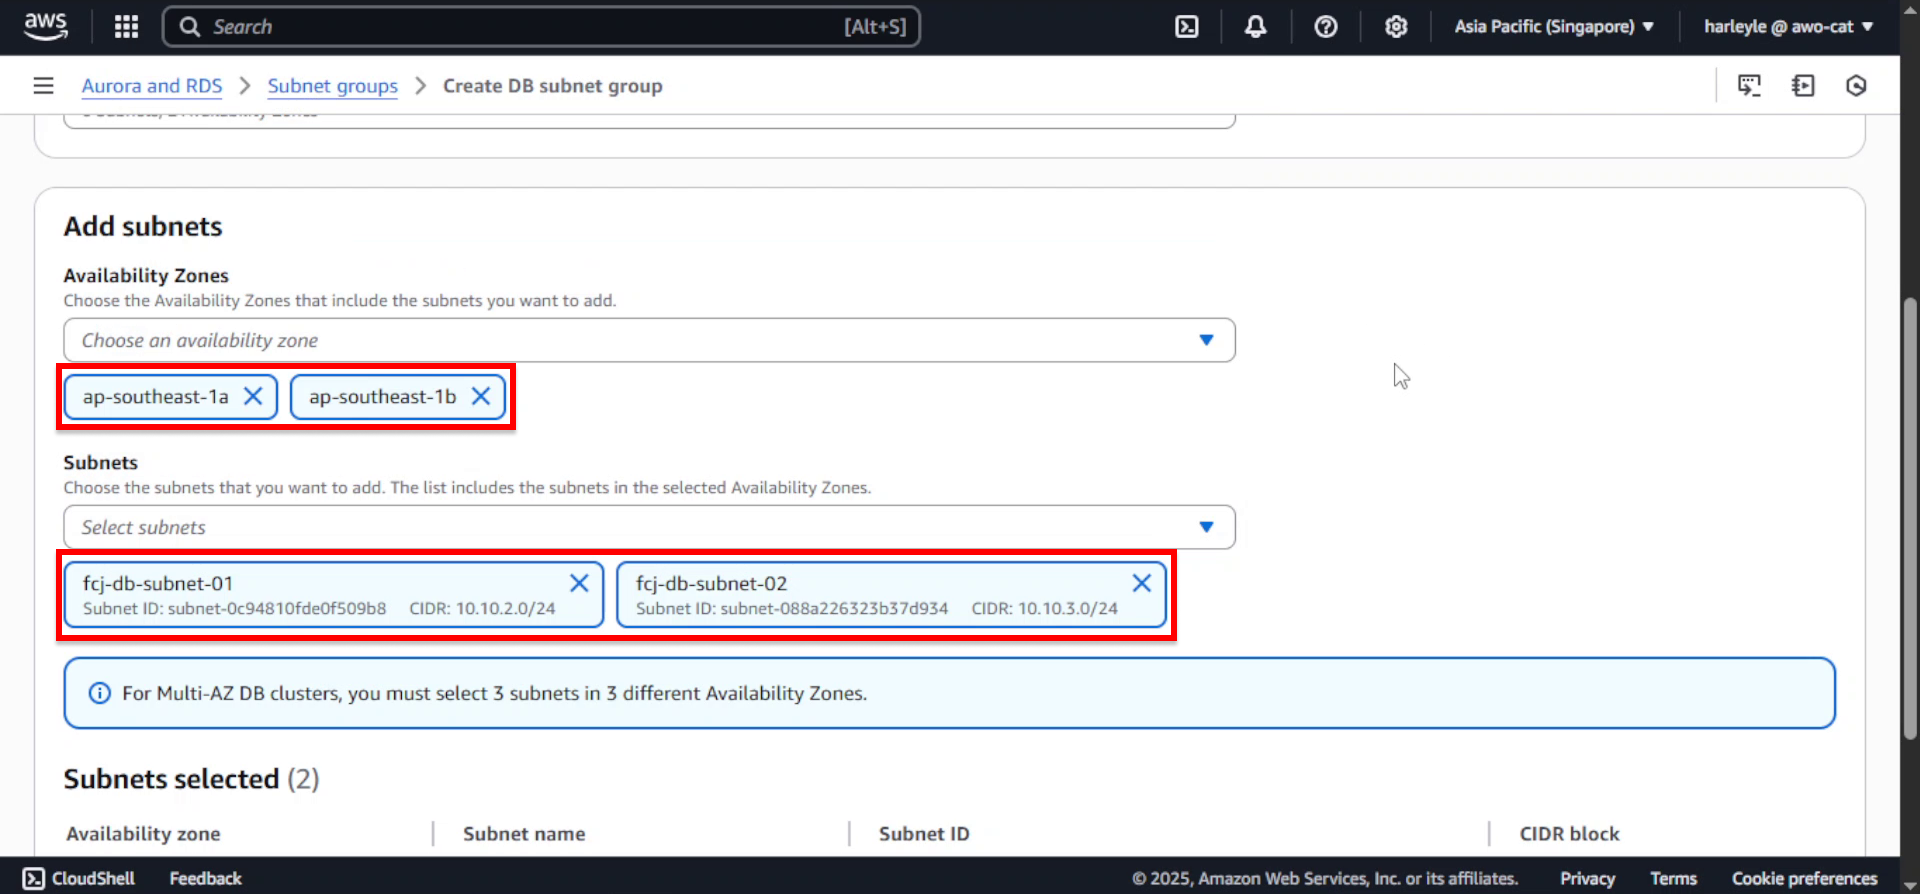
4. Configure the Availability Zones and subnets:
- Availability Zones: Select ap-southeast-1a and ap-southeast-1b (or your region’s equivalent AZs)
- Subnets: Choose fcj-db-subnet-01 and fcj-db-subnet-02
5. Scroll to the bottom and click Create.
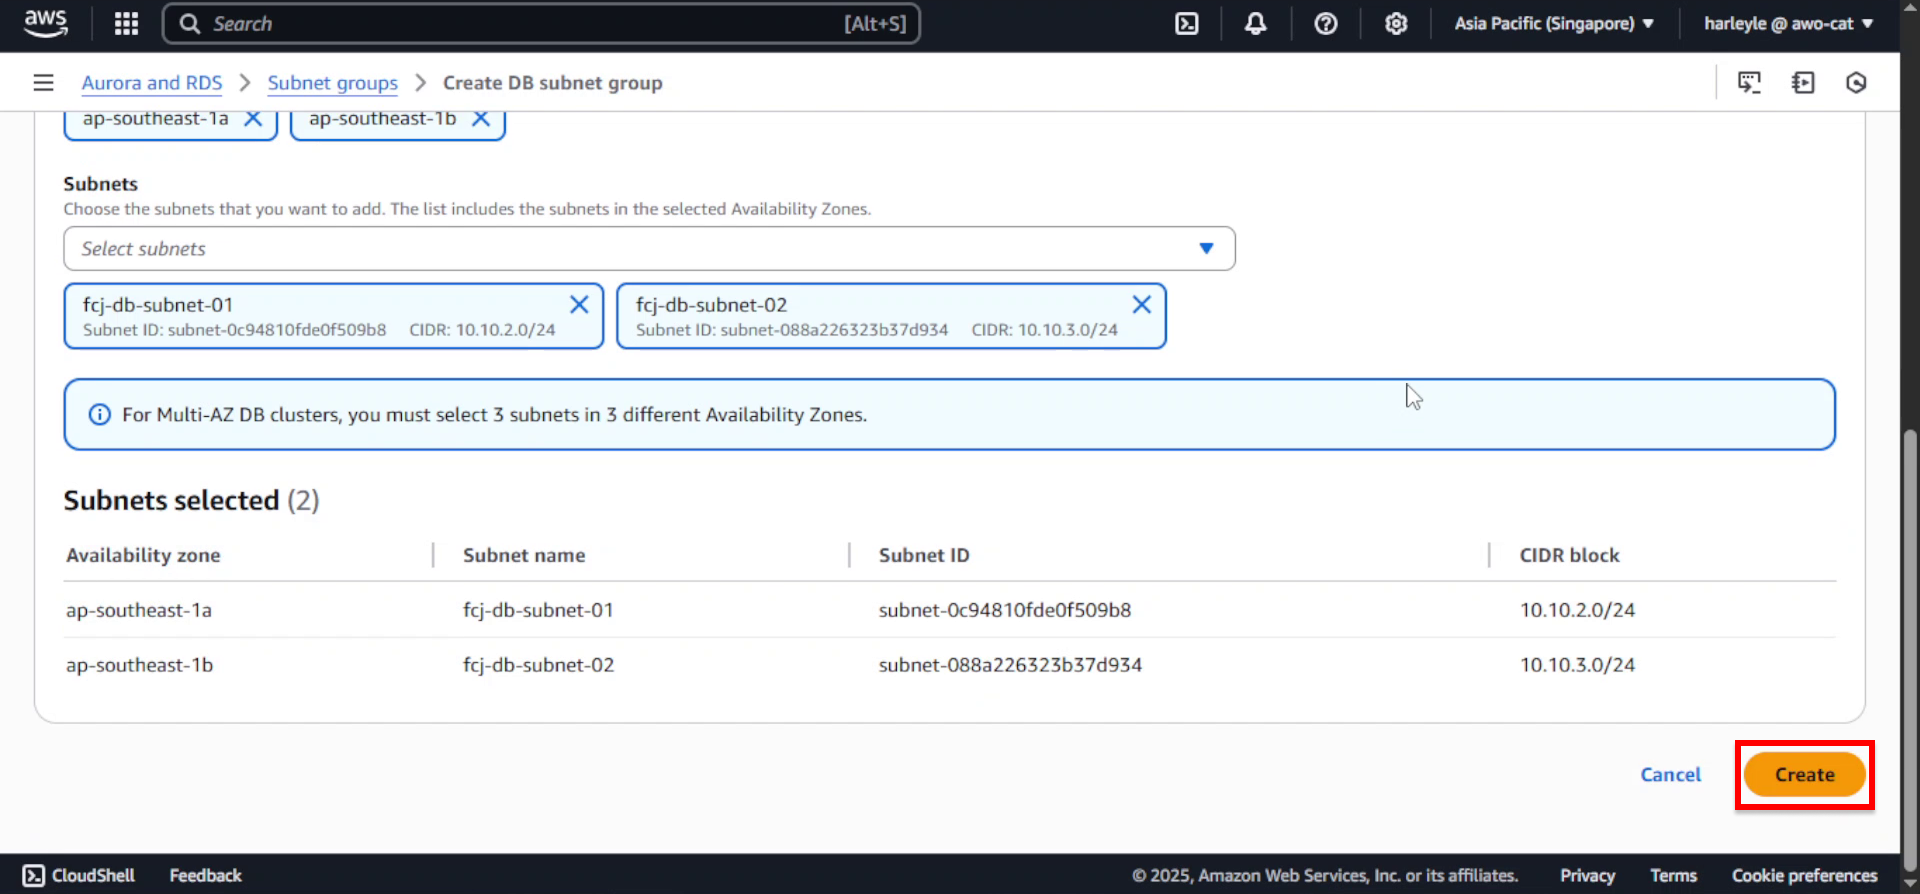
6. Verify creation: Confirm that the fcj-db-subnet-group appears in your subnet groups list with the correct VPC and subnets associated.
The DB subnet group ensures your database instances are deployed in the isolated database subnets across multiple Availability Zones for high availability.
Create Database Instance
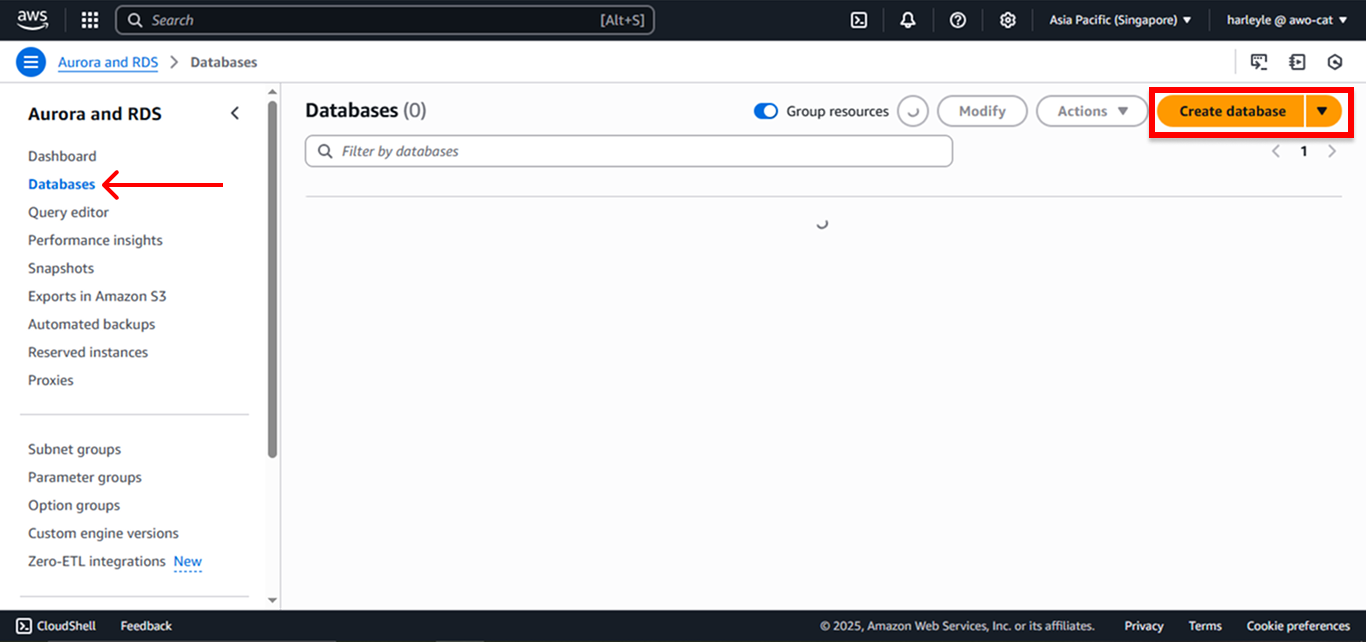
1. In the RDS Dashboard, select Databases from the left navigation panel, then click Create database.
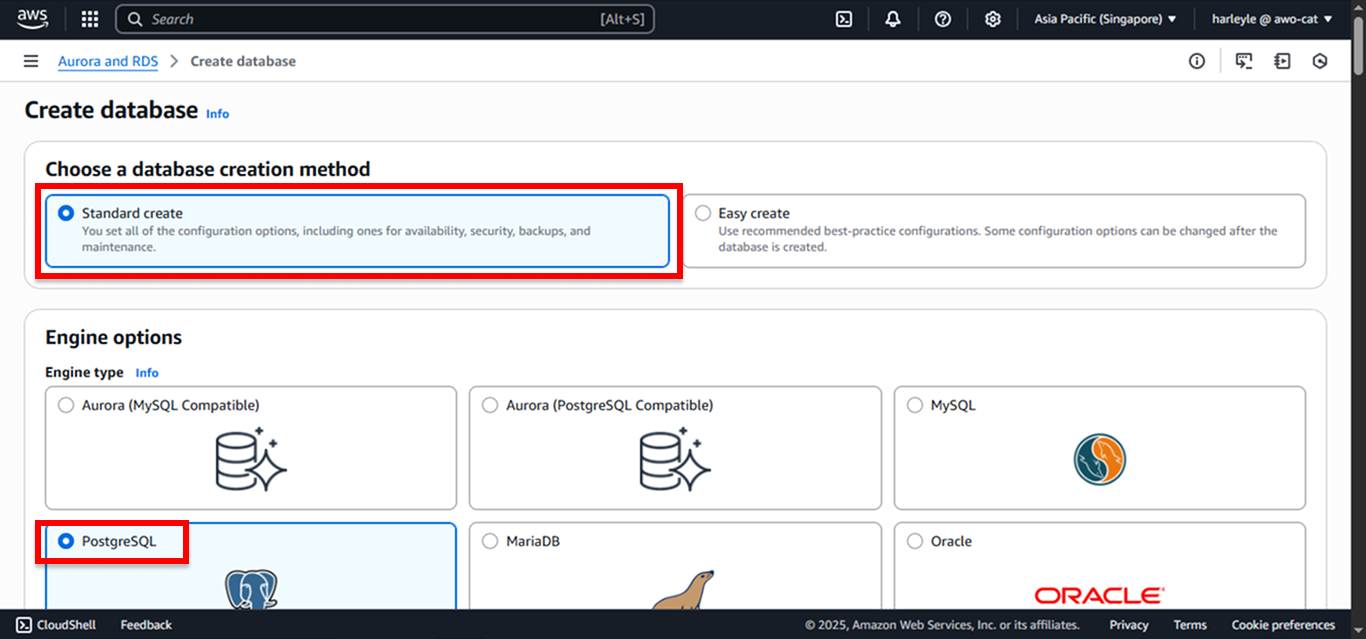
2. Configure the database creation method and engine:
- Database creation method: Select Standard create
- Engine type: Select PostgreSQL
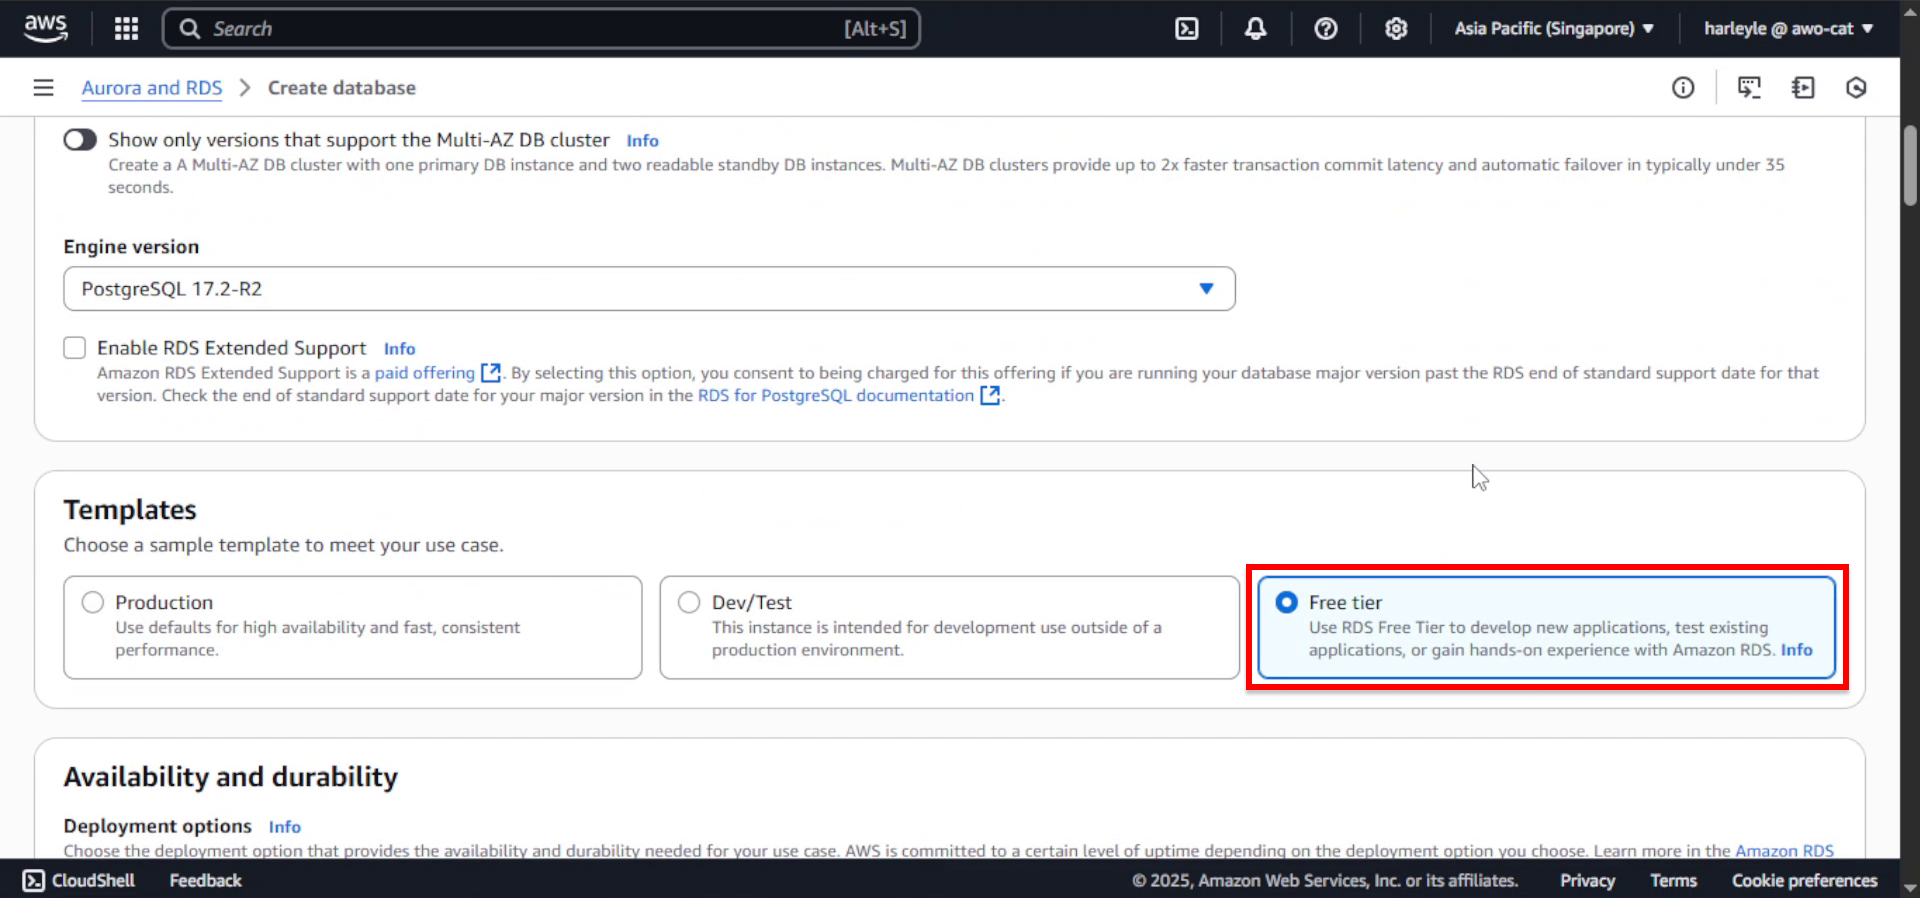
3. Configure the template:
- Templates: Select Free tier
4. Configure the database settings:
- DB instance identifier: Enter
fcj-db
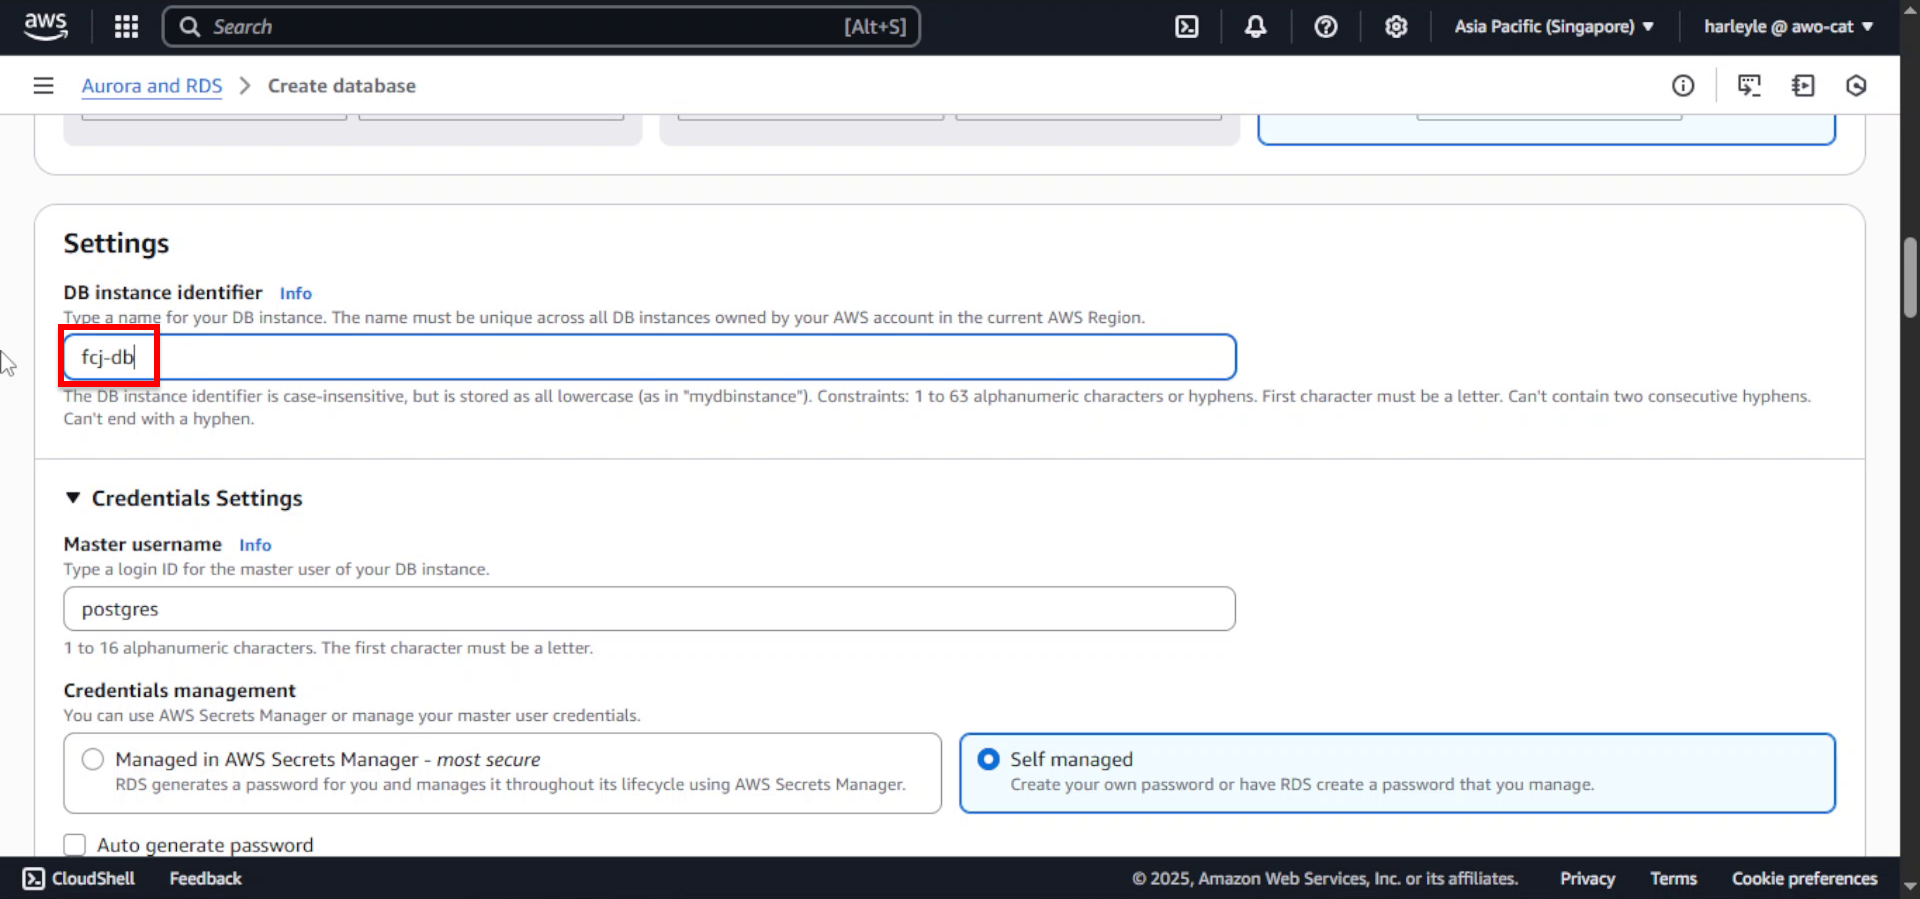
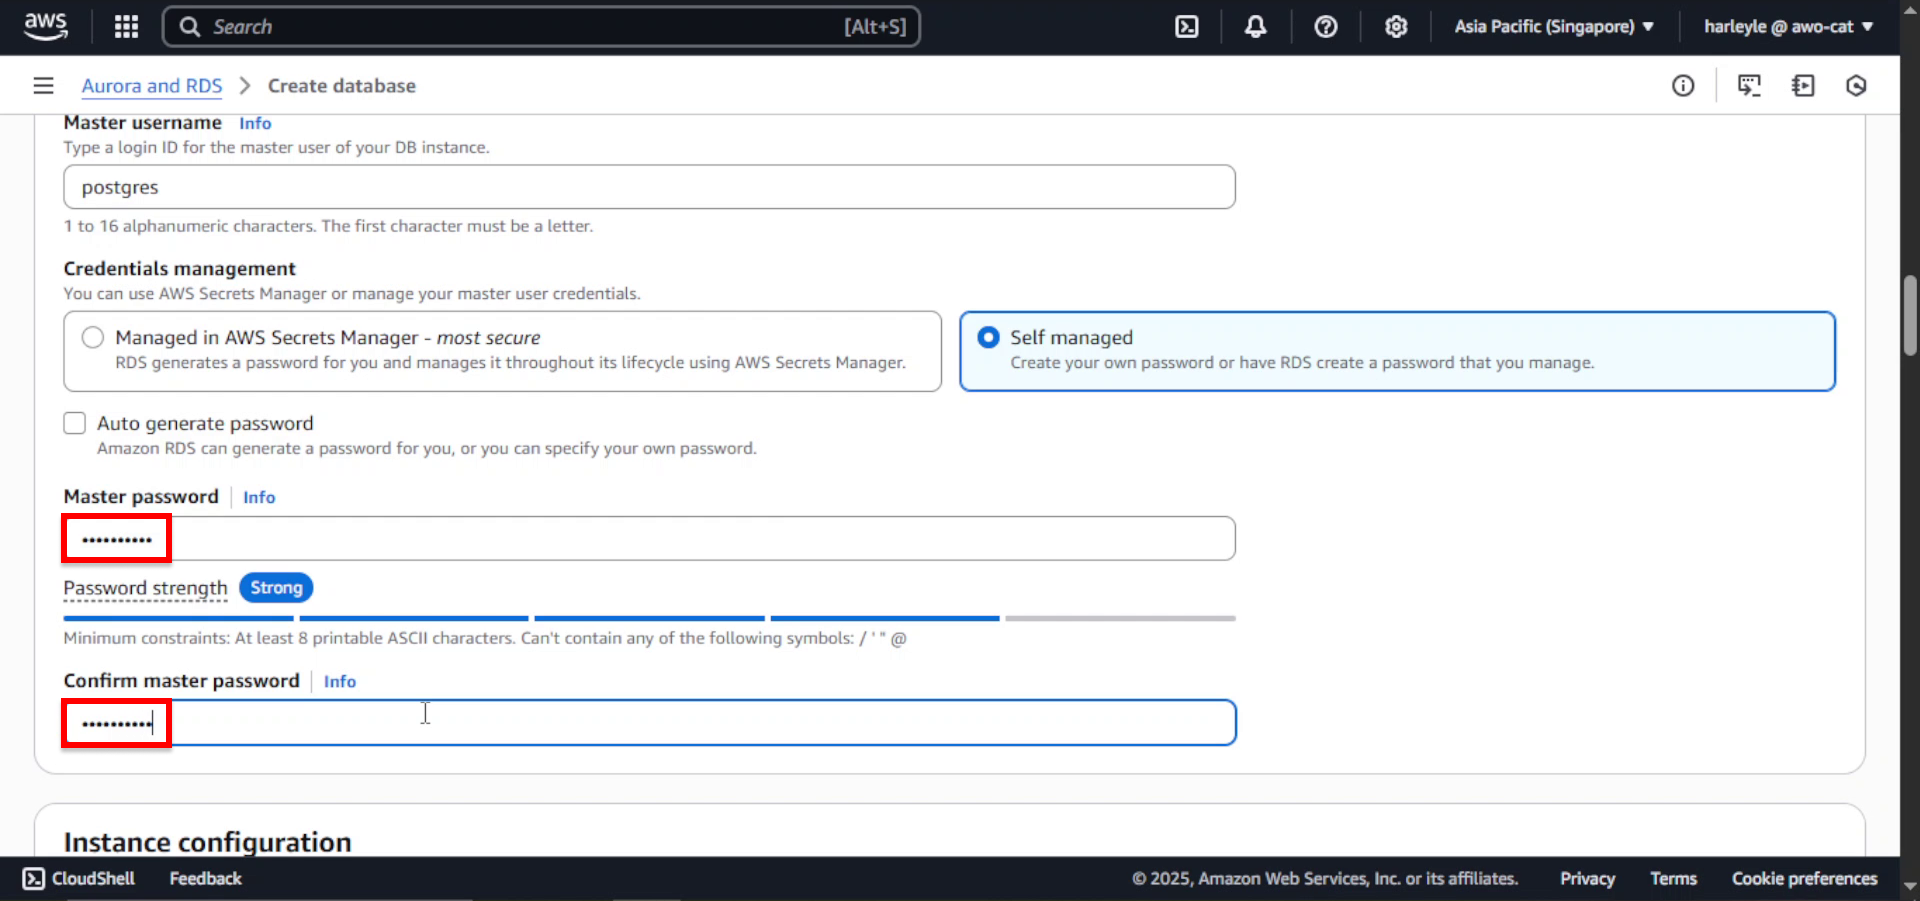
5. Configure credentials settings:
- Credentials management: Select Self managed
- Master username: Leave as default (
postgres) - Master password: Enter
fcj-db-123 - Confirm master password: Enter
fcj-db-123
In production environments, use a strong password and consider using AWS Secrets Manager for credential management.
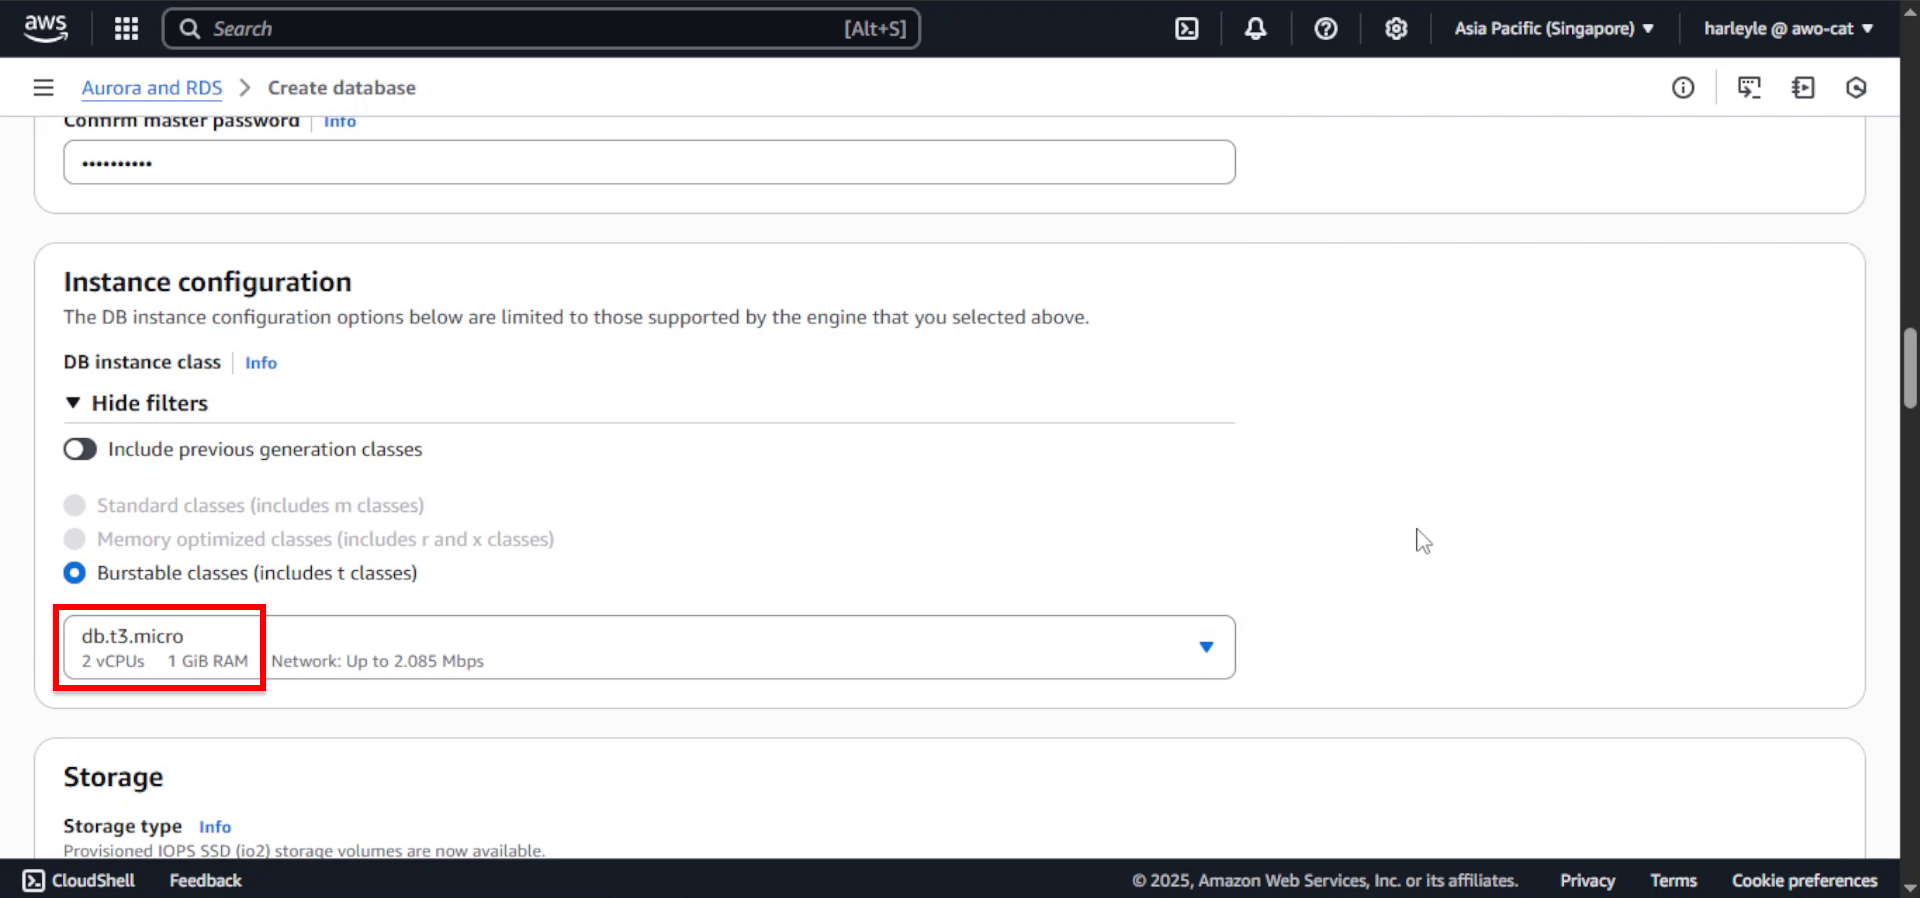
6. Configure instance specifications:
- DB instance class: Select db.t3.micro
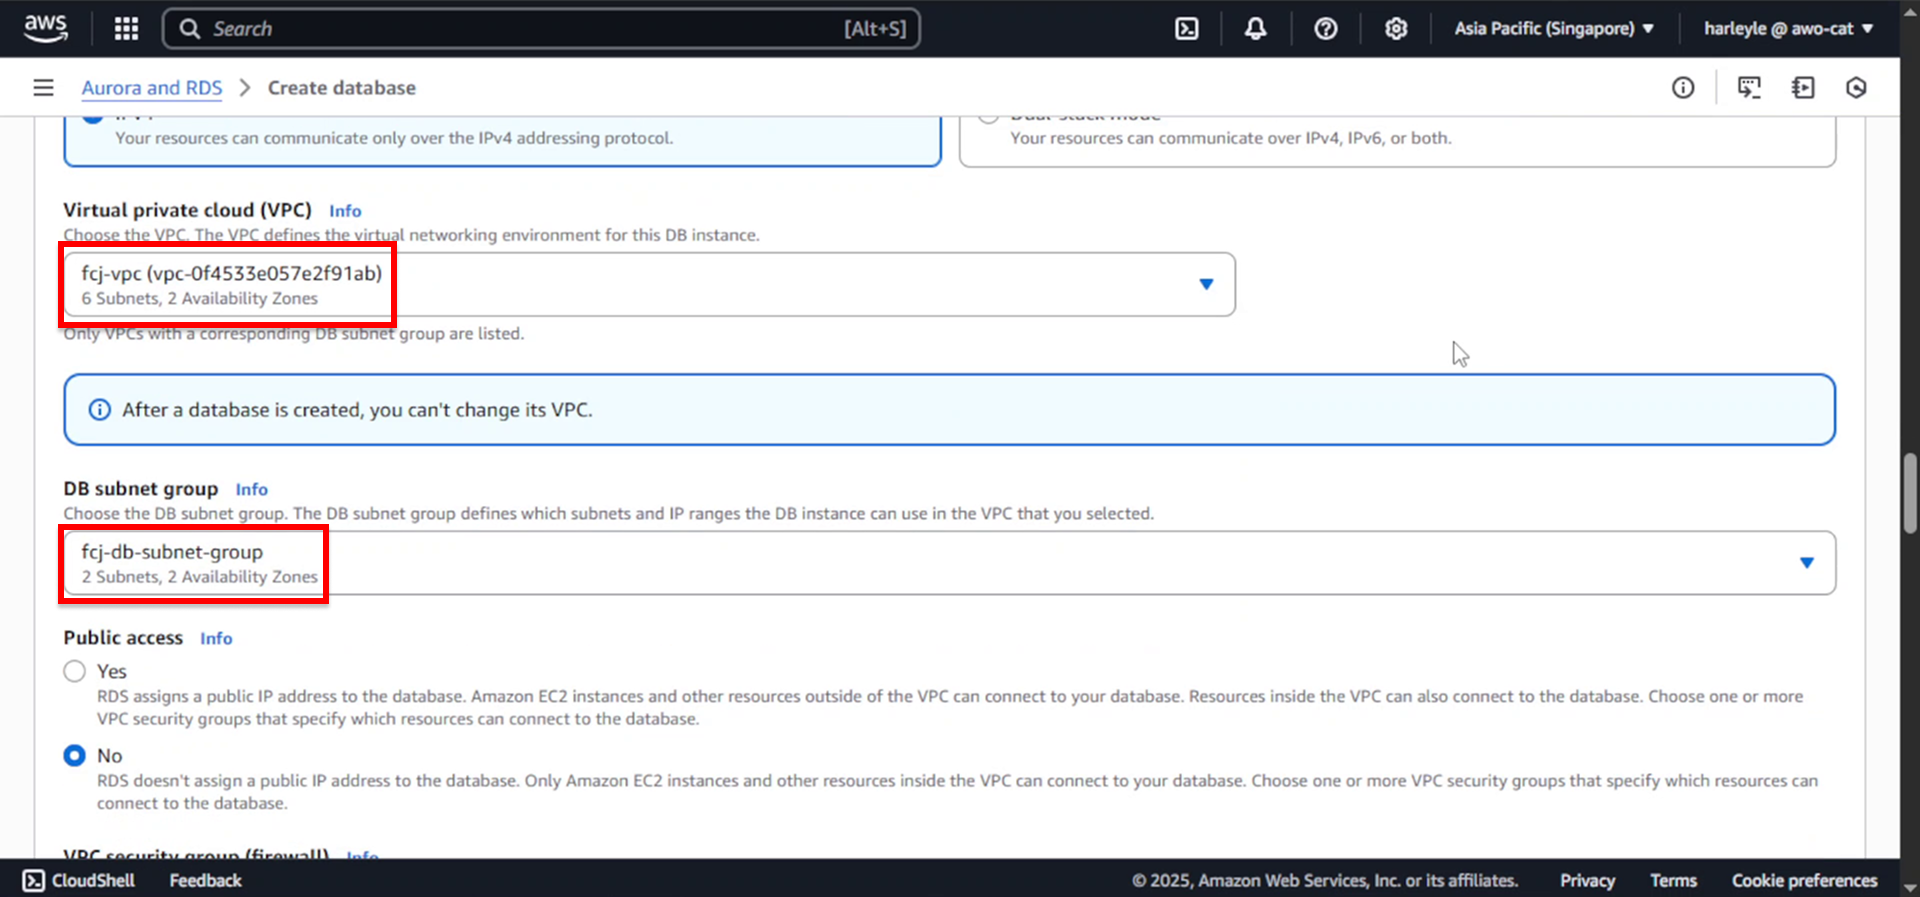
7. Configure connectivity:
- Virtual private cloud (VPC): Select fcj-vpc
- DB subnet group: Select fcj-db-subnet-group
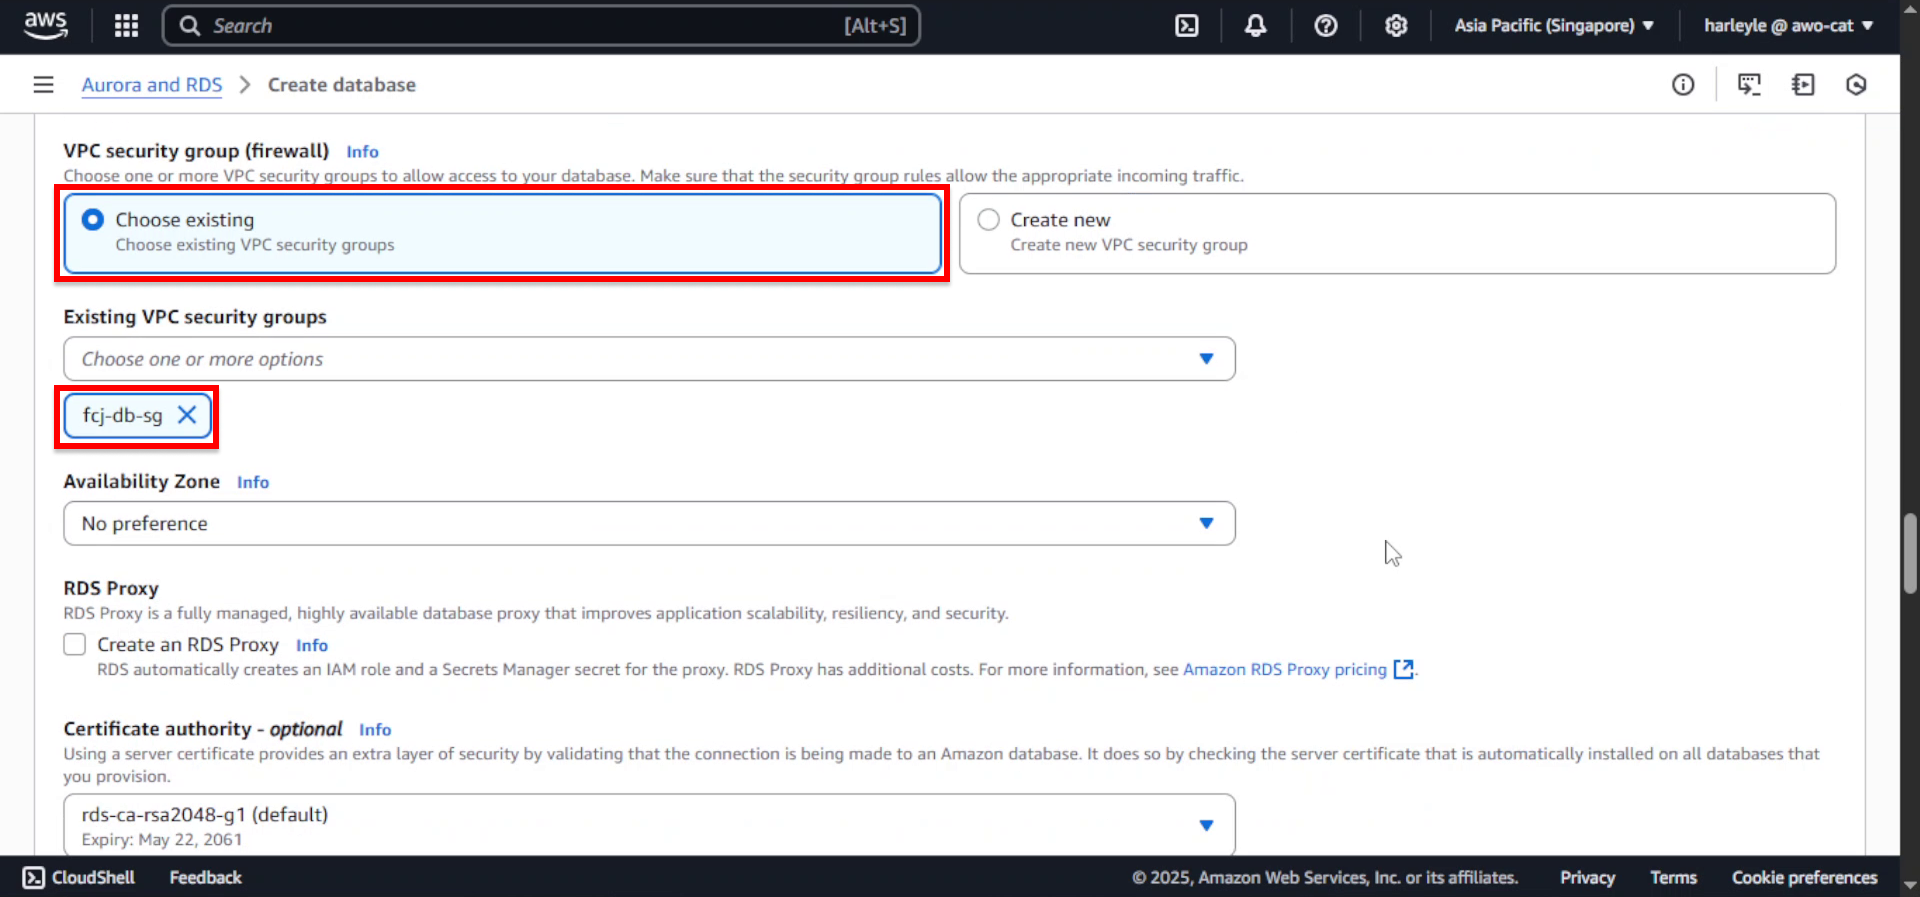
8. Configure security:
- VPC security group (firewall): Select Choose existing
- Existing VPC security groups: Select fcj-db-sg
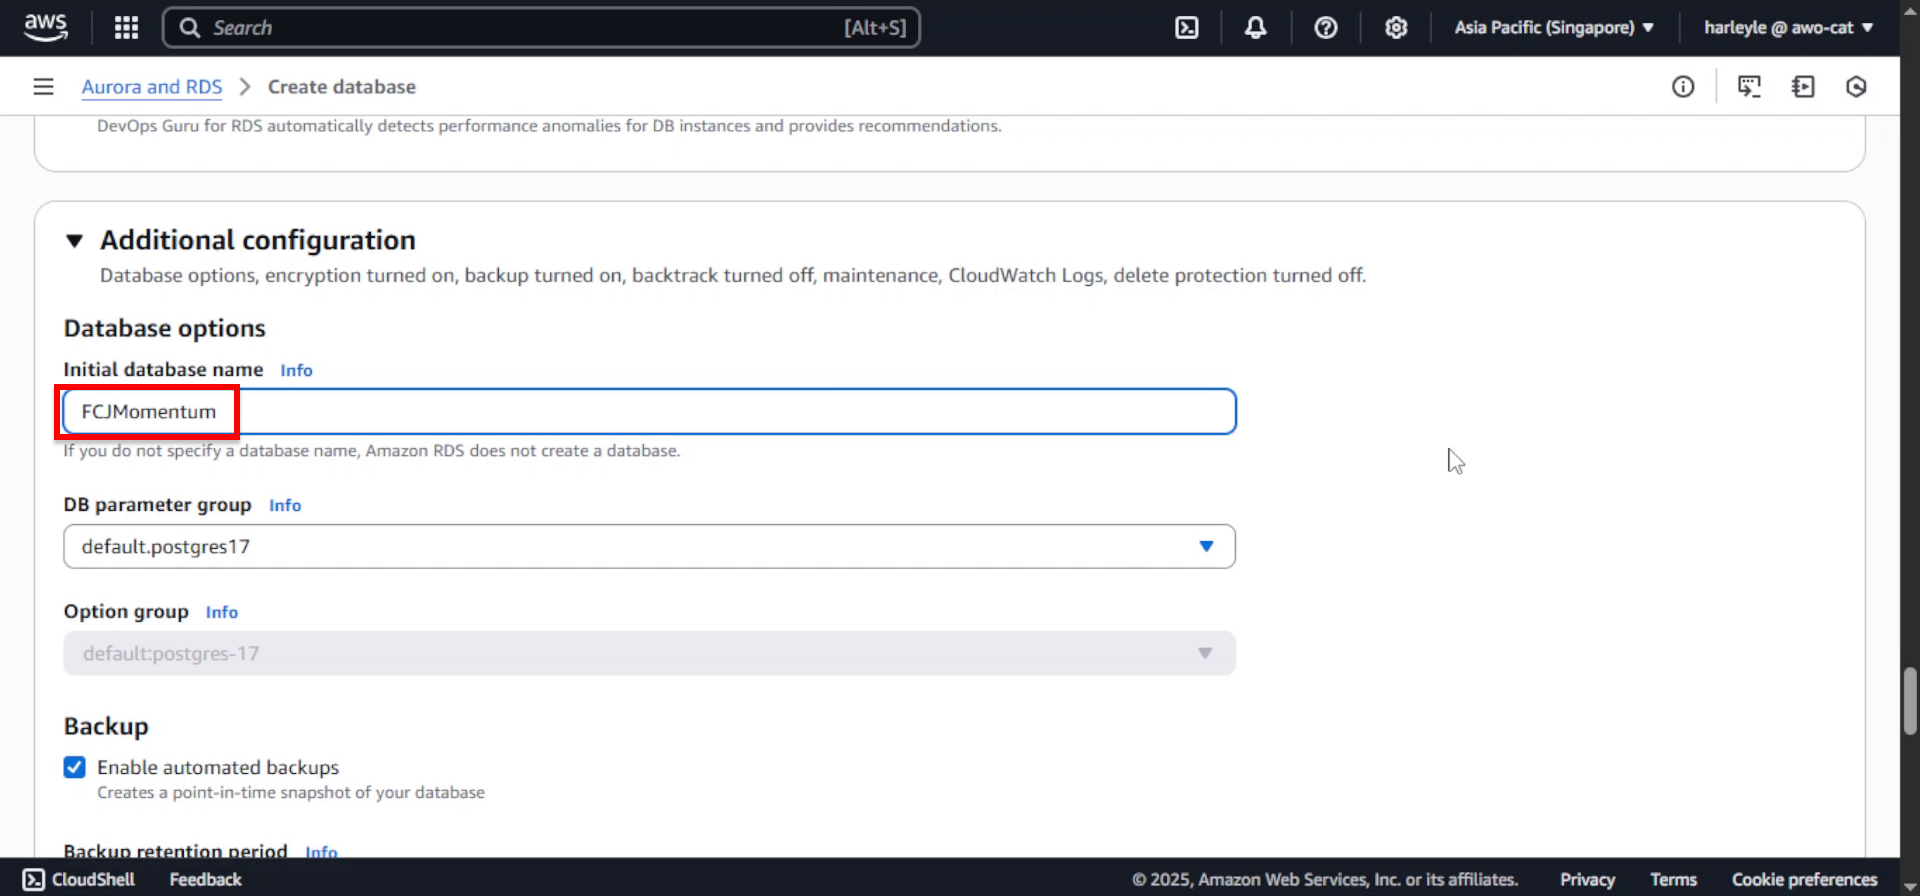
9. Configure additional settings:
- Scroll down to Additional configuration and expand it
- Initial database name: Enter
FCJMomentum
10. Review your configuration and click Create database.
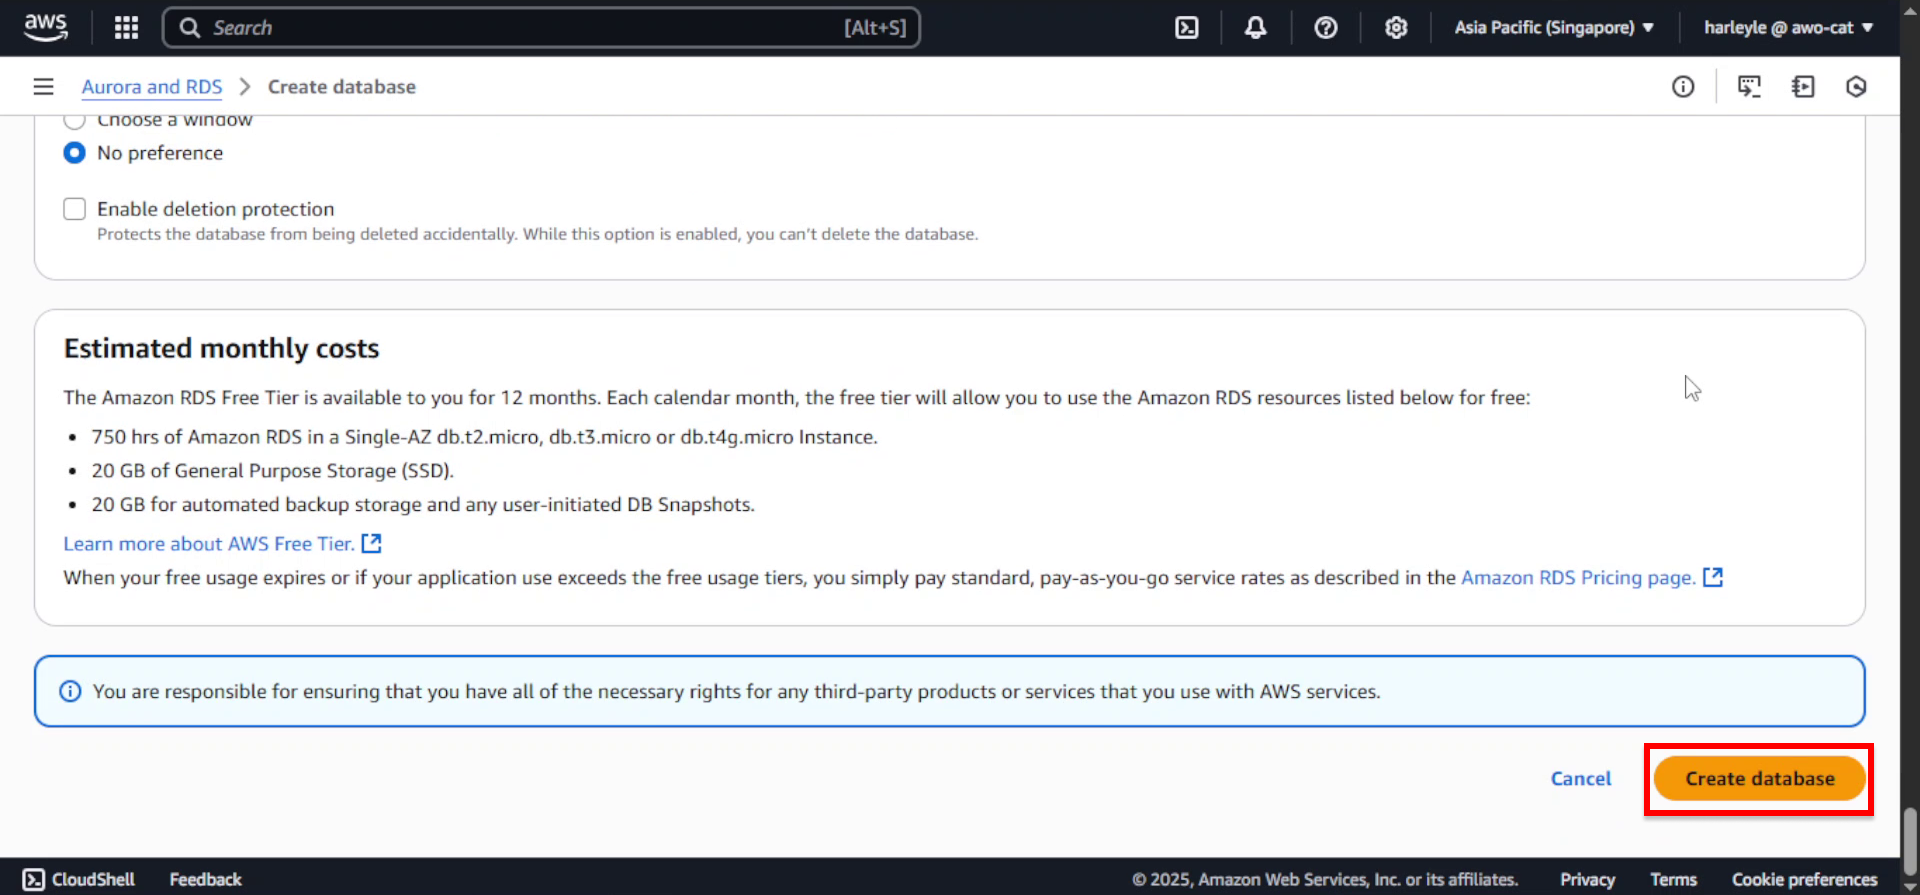
11. Verify creation: The database will show a status of “Creating” initially. Wait for the status to change to “Available” before proceeding to the next section.
Database creation typically takes 5-10 minutes. You can monitor the progress in the RDS console. Make note of the database endpoint once it’s available, as you’ll need it for application configuration.