Configure Private Subnets
Private subnets are designed to be isolated from direct internet access. This is primarily because their associated route tables do not have a route to an internet gateway, and resources within them typically do not possess public IP addresses for inbound connections.
However, in certain scenarios, resources within these private subnets need to access the internet—for example, to download software patches, update packages, or retrieve external dependencies. To enable this outbound-only connectivity, we use a resource called a NAT gateway.

A NAT gateway is a Network Address Translation (NAT) service. It allows instances in a private subnet to connect to services outside your VPC (like the internet), but critically, external services cannot initiate a connection with those instances.
The NAT gateway must be deployed within a public subnet. This placement allows it to be assigned an Elastic IP address (a static, public IP address), enabling communication with the internet. After creating the NAT gateway, we must configure a route in our private subnet’s route table to direct all outbound internet-bound traffic (e.g., 0.0.0.0/0) from the private subnet to the NAT gateway.
For increased resiliency, AWS recommends placing NAT gateways in at least two Availability Zones. However, for this workshop, we will deploy only one to minimize costs.
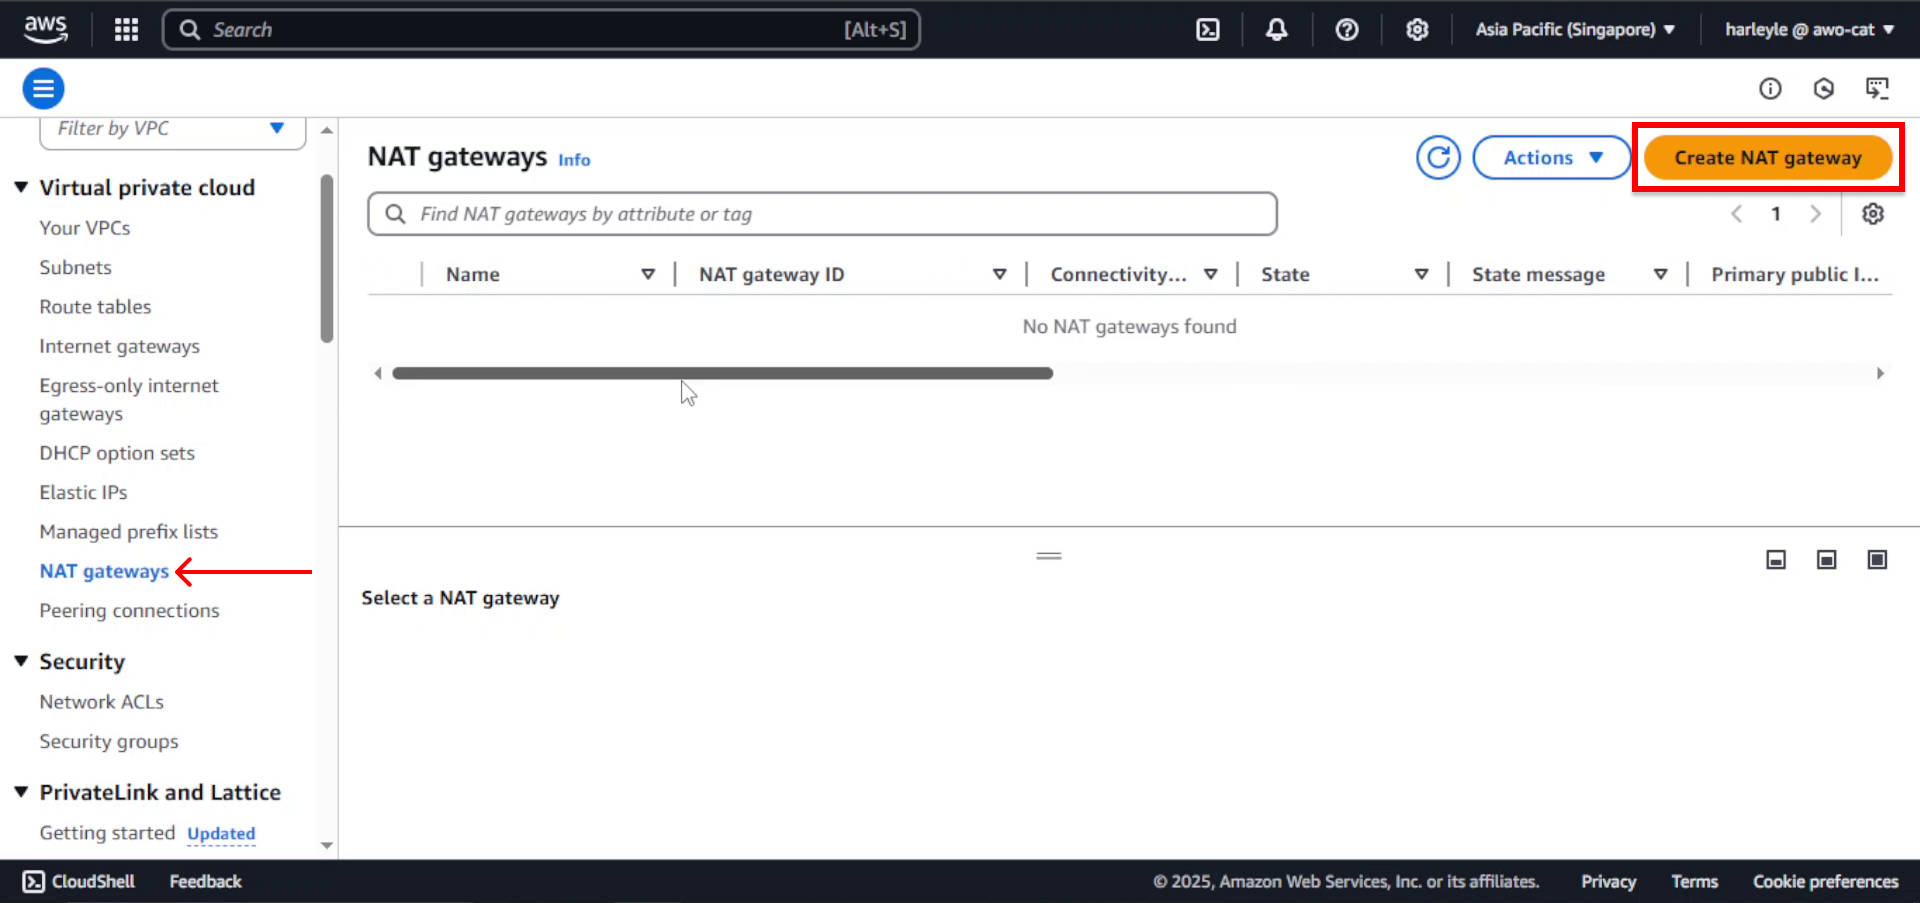
Create NAT Gateway
1. In the VPC Dashboard, select NAT gateways from the left navigation panel and click Create NAT gateway.
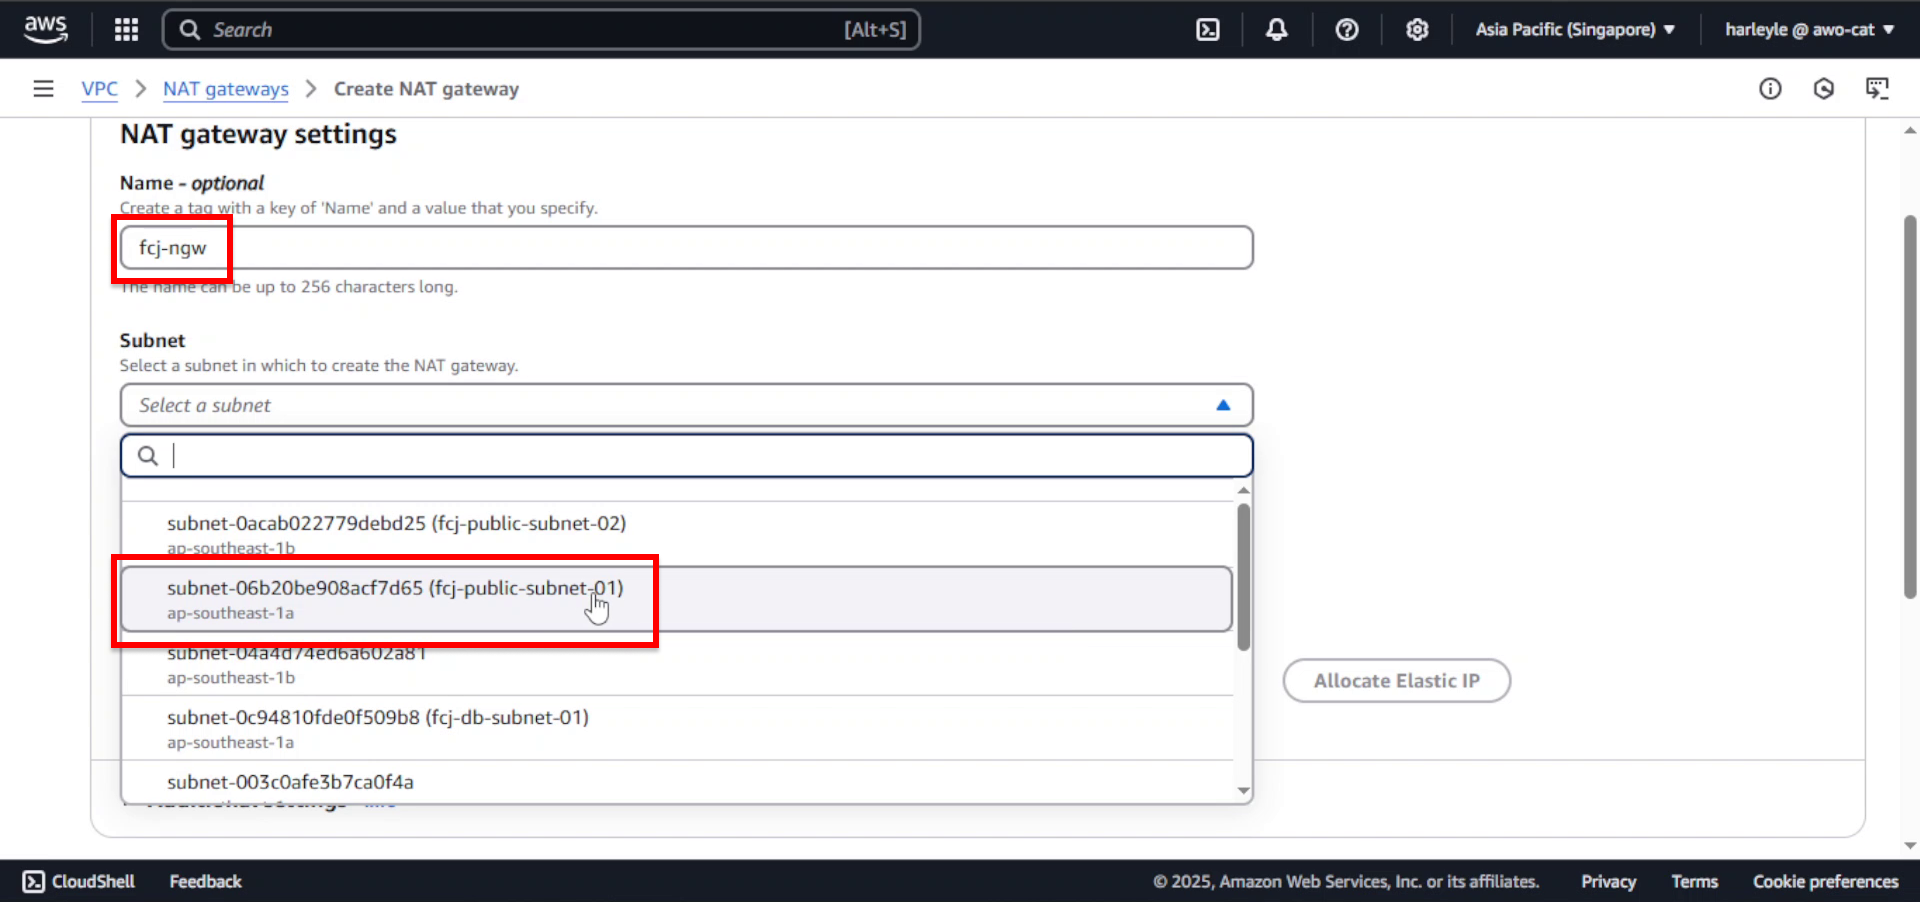
2. Configure the NAT Gateway:
- Name: Enter
fcj-ngw - Subnet: Select fcj-public-subnet-01 (NAT gateway must be in a public subnet)
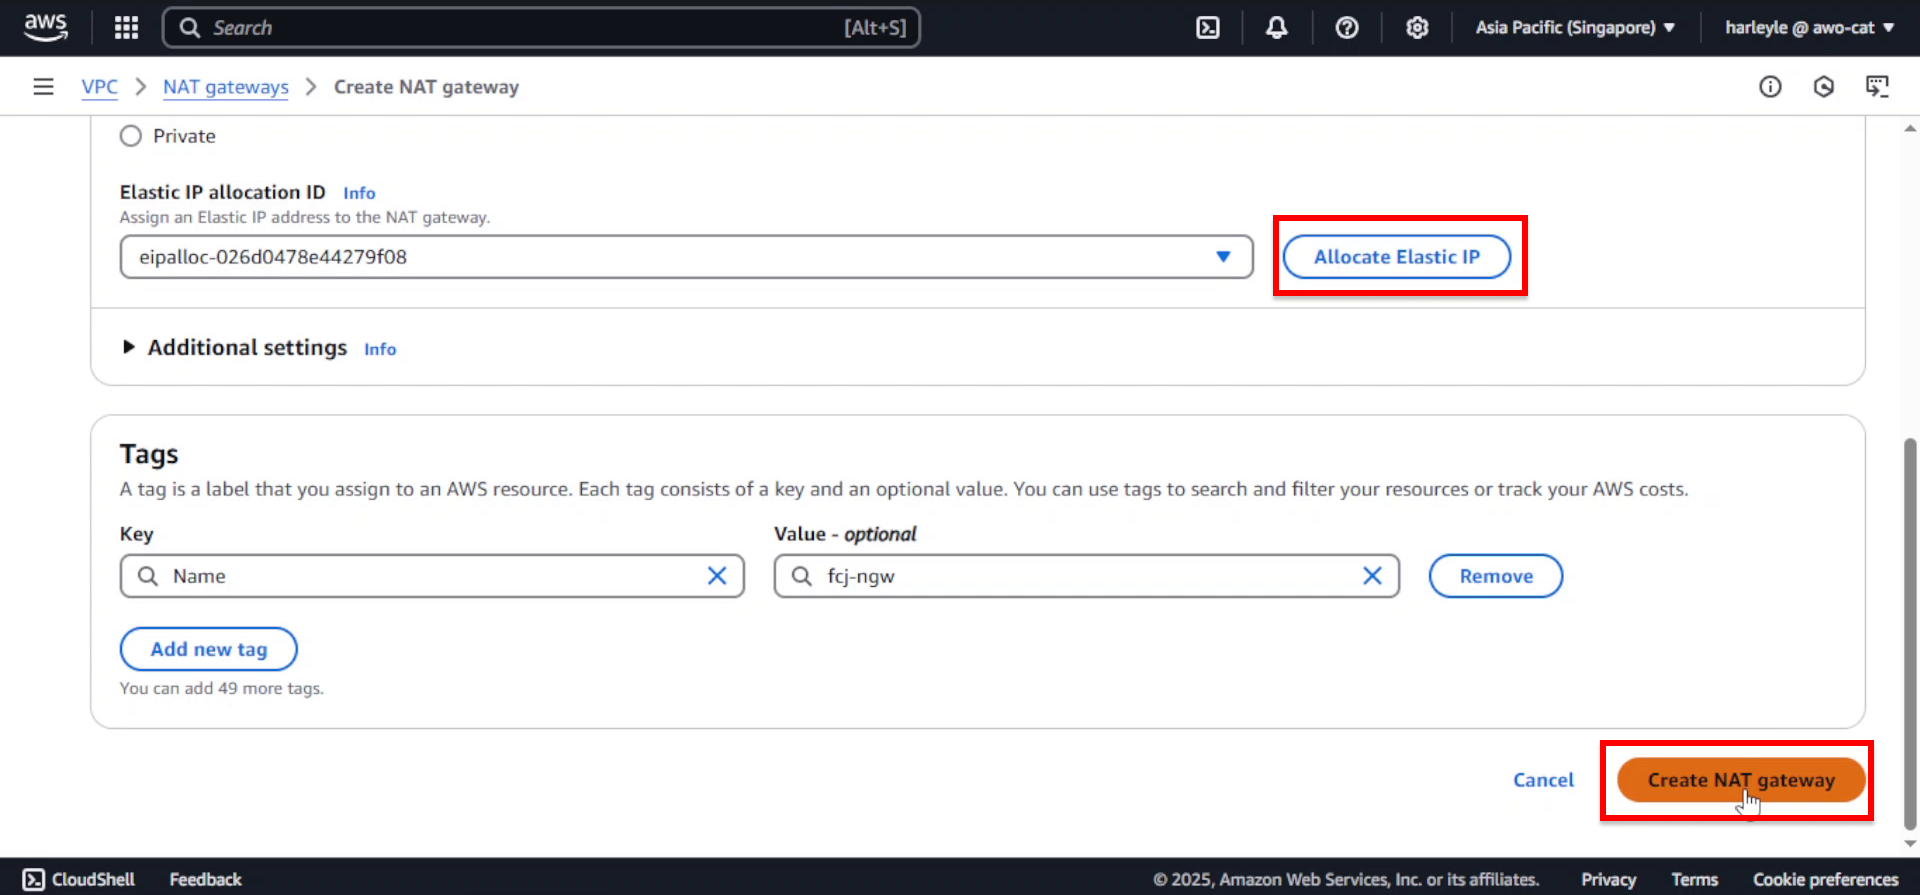
3. Configure the Elastic IP:
- Connectivity type: Ensure Public is selected
- Elastic IP allocation ID: Click Allocate Elastic IP to create a new public IP address
- Click Create NAT gateway
4. Verify creation: The NAT gateway will show a status of “Pending” initially, then change to “Available” once ready. Note the assigned Elastic IP address.
The NAT gateway is deployed in a public subnet so it can receive an Elastic IP address for internet connectivity. This allows private subnet resources to access the internet for outbound connections only.
Configure Private Route Table
Next, we will configure our private route table to route outbound traffic from the private subnets (and also the database subnets, as they are private too) through the NAT gateway.
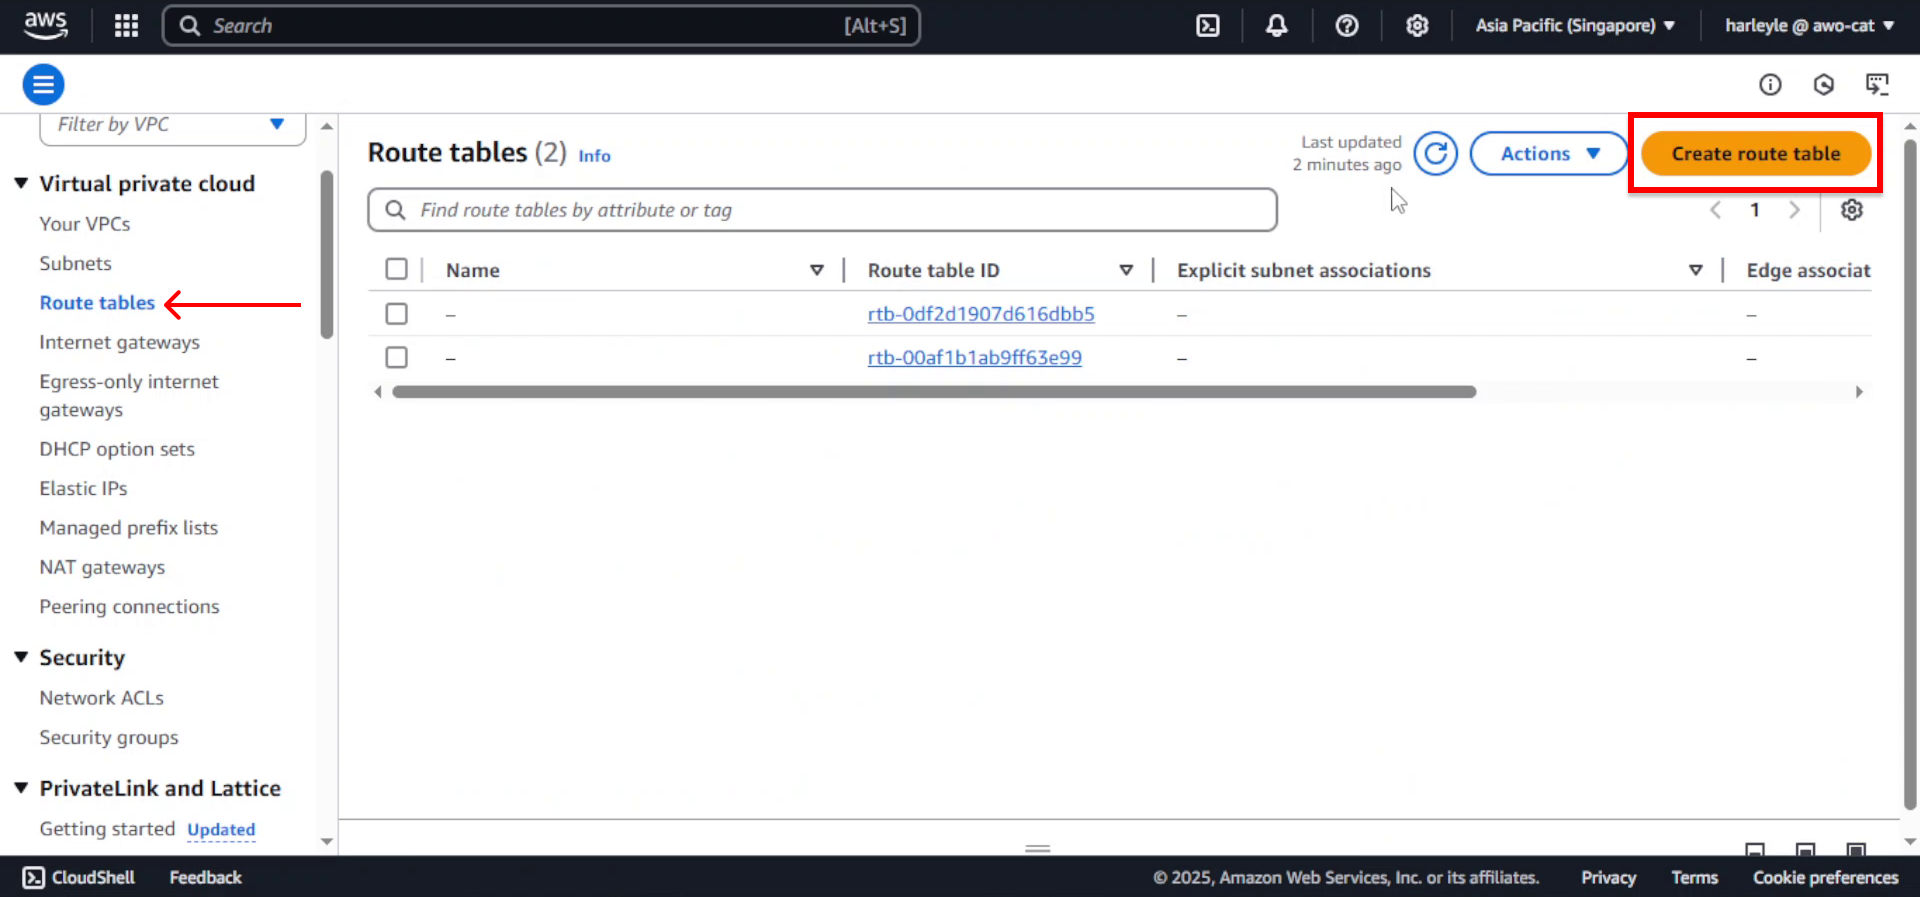
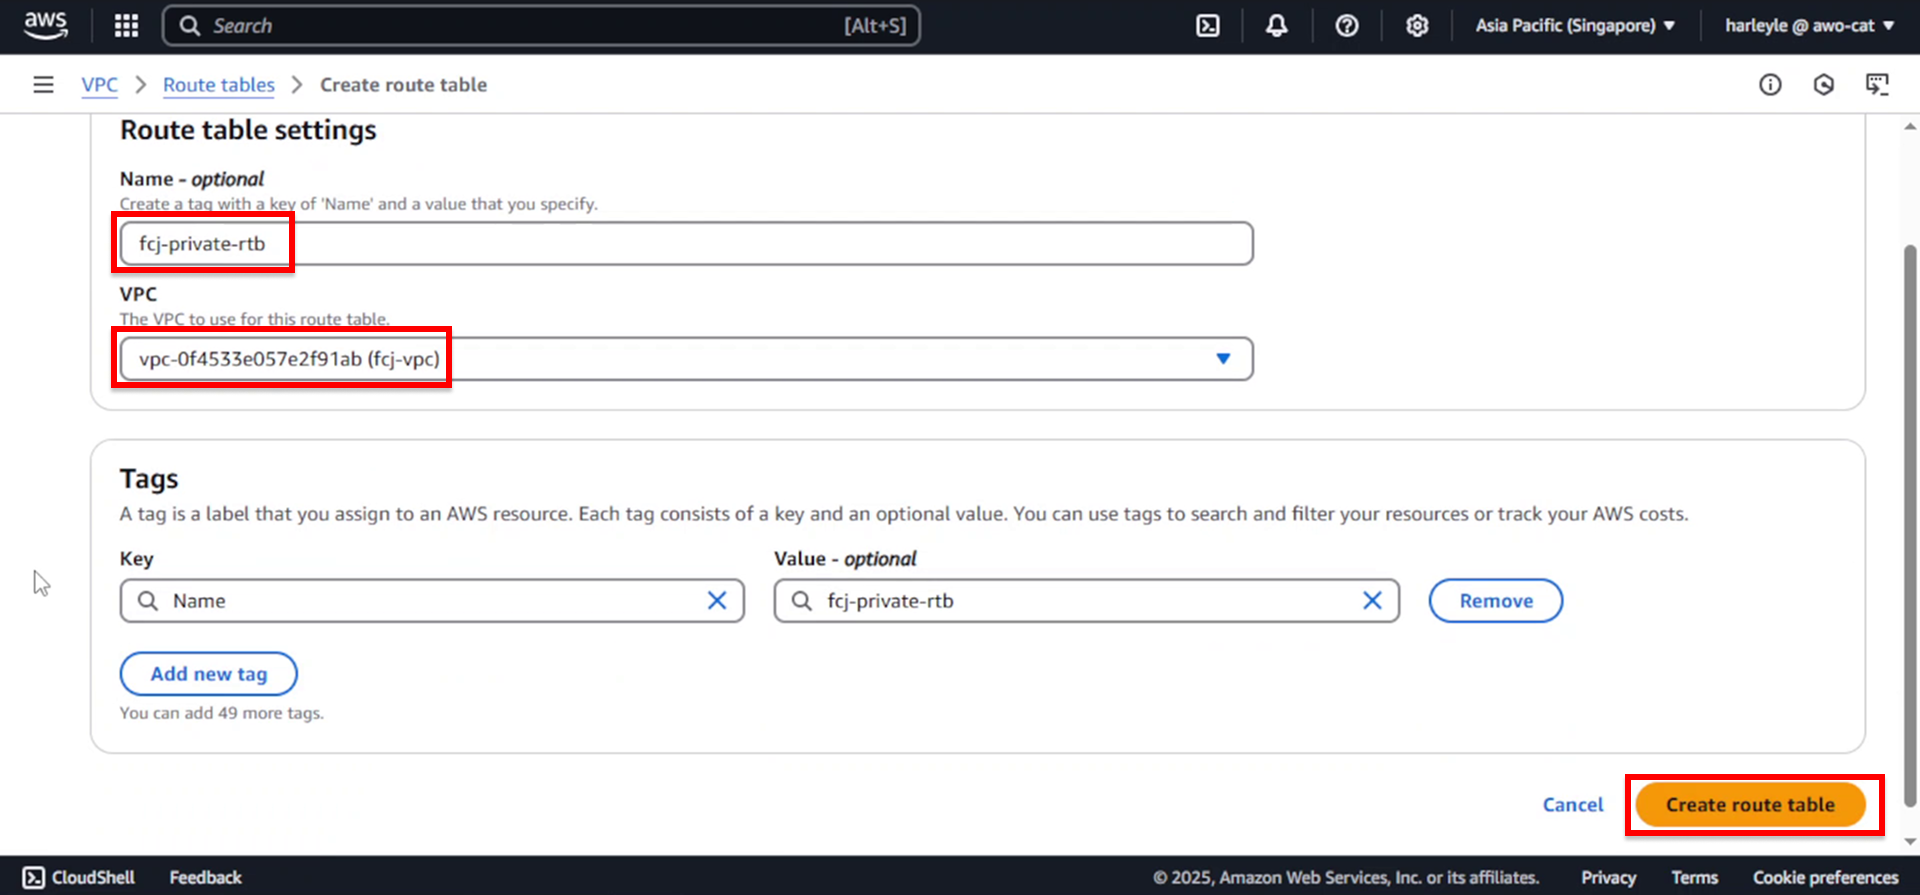
1. In the VPC Dashboard, select Route tables from the left navigation panel and click Create route table.
2. Configure the route table:
- Name tag: Enter
fcj-private-rtb - VPC: Select fcj-vpc
- Click Create route table
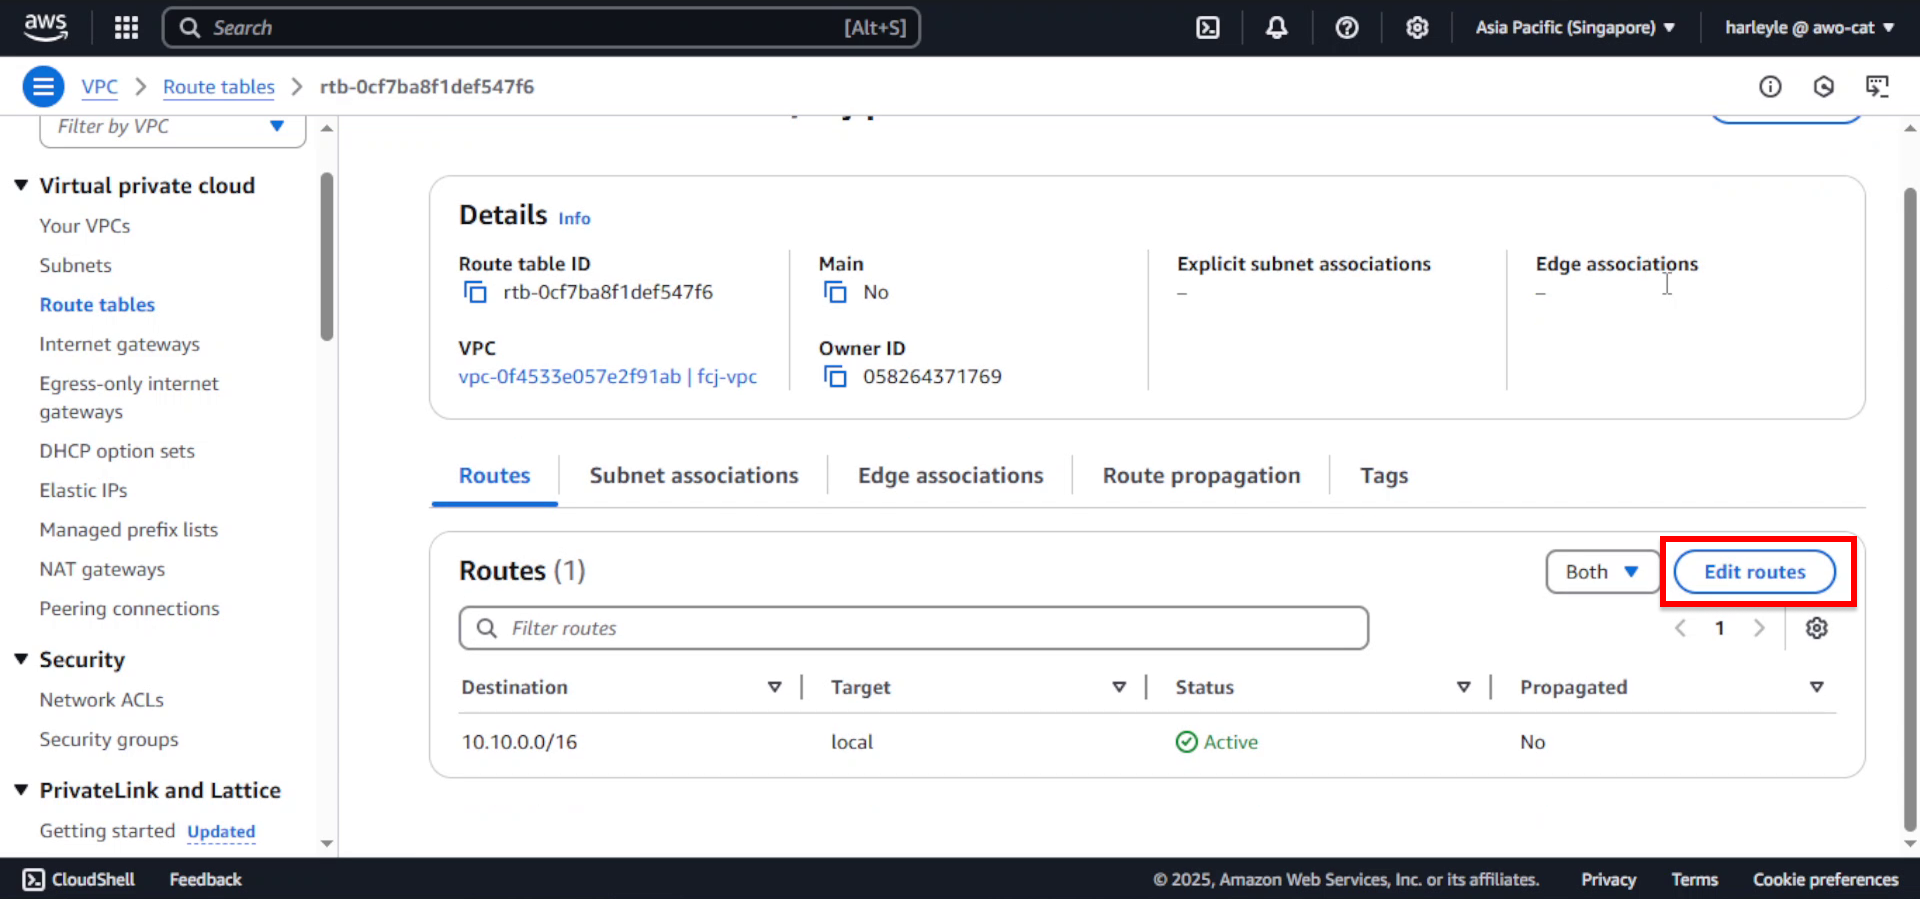
3. After creation, select the new route table and click Edit routes.
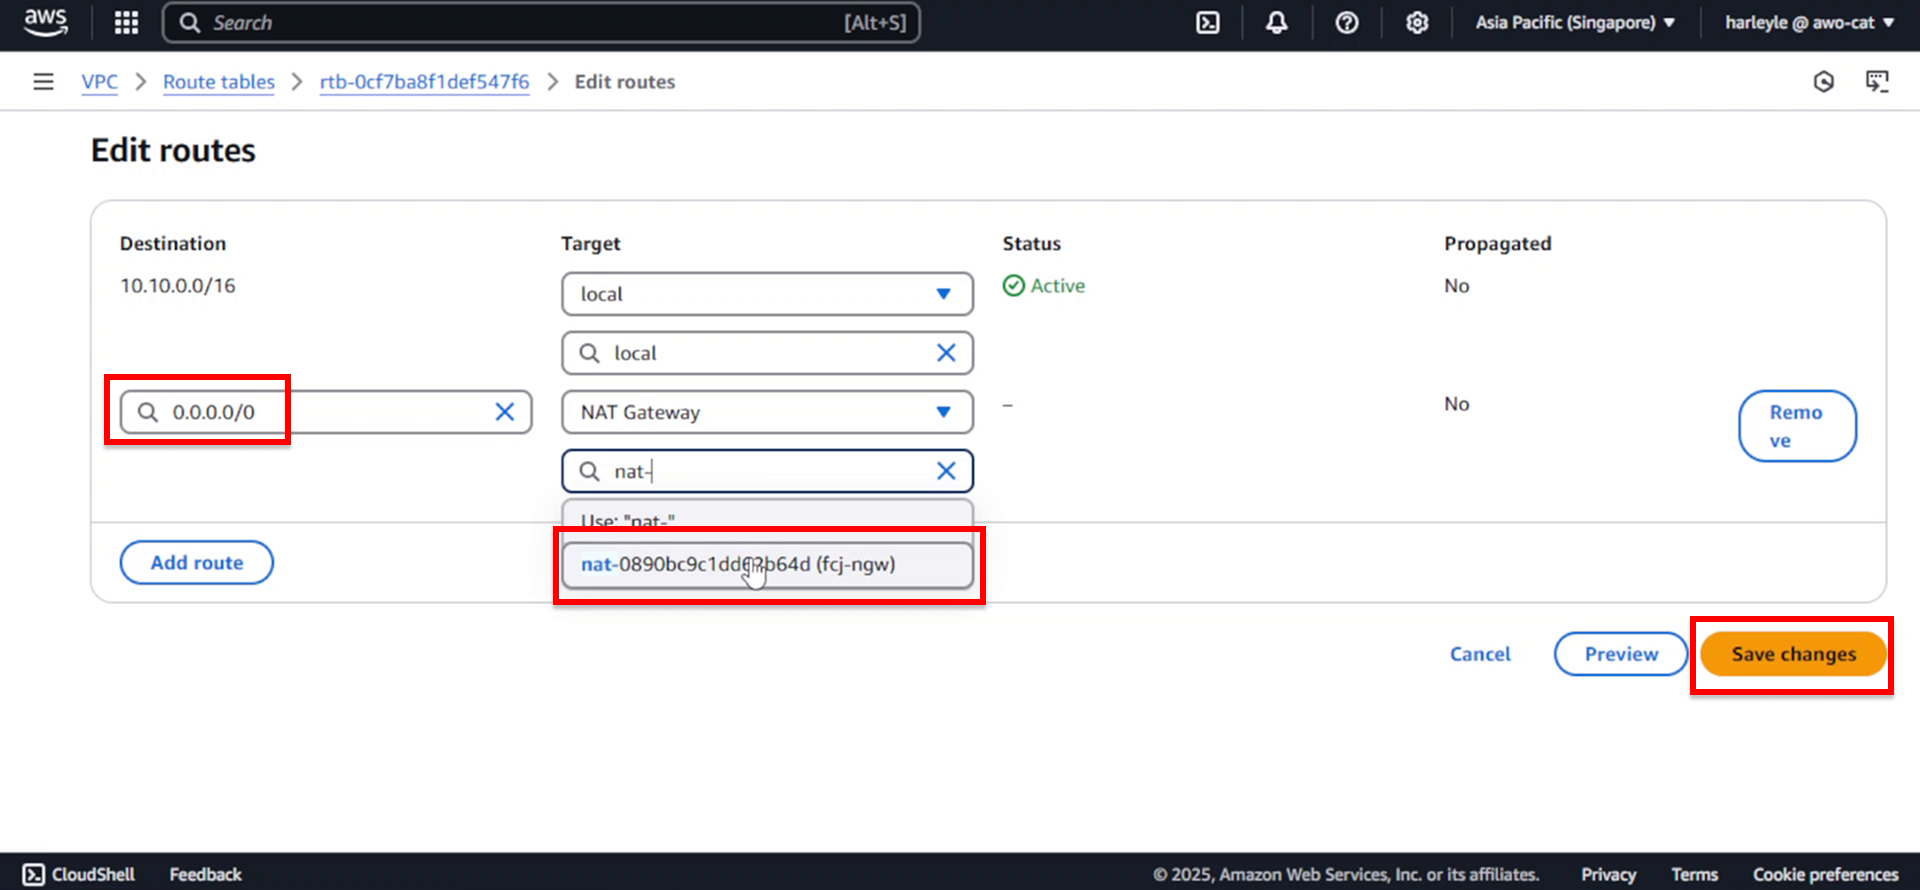
4. Add the NAT gateway route:
- Click Add route
- Destination: Enter
0.0.0.0/0 - Target: Select NAT Gateway, then choose fcj-ngw
- Click Save changes
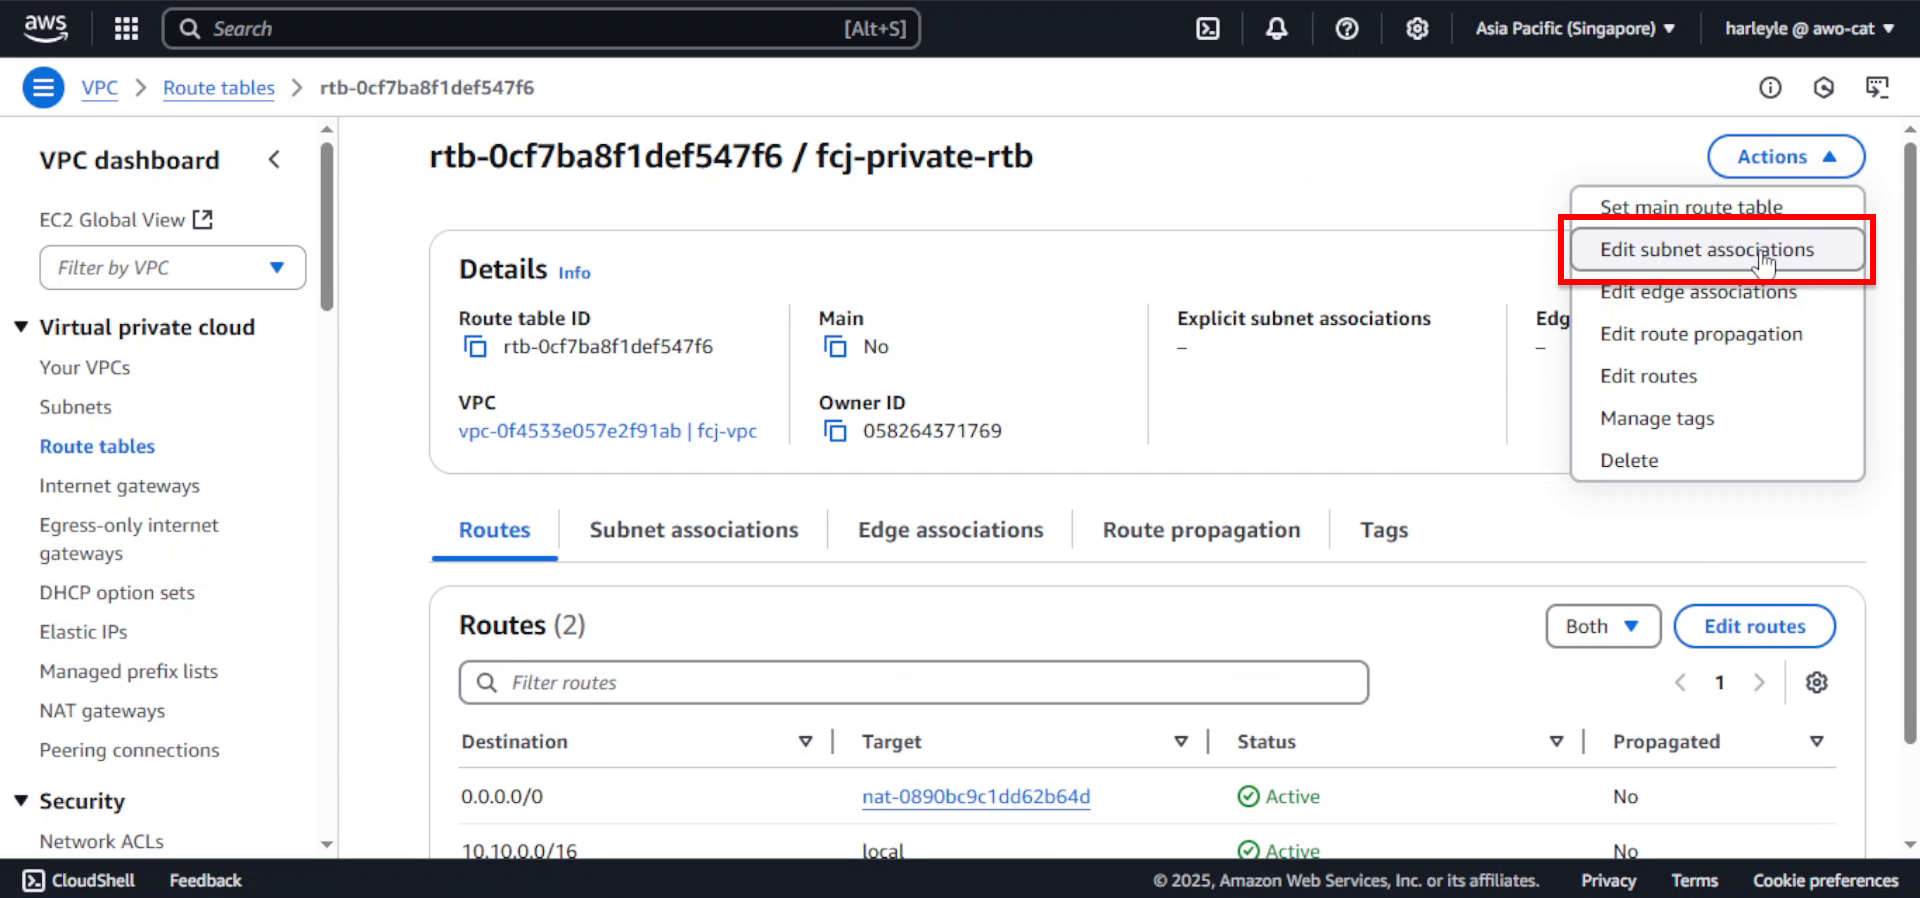
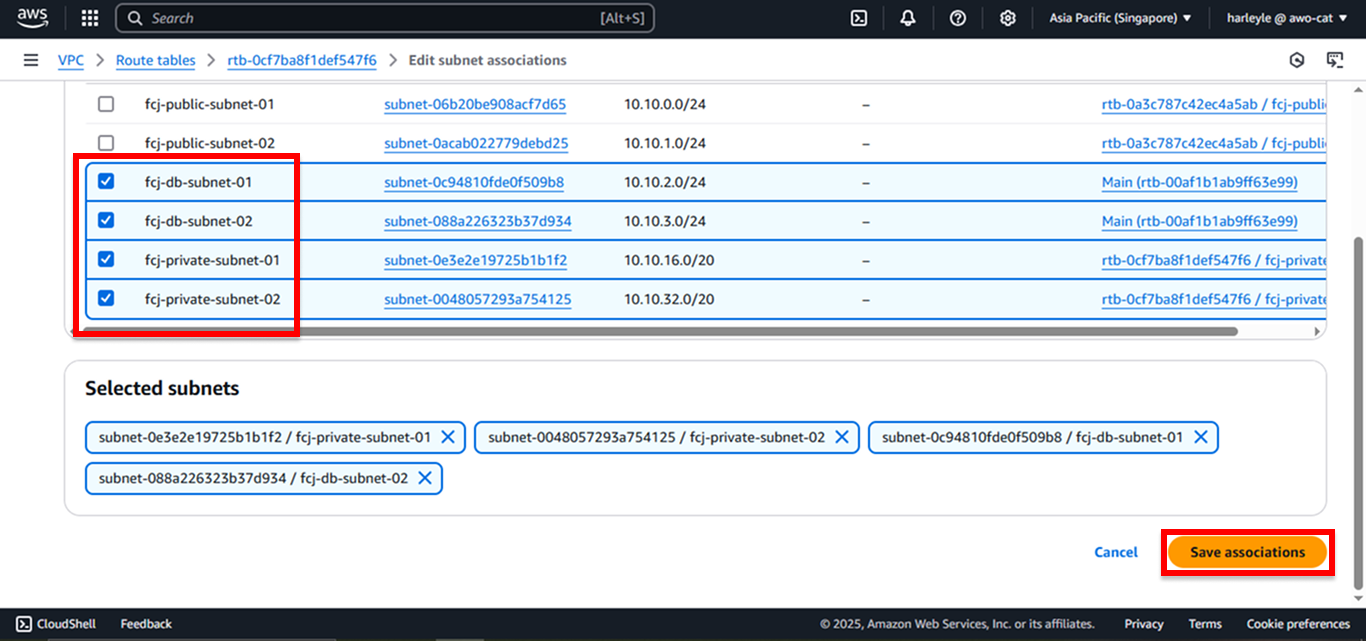
5. Associate the route table with private subnets by clicking Actions, then Edit subnet associations.
6. Select all private and database subnets:
- Check fcj-private-subnet-01
- Check fcj-private-subnet-02
- Check fcj-db-subnet-01
- Check fcj-db-subnet-02
- Click Save associations
7. Verify configuration: Confirm that all four subnets are now associated with the fcj-private-rtb and that the route table contains both the local route (10.10.0.0/16) and the NAT gateway route (0.0.0.0/0).
Your private subnets are now configured for outbound internet access through the NAT gateway. Resources in these subnets can reach the internet for updates and downloads, but remain protected from inbound internet connections.