Configure Public Subnets
For resources within public subnets to be reachable from the internet and to access external internet resources, an Internet Gateway must be attached to the VPC. An Internet Gateway is a horizontally scaled, redundant, and highly available VPC component that enables communication between your VPC and the internet. It acts as a target in your VPC route tables for internet-bound traffic.

The Application Load Balancer (which will be discussed later) is deployed across at least two Availability Zones and functions as a public-facing resource. Its Elastic Network Interfaces (ENIs) are placed in public subnets. Attaching an Internet Gateway to the VPC, along with appropriate route table entries, allows these ENIs to use their public IP addresses (either auto-assigned or Elastic IP addresses) to receive traffic from the internet and respond.
Create Internet Gateway
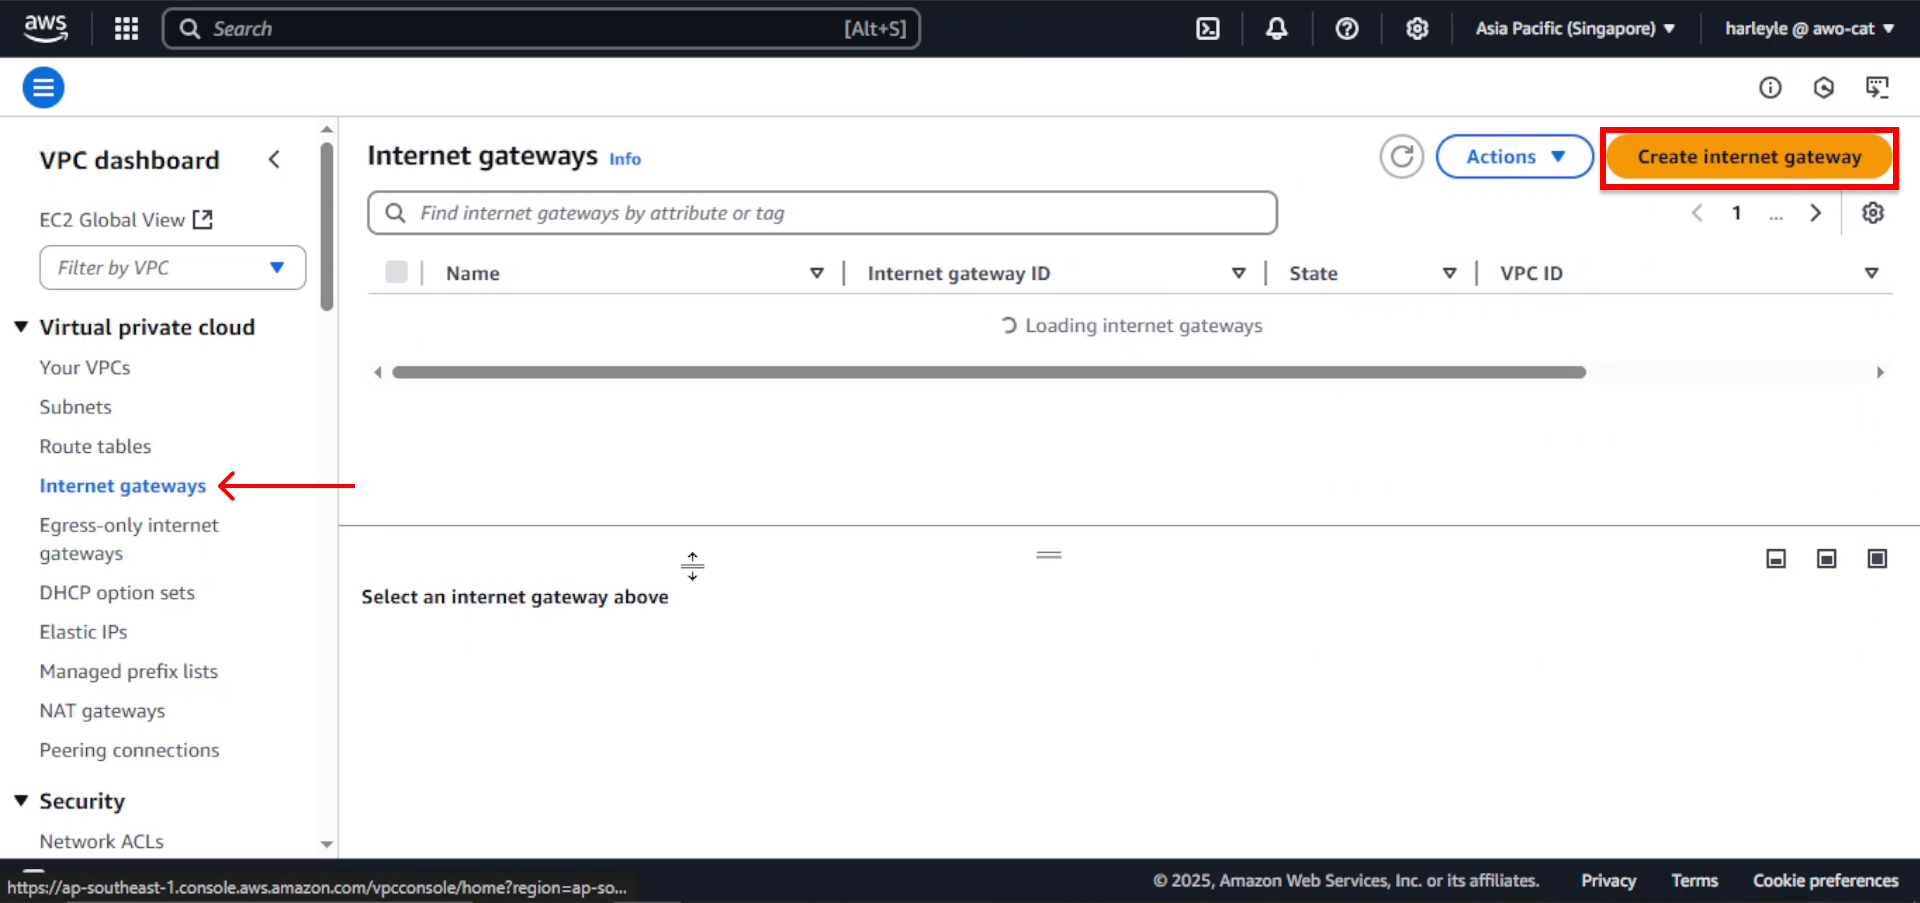
1. In the VPC Dashboard, select Internet gateways from the left navigation panel, then click Create internet gateway.
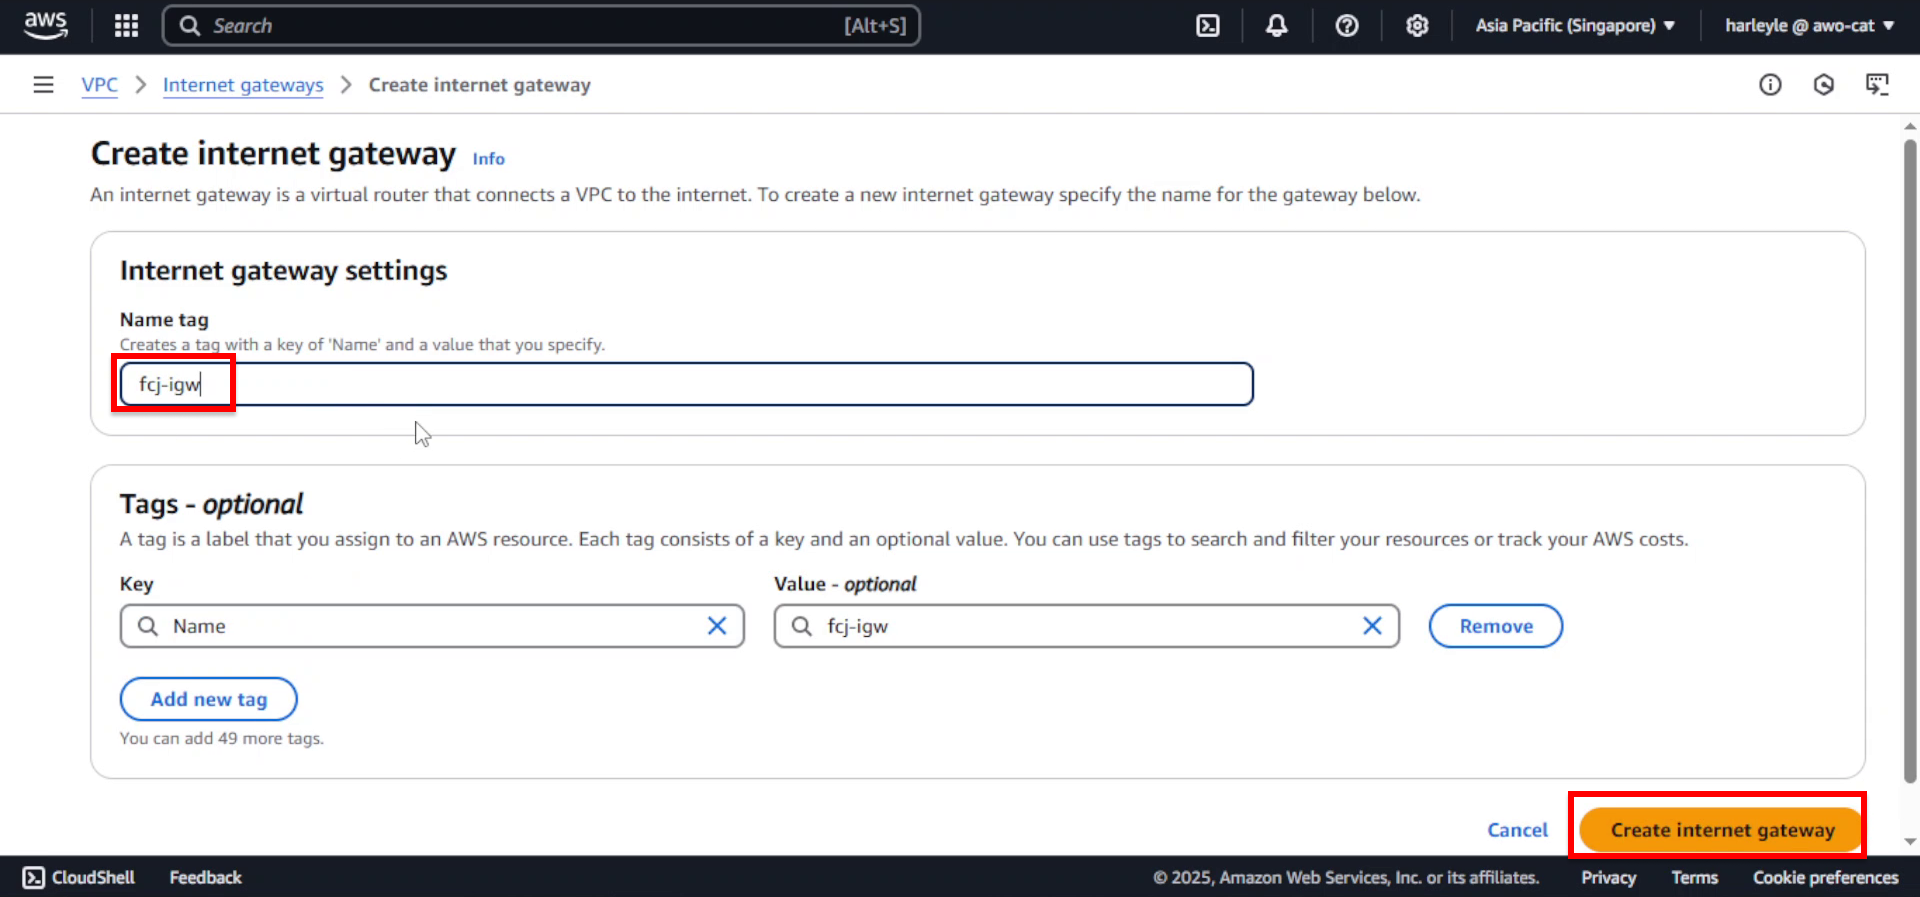
2. Configure the Internet Gateway:
- Name tag: Enter
fcj-igw - Click Create internet gateway
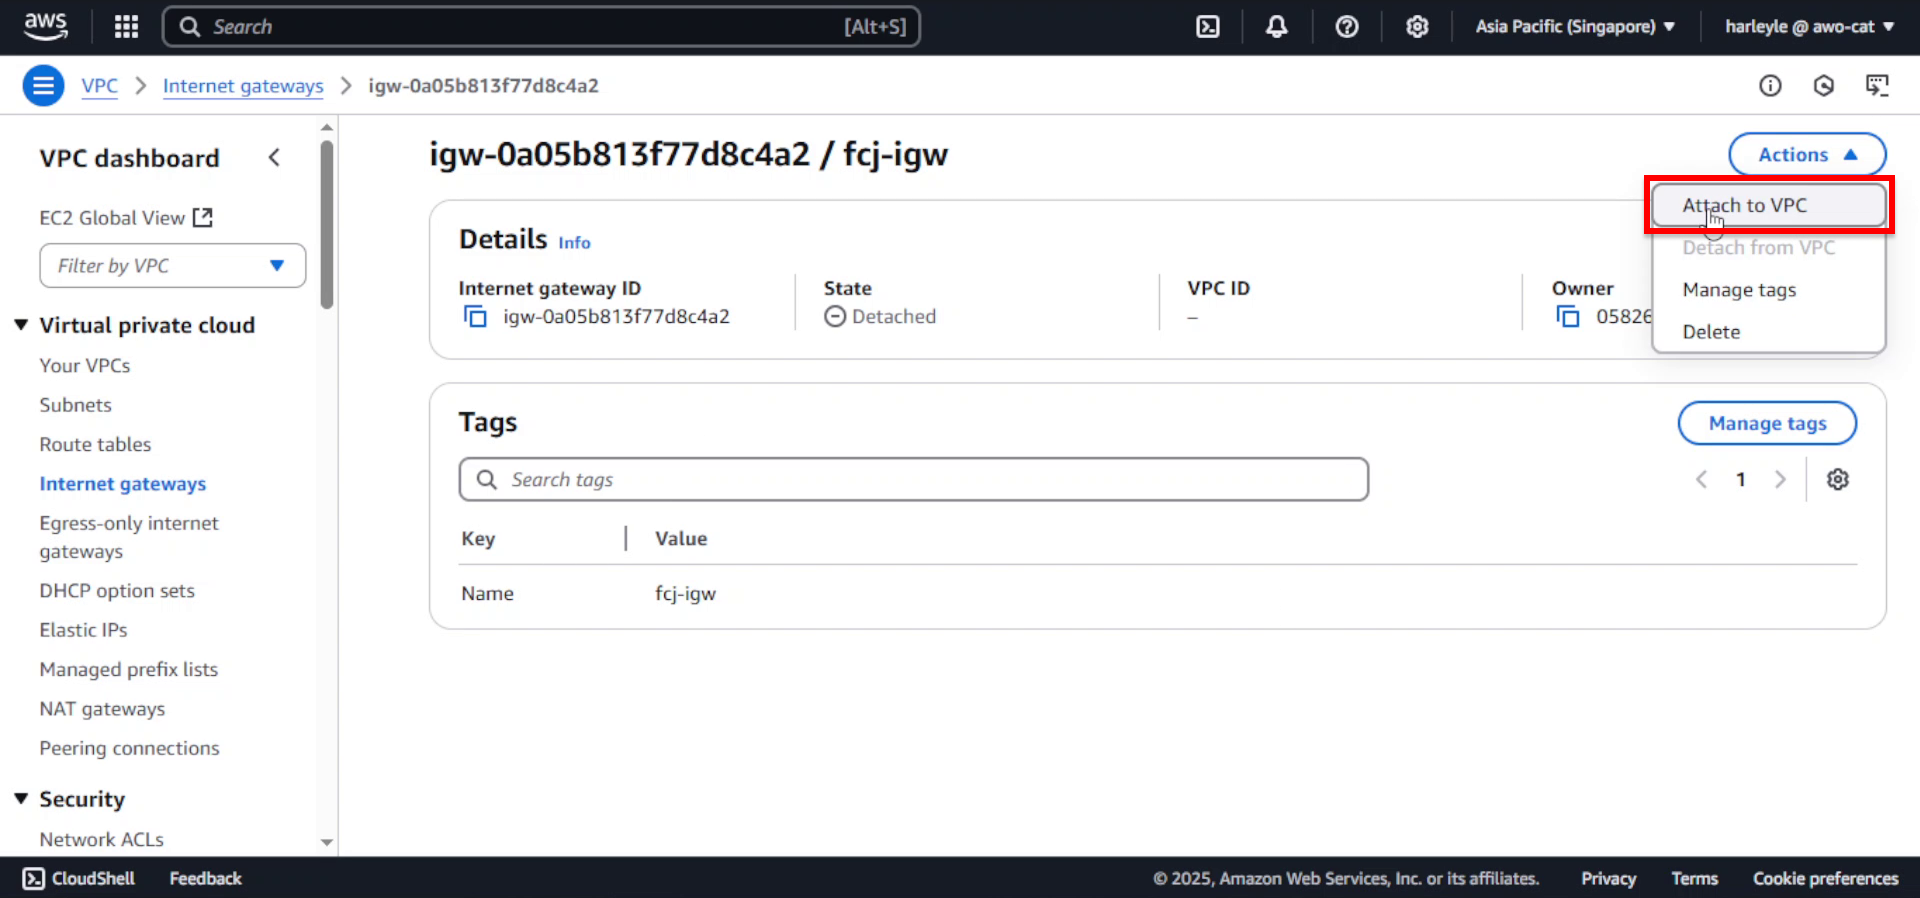
3. After creation, you’ll see the new Internet Gateway in a “Detached” state. Click Actions, then select Attach to VPC.
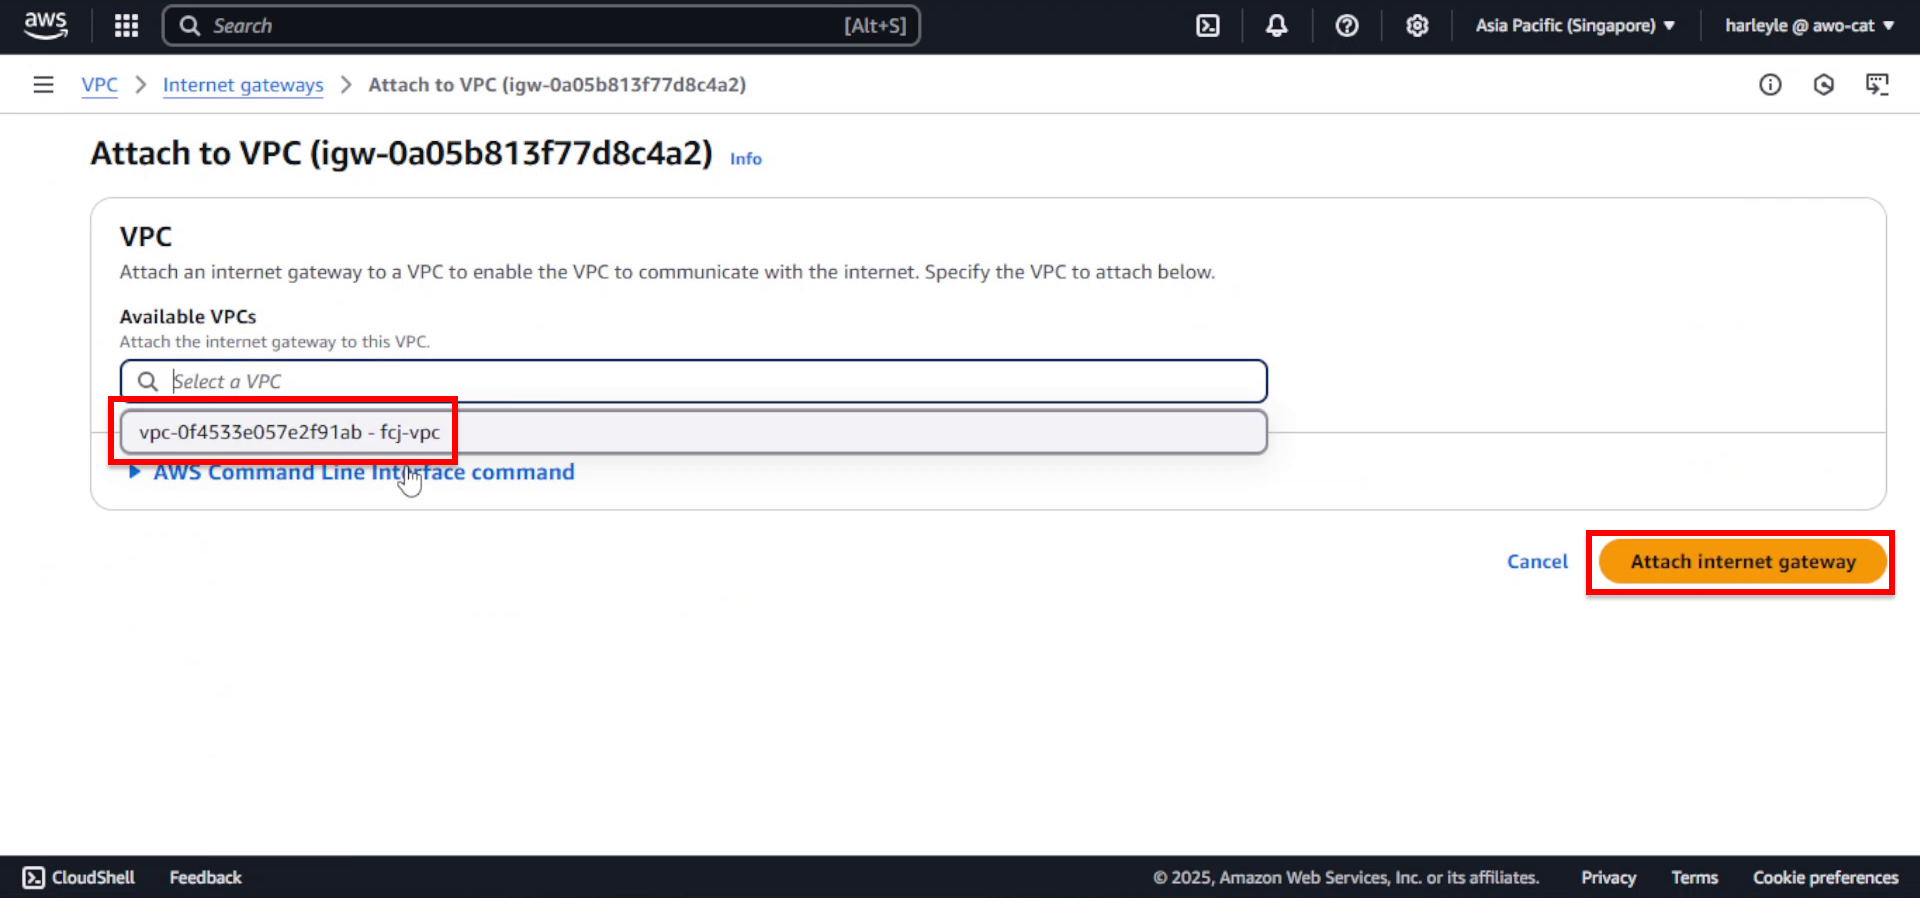
4. Configure the VPC attachment:
- Available VPCs: Select fcj-vpc
- Click Attach internet gateway
5. Verify attachment: The Internet Gateway status should change to “Attached” and show it’s connected to fcj-vpc.
An Internet Gateway provides a target in your route table for internet-routable traffic and performs network address translation (NAT) for instances with public IP addresses.
Create Public Route Table
Although the Internet Gateway has been attached to our VPC, resources within the public subnets may still be unreachable from the internet. This is because we haven’t yet configured and associated a route table specifically for these public subnets. This route table acts as a virtual router, containing rules that direct network traffic. For public subnets, it’s crucial for directing internet-bound traffic from these subnets to the Internet Gateway.

Our public route table will typically have at least two routes:
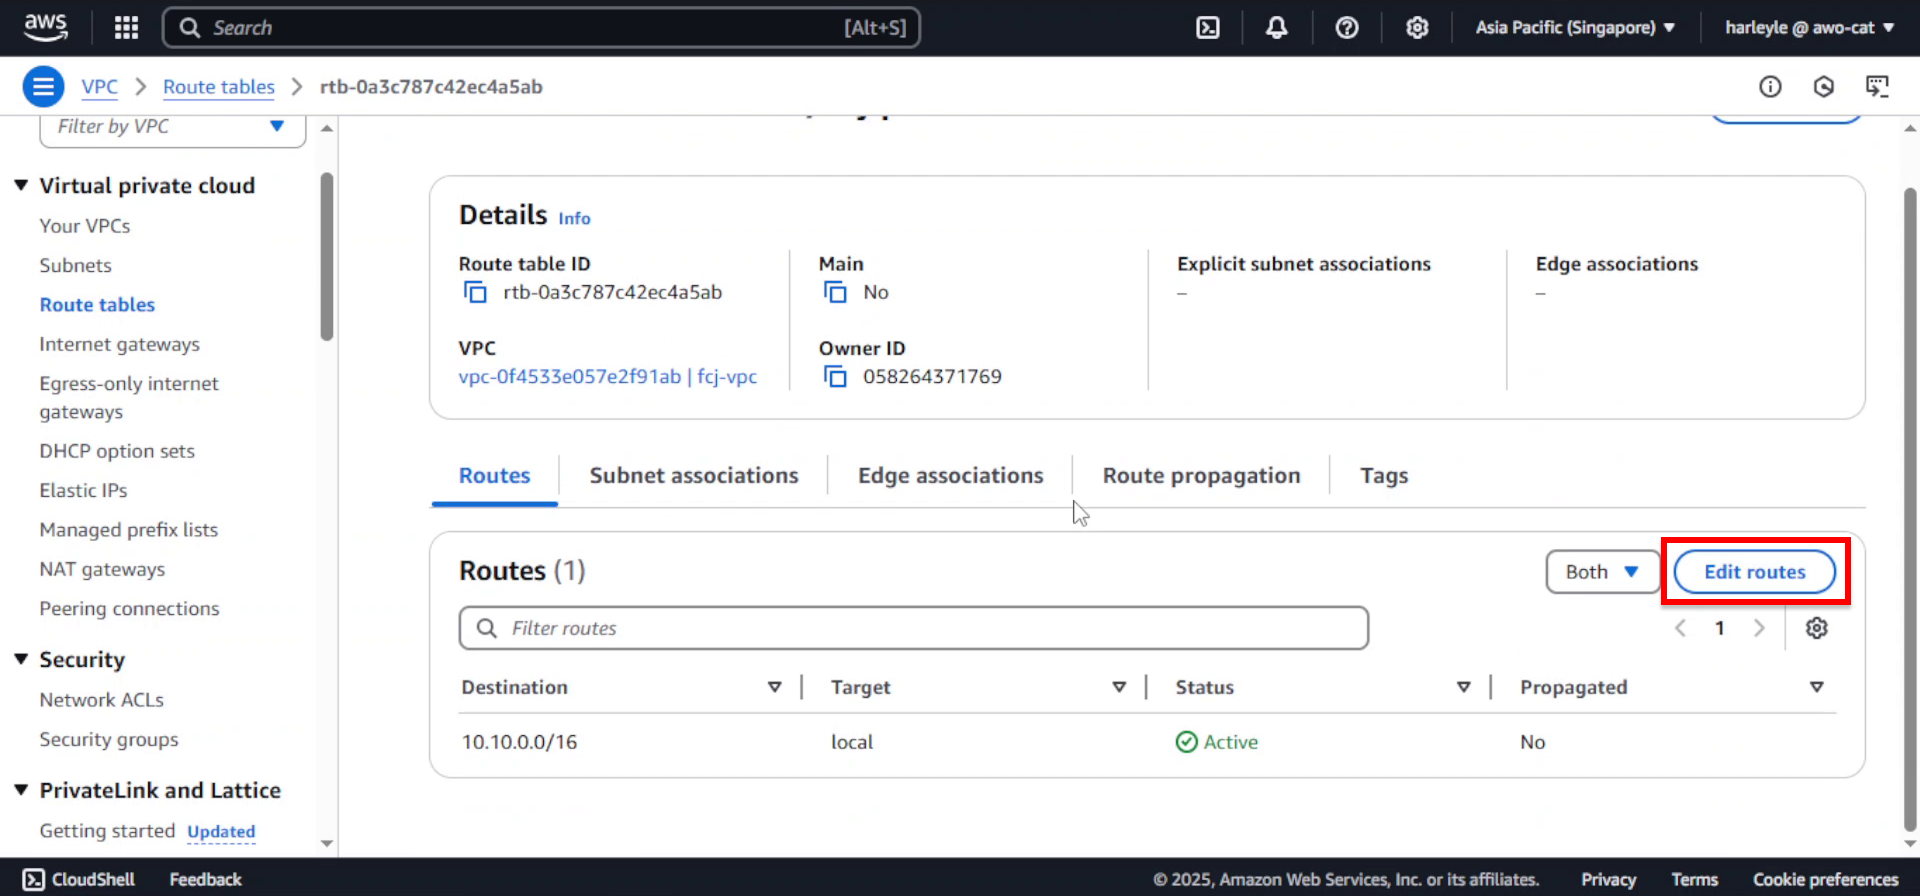
- Local Route: The 10.10.0.0/16 -> local route is automatically created when the VPC is established. It enables resources within the entire VPC to communicate with each other.
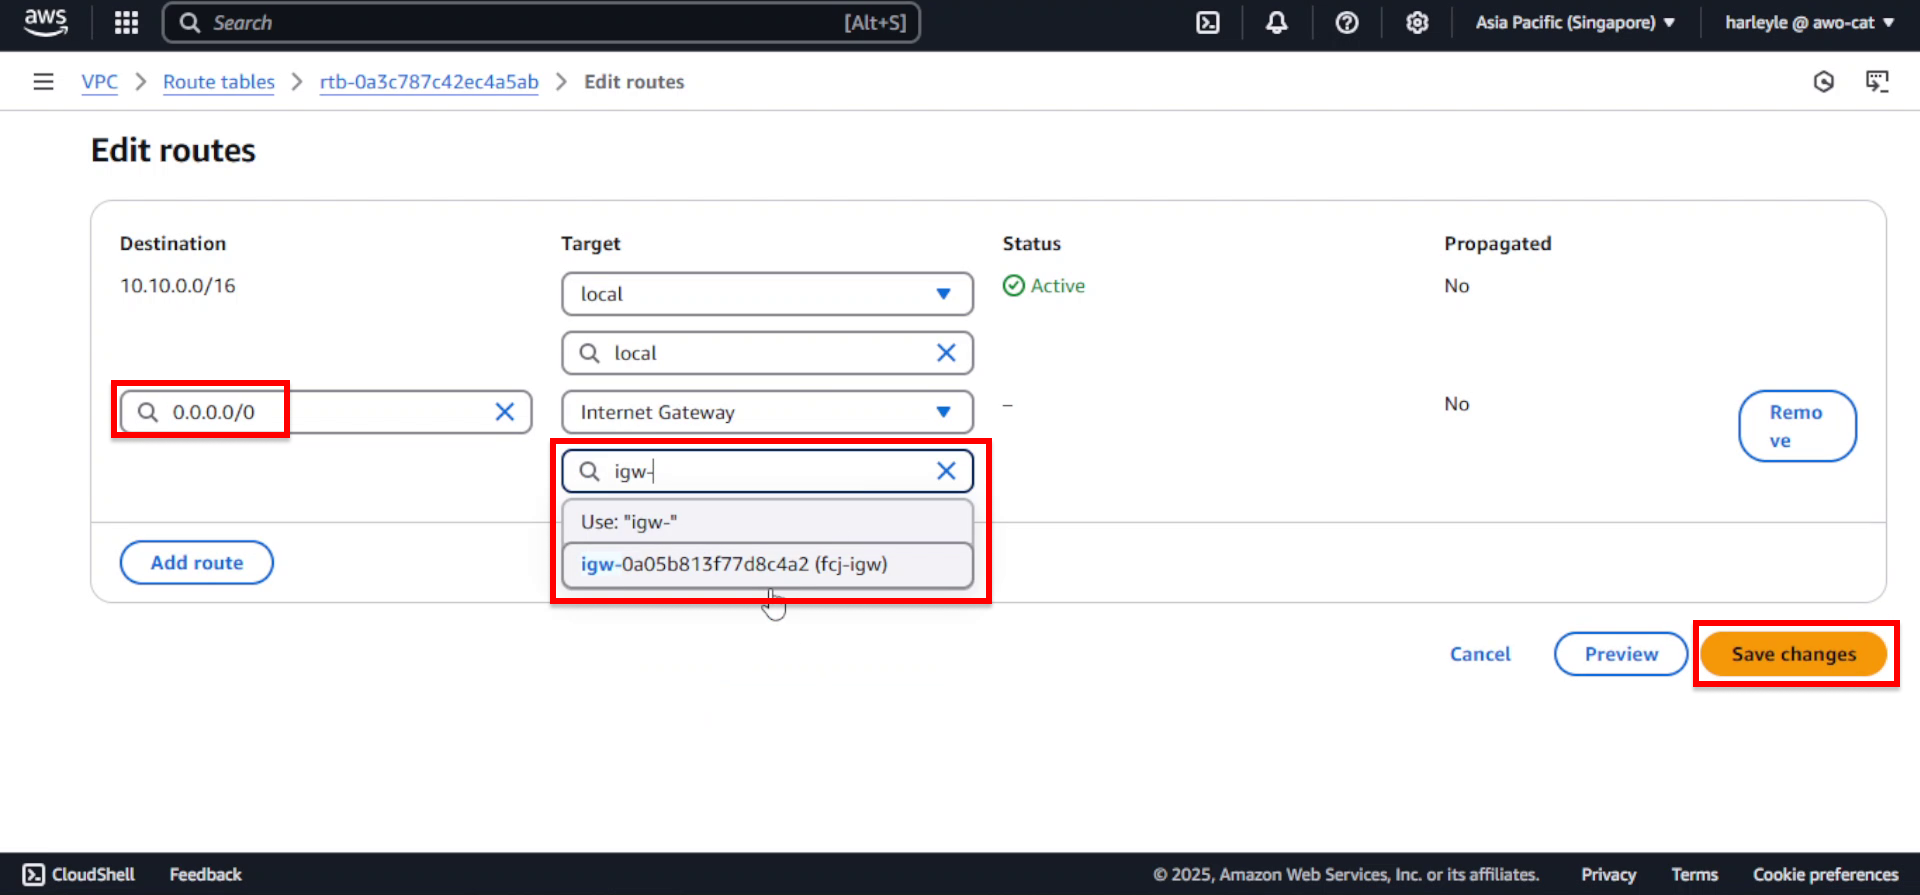
- Internet Route: The 0.0.0.0/0 -> internet gateway route is manually added. This route specifies that all traffic not destined for the local VPC (i.e., internet-bound traffic, represented by 0.0.0.0/0) should be sent to the Internet Gateway.
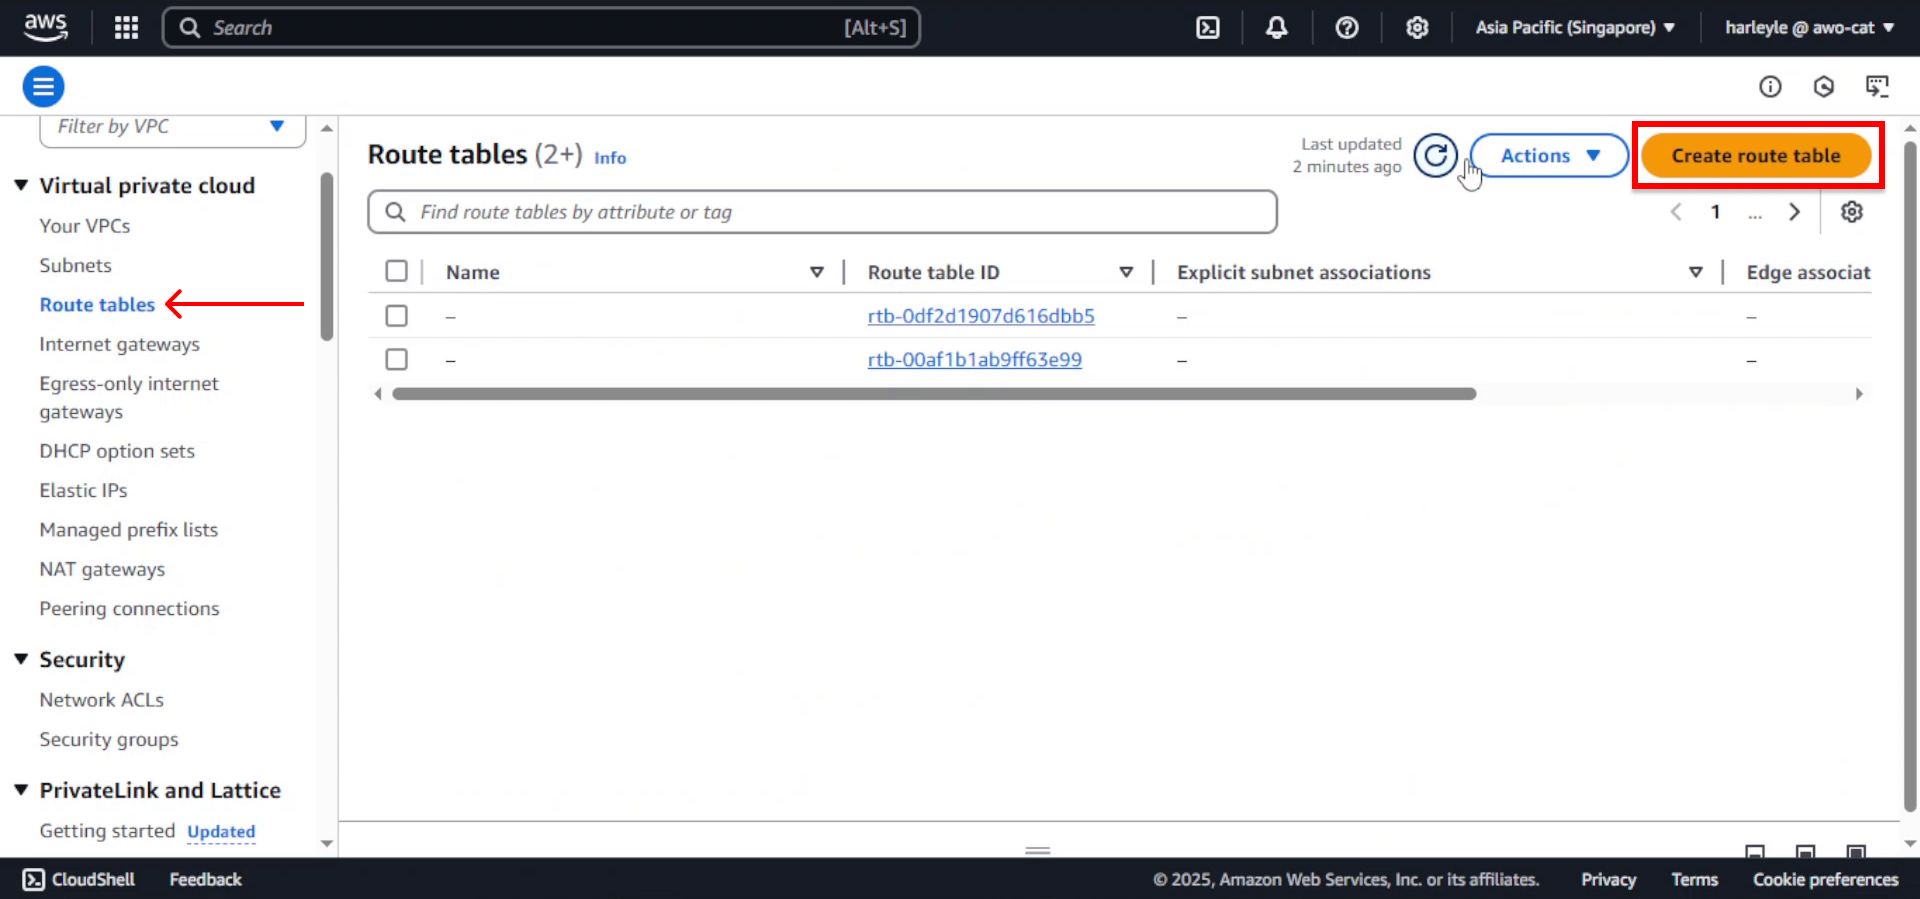
1. In the VPC Dashboard, select Route tables from the left navigation panel and click Create route table.
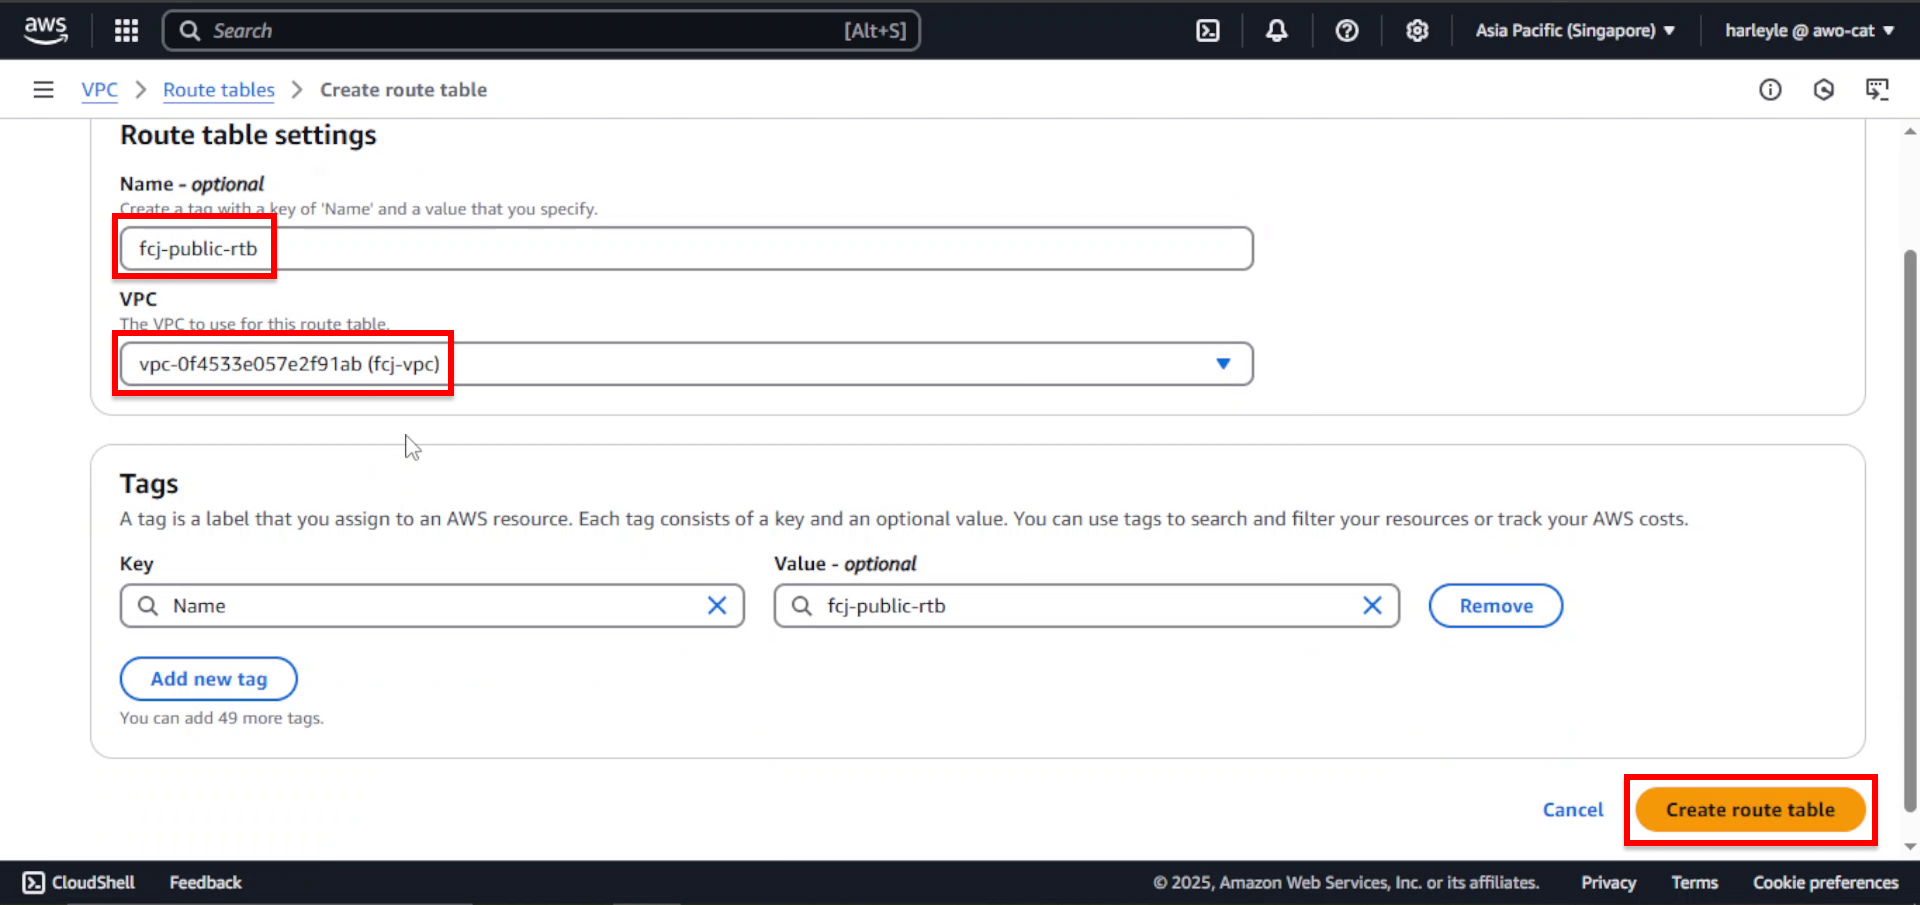
2. Configure the route table:
- Name tag: Enter
fcj-route-table - VPC: Select fcj-vpc
- Click Create route table
3. After creation, select the new route table and click Edit routes.
4. Add the internet route:
- Click Add route
- Destination: Enter
0.0.0.0/0 - Target: Select Internet Gateway, then choose fcj-igw
- Click Save changes
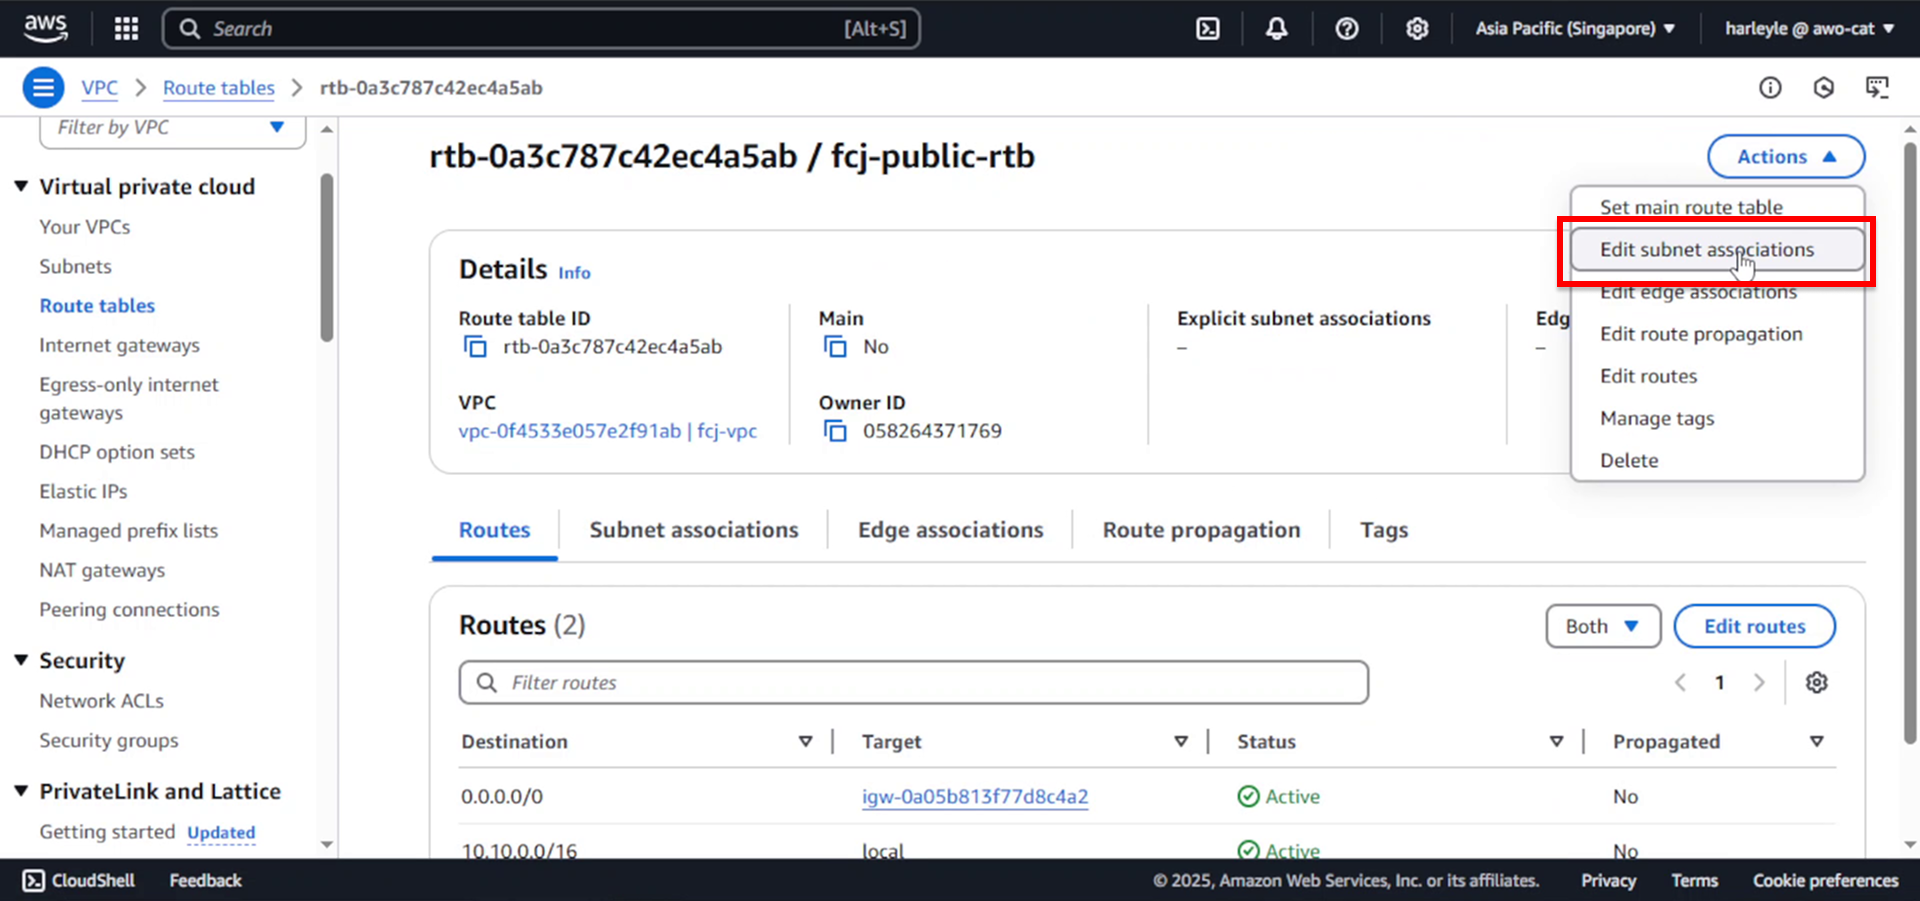
5. Associate the route table with public subnets by clicking Actions, then Edit subnet associations.
6. Select the public subnets:
- Check fcj-public-subnet-01
- Check fcj-public-subnet-02
- Click Save associations
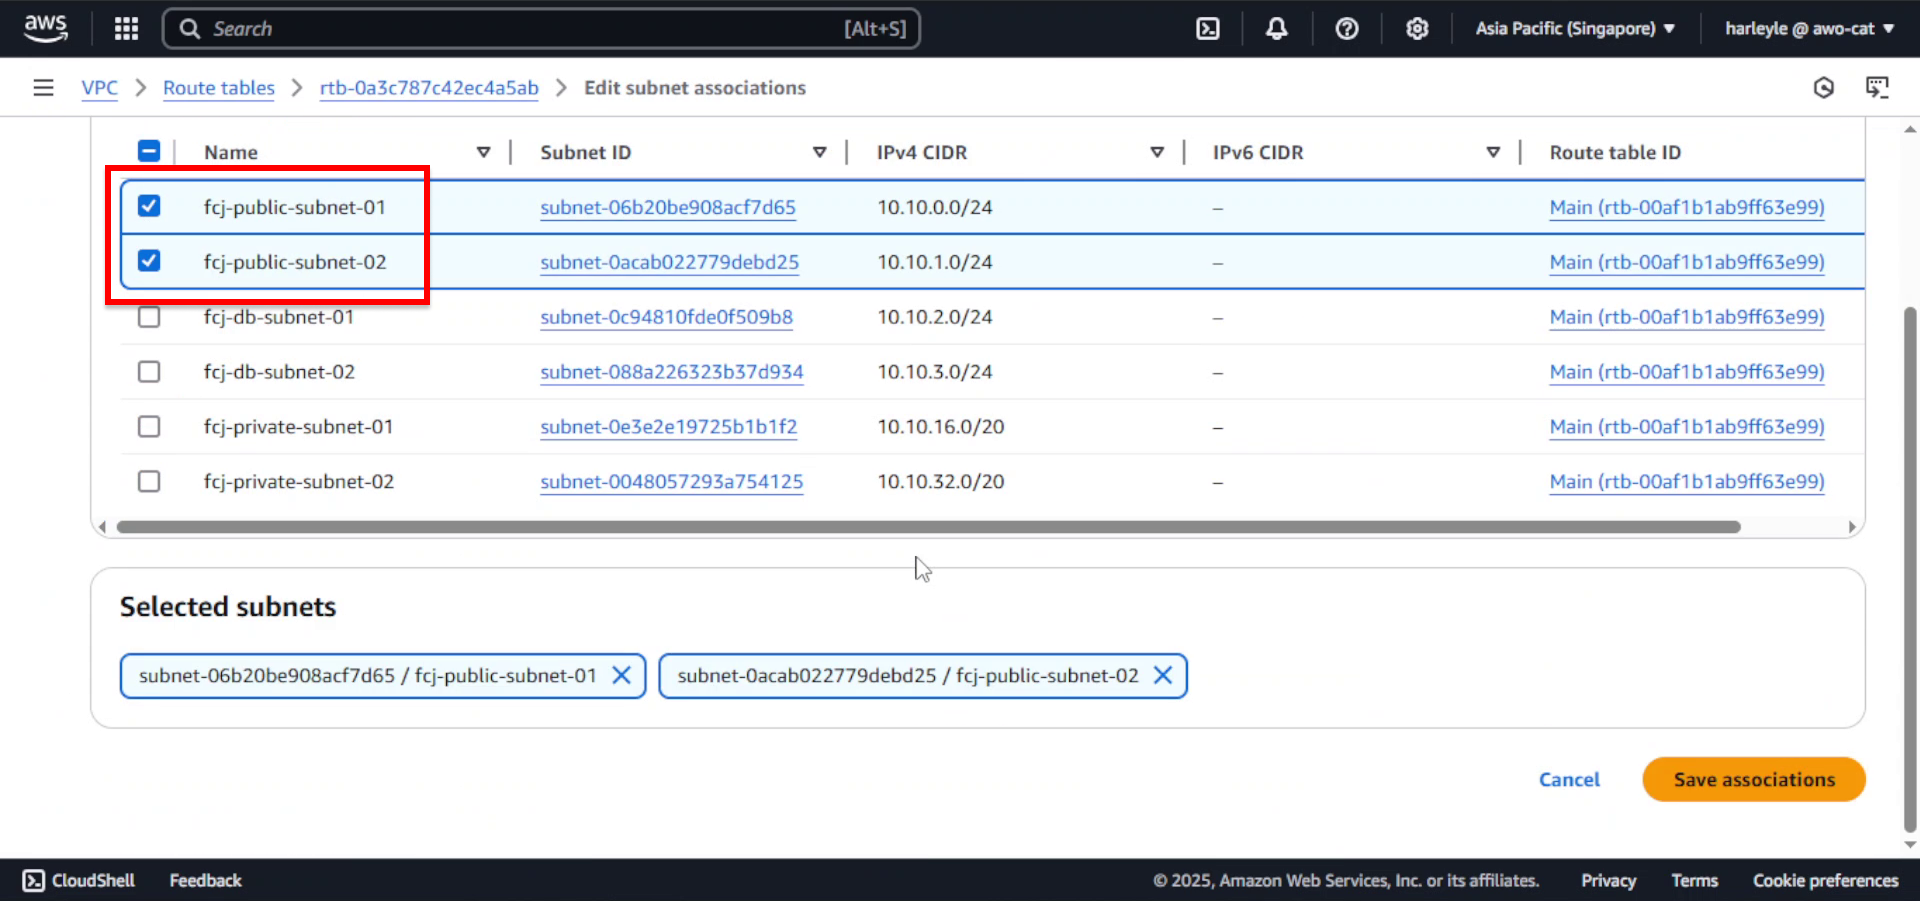
7. Verify configuration: Confirm that both public subnets are now associated with the fcj-route-table and that the route table contains both the local route (10.10.0.0/16) and the internet route (0.0.0.0/0).
Your public subnets are now properly configured with internet access. Resources deployed in these subnets with public IP addresses can now communicate with the internet through the Internet Gateway.